This short article will show you the EASIEST way to display the Current Year in WordPress using a Shortcode.
BUT!…
I will also show you some other ways you can add this type of functionality, depending on the Page Builder you are using (this is important to understand).
I’ll also share with you a new plugin I have started using to manage all these small PHP snippets we add to our website over time and I’ll run you through why it’s SO MUCH BETTER than adding things into your functions.php file.
To start this tutorial, I want to show you how I added this current year shortcode into my website recently.
Here is how I did it myself in the easiest way possible…
Install WPCodeBox
Up until this year, I had been using the Beaver Builder page builder for all my websites but I recently moved over to using Bricks Builder and in doing so, I came across a new plugin I had not seen before.
I don’t want to get sidetracked here, but the plugin is called WPCodeBox and it allows you to add all your custom CSS/JS/PHP in a way that is easy to manage.
Add all your custom PHP/CSS/JS snippets in an organised, easy-to-manage manner.
So that’s what I used to add this shortcode to dynamically update the year in WordPress.
Add the Dynamic Year Shortcode to WPCodeBox
If you are using the WPCodeBox plugin yourself, you can copy the below PHP code, as shown below…
add_shortcode( 'year', 'currentYear' );
function currentYear( $atts ){
return date('Y');
}
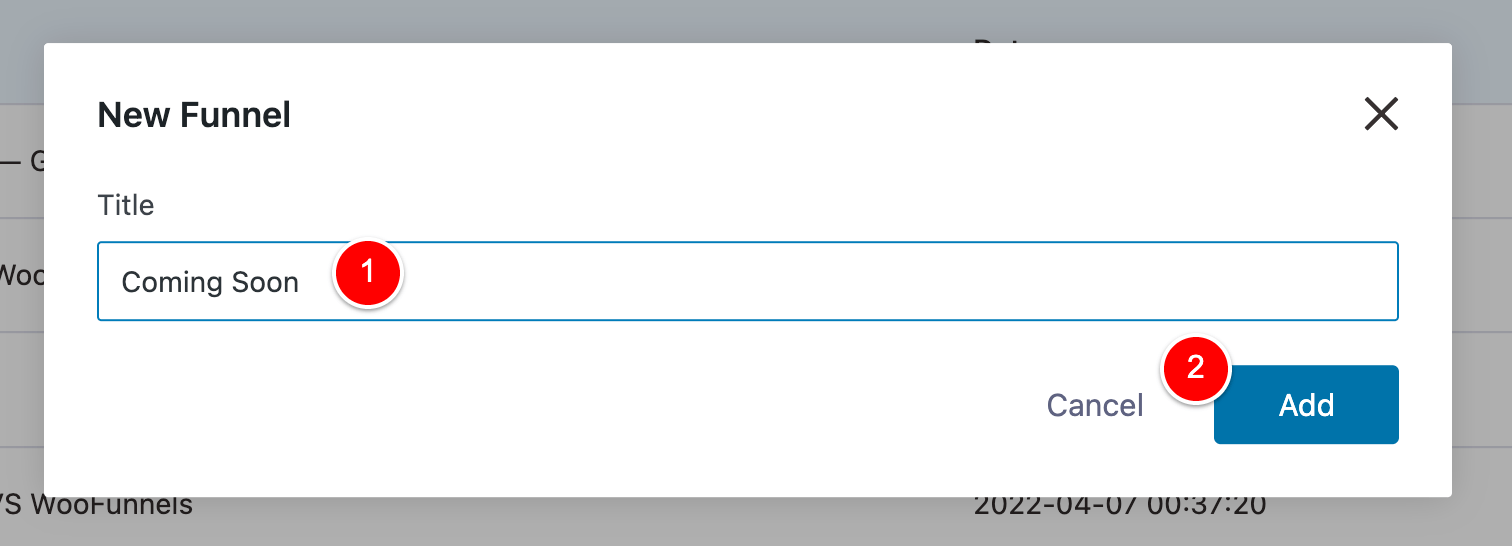
Code language: PHP (php)And then create a new Snippet in WPCodeBox by clicking New Snippet (1), giving the snippet a name (2), paste the above PHP code at (3) and then Save / Enable at (4).
Once you do that, you’re all set and ready to go (but there is 1 extra tip I recommend you do here)…
Only load this PHP Current Year Shortcode on the frontend
I only load this shortcode on the frontend so that I can see where I have used this shortcode in my WP Admin menu area.
Using the WPCodeBox snippets plugin
For example, using the WPCodeBox plugin we have this setting that lets us specify where we want this snippet to run on our website.
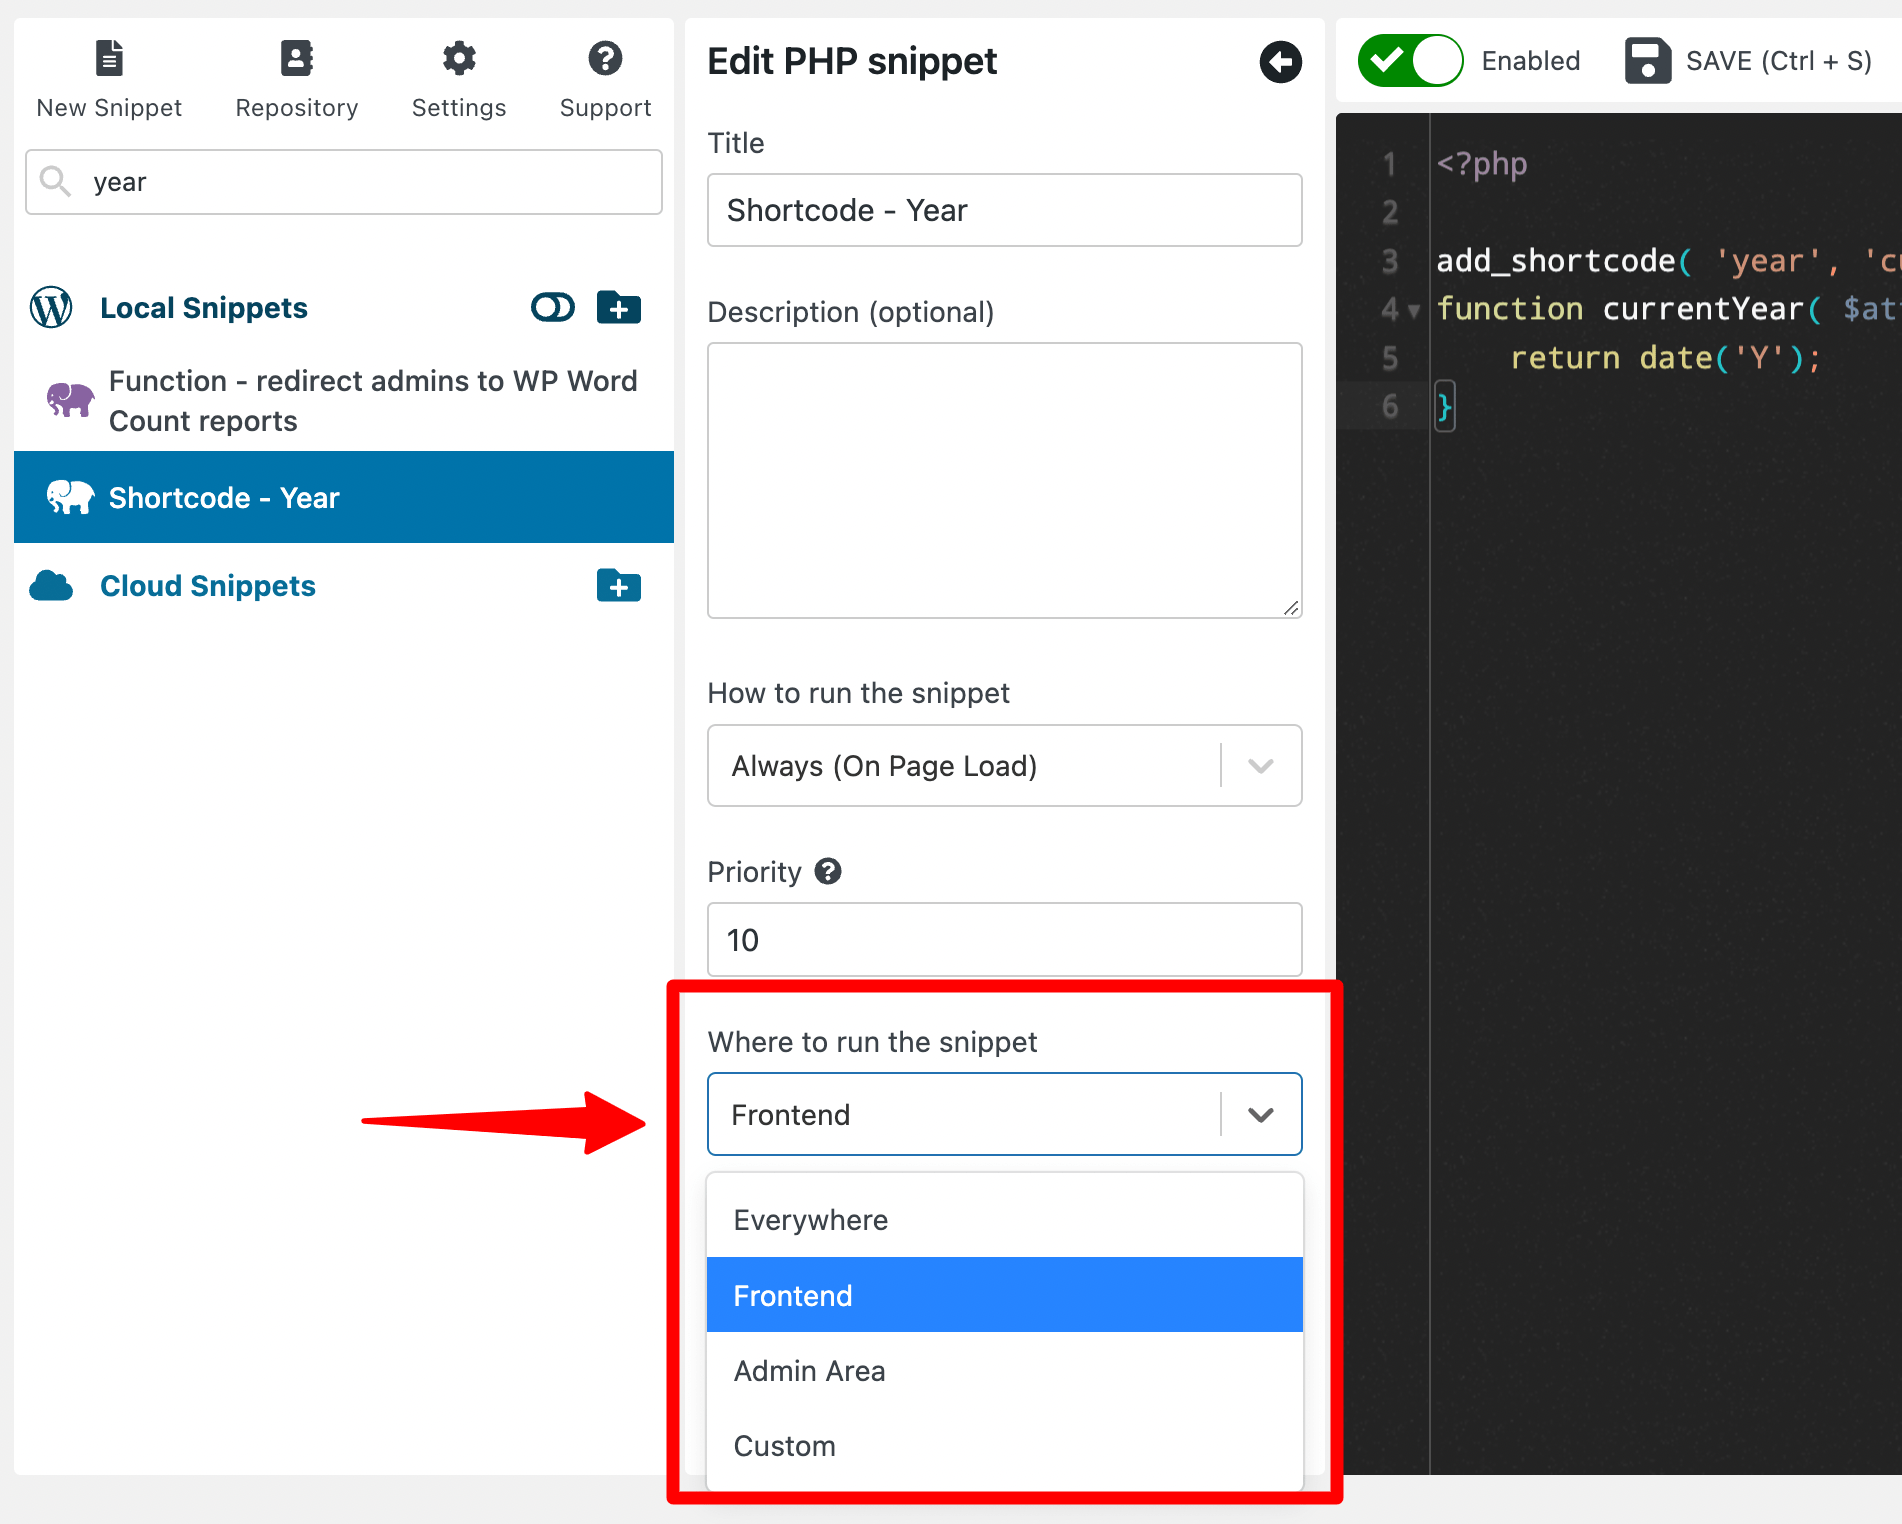
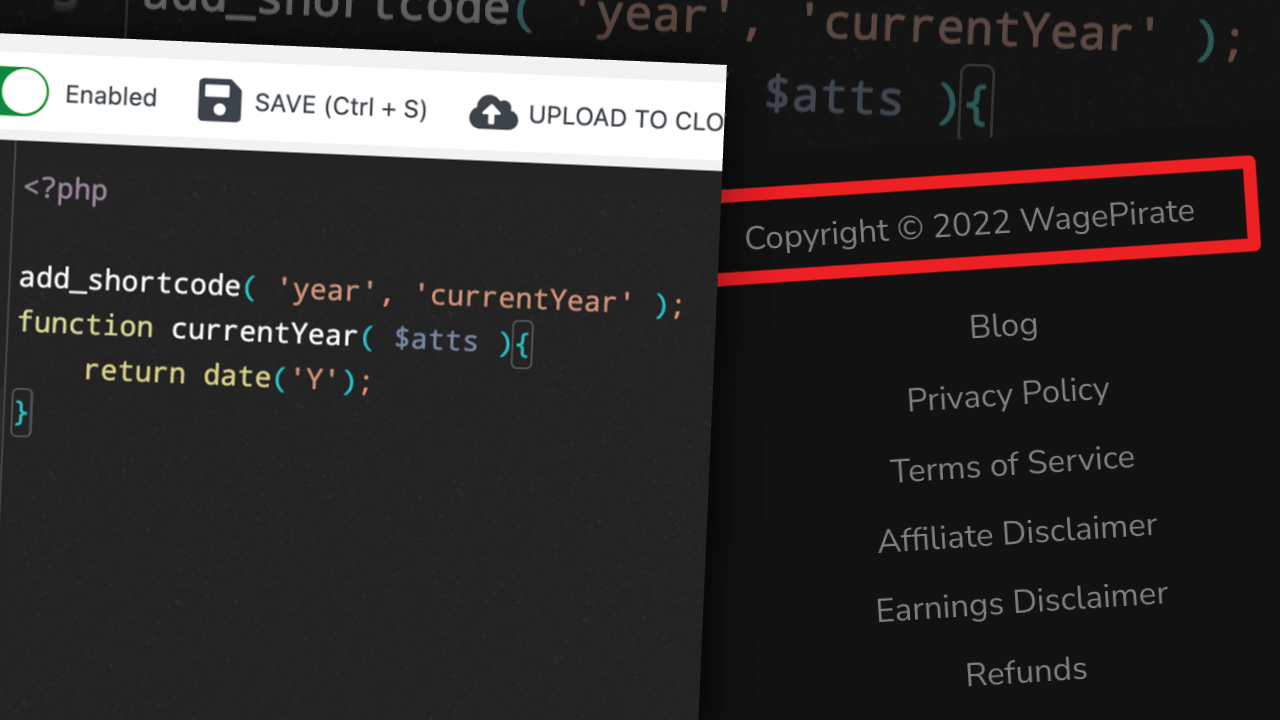
I choose to only execute this current year shortcode on the Frontend of my website, so users would see this…
But I see this in the backend…
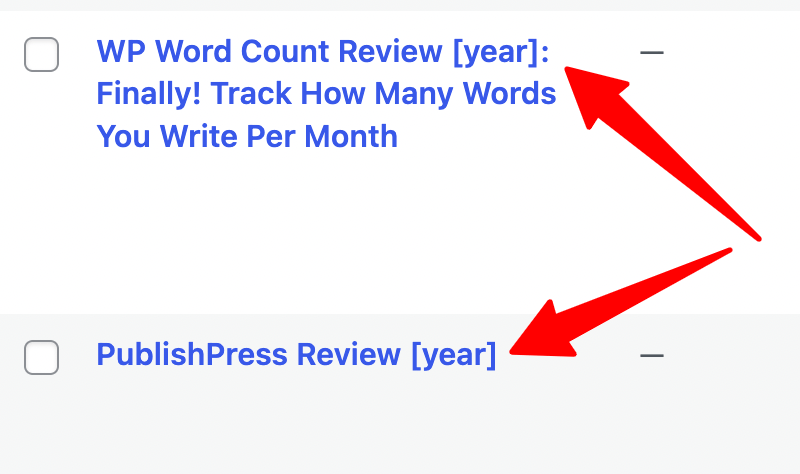
That way, I know where I’ve used the shortcode in my website, which makes managing my content much easier.
Another thing you could do with WPCodeBox is set the snippet to run in a Custom location (1) and then click Open condition builder at (2).
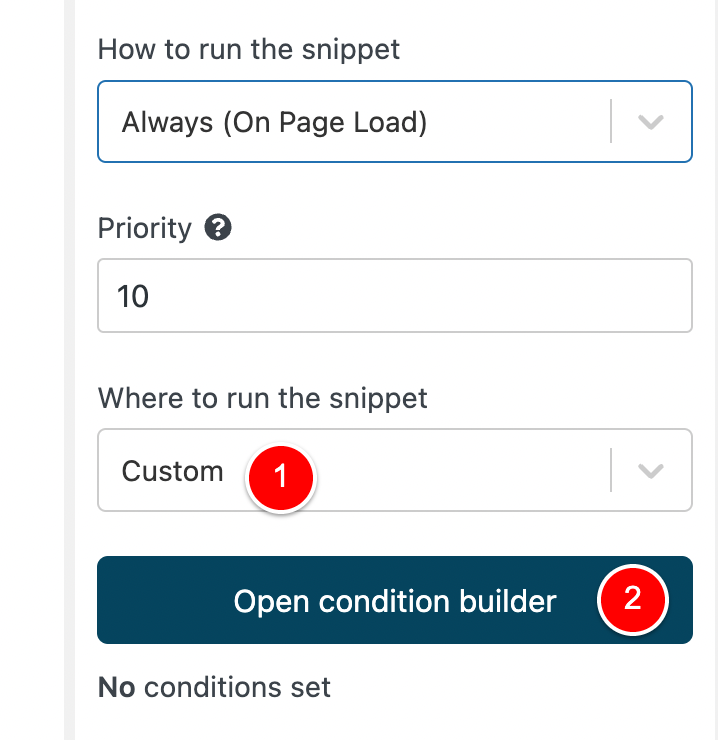
And then you could use the interface to control on a more granular level where this WordPress current year shortcode is output.
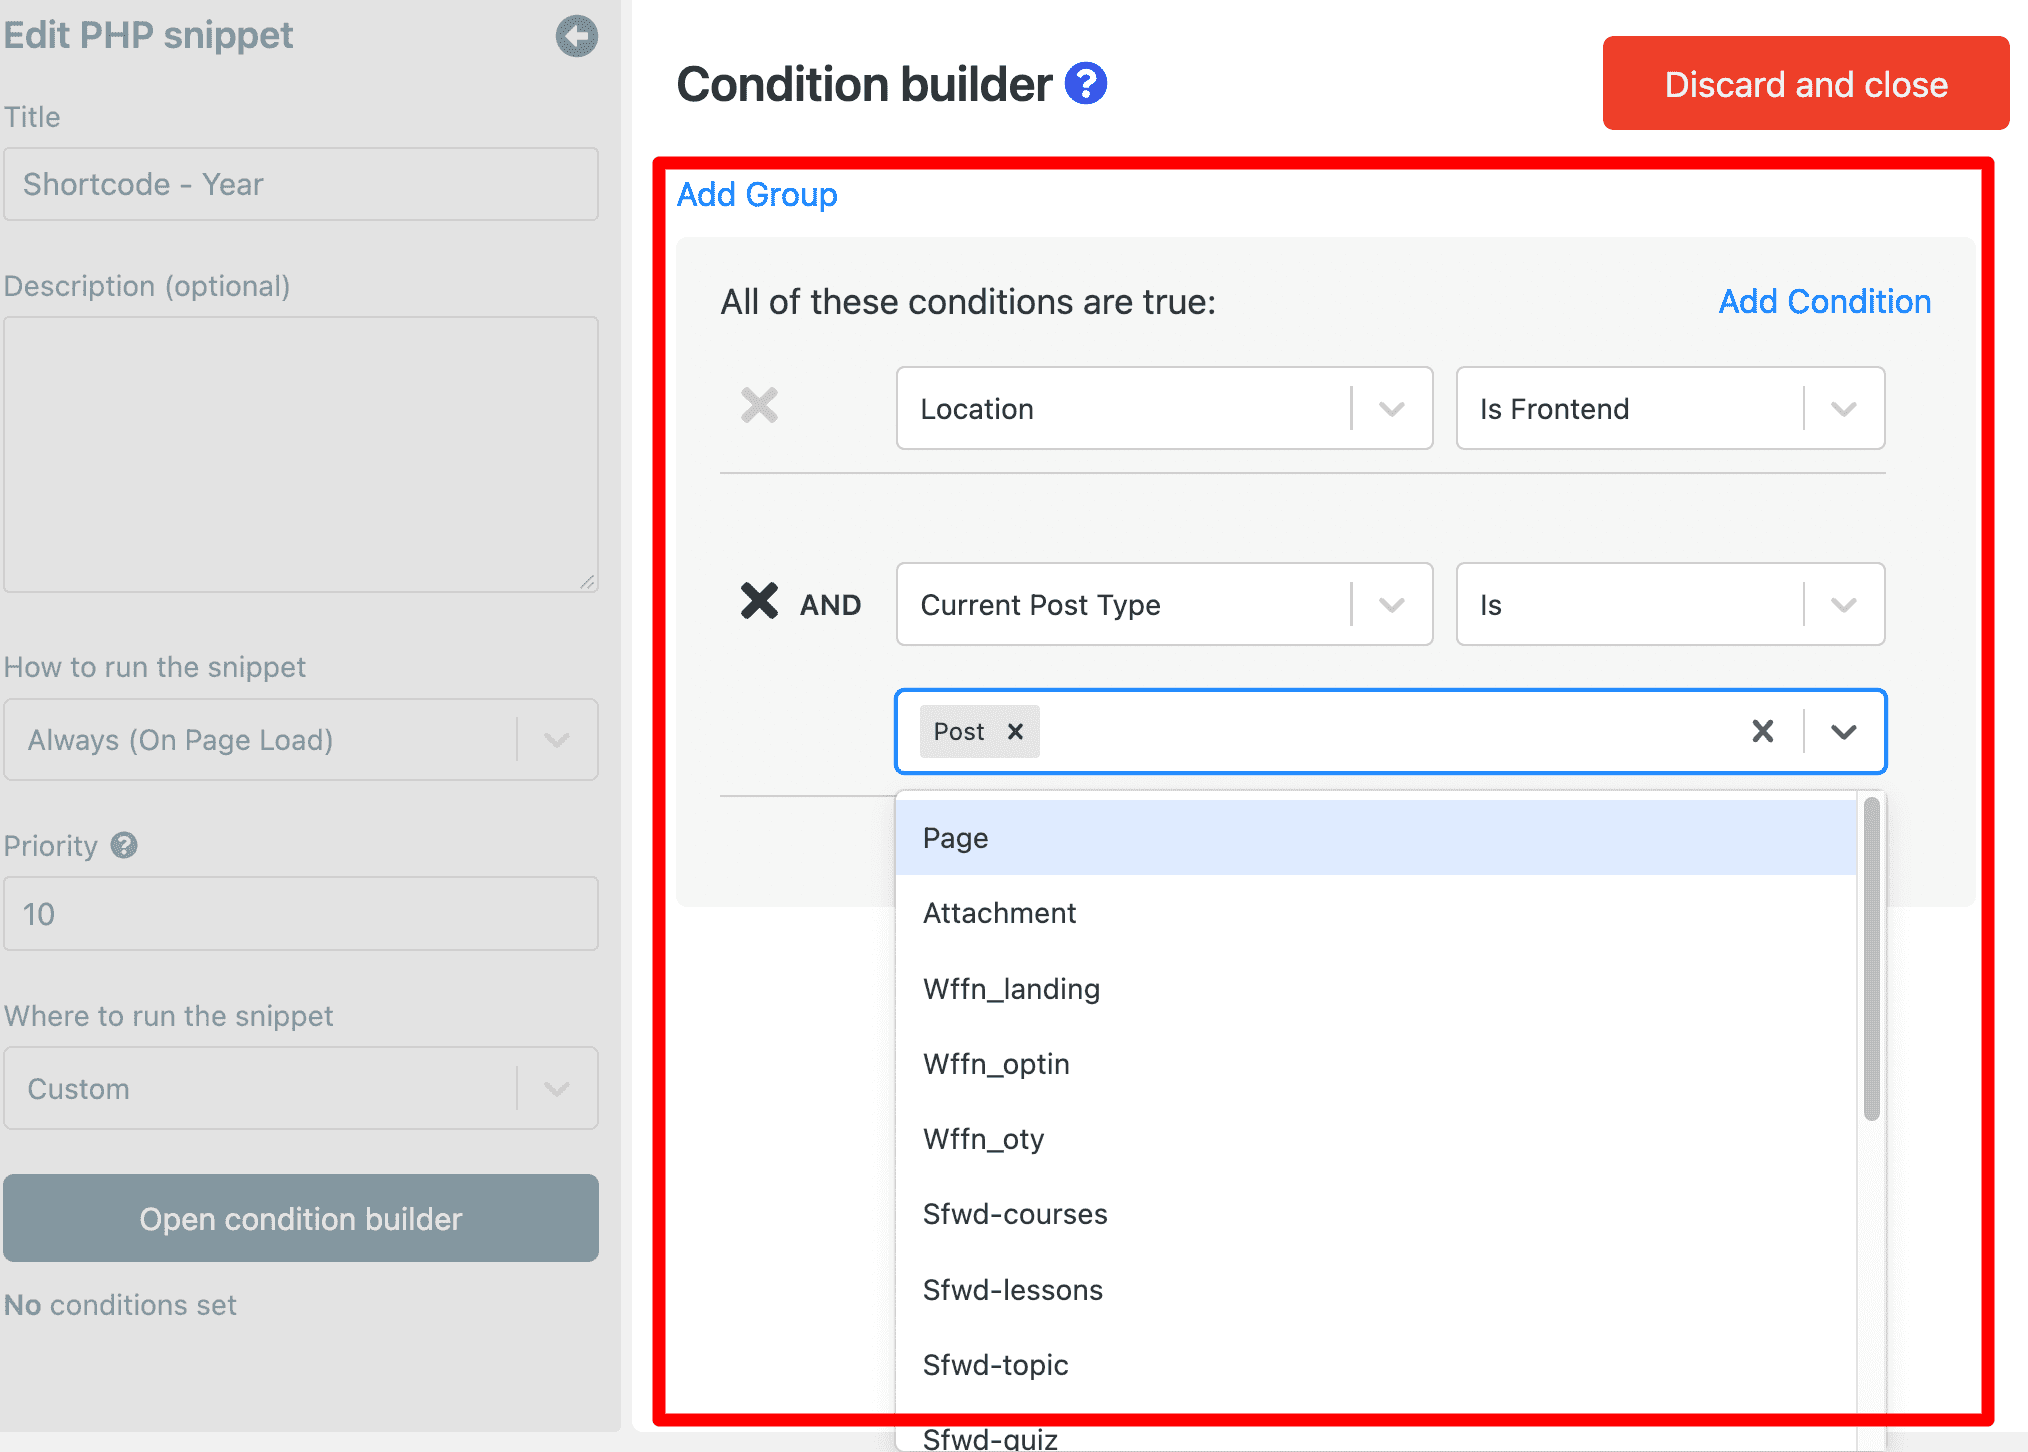
In the above image, I have set this current year shortcode to run only on the frontend for my Blog Posts.
Automatically update year in Blog Posts
Just in case this wasn’t obvious, I wanted to put this in here to specifically let you know that this shortcode will work inside your Blog Post content.
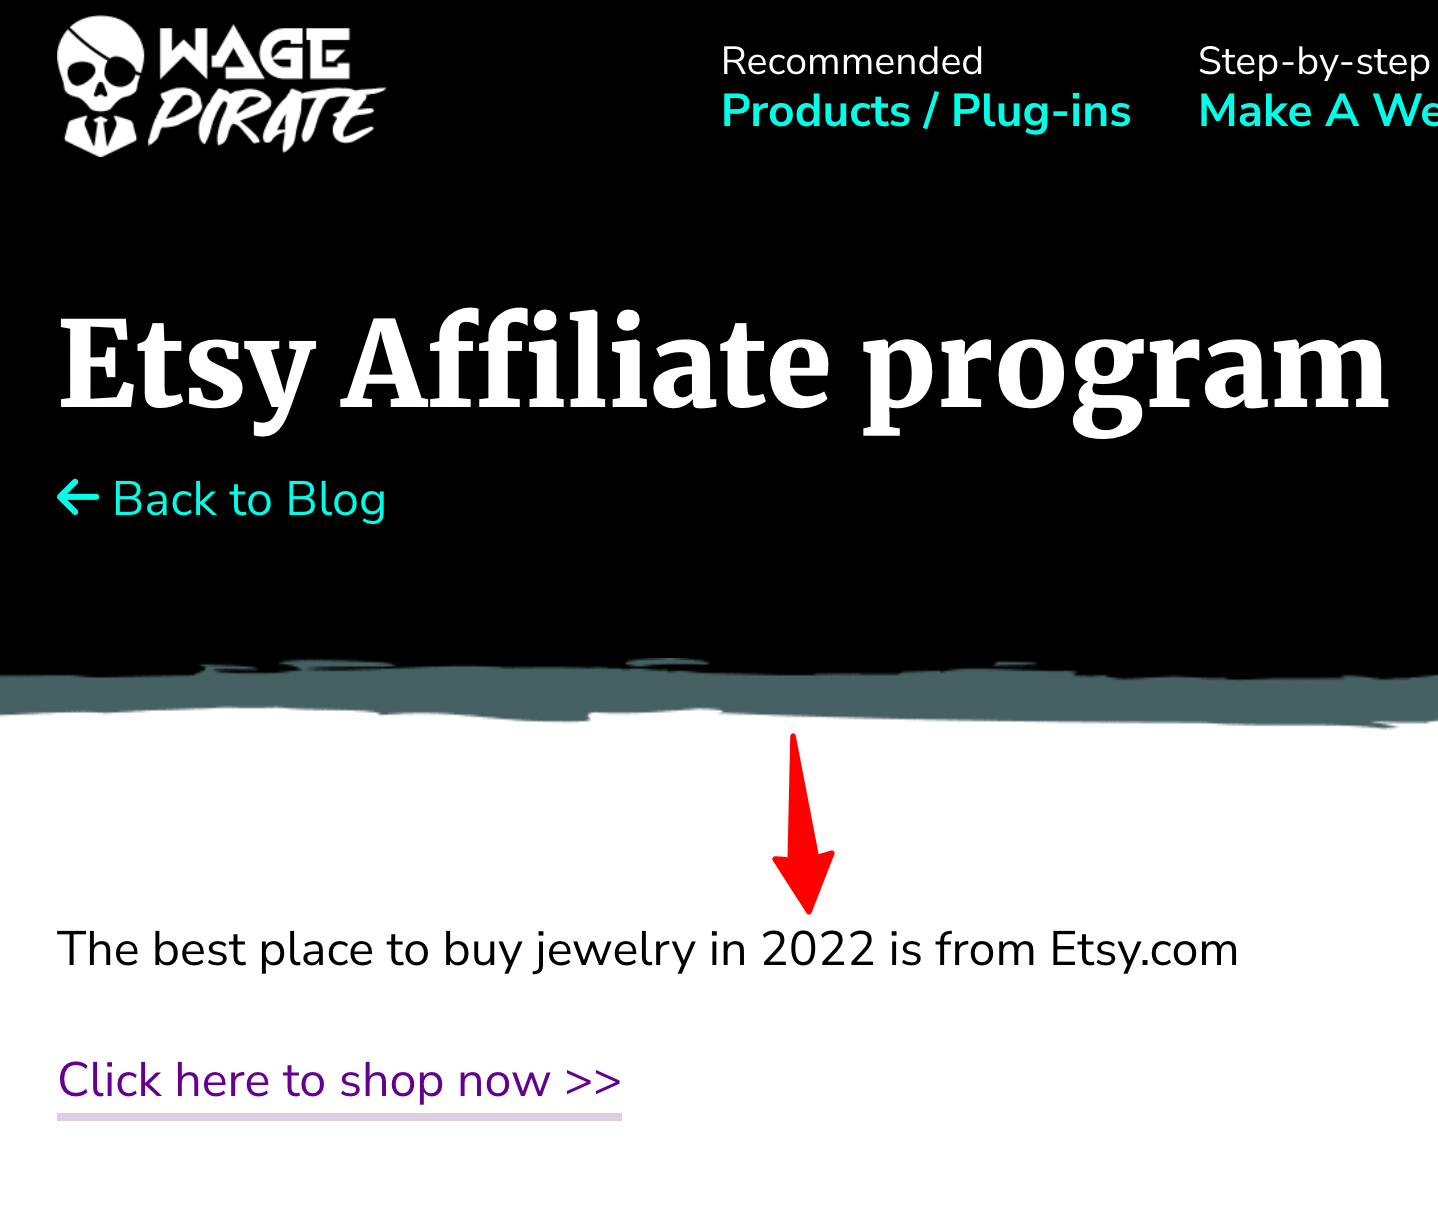
For example, let’s say you were writing an article about the Etsy affiliate program and you wanted the year to update automatically so that your review keeps relevant to readers over the years.
You could write your Blog Post and add the year shortcode like the below example.
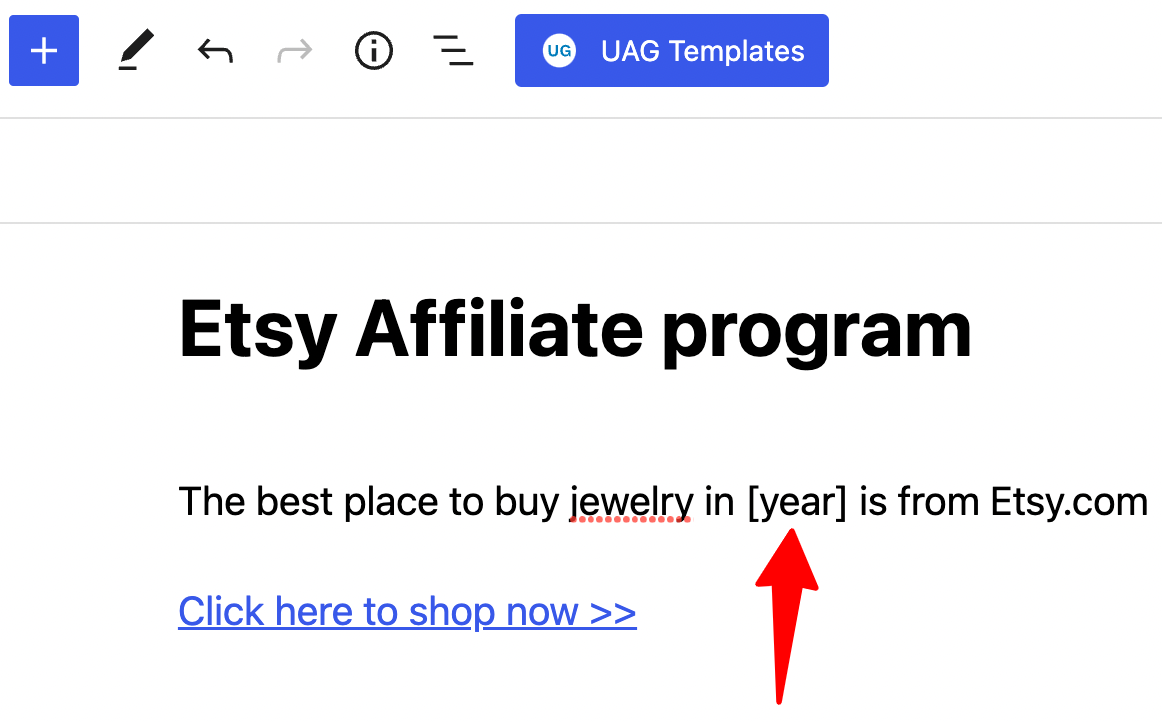
And that would continue to update in your article every year, without you needing to manually change it.
Bricks Builder: Dynamic Year in Footer with Copyright
If you are using the Bricks Builder page builder for WordPress, you should use the Bricks Builder built-in “Date” dynamic tag to output the current year in your designs.
If you aren’t using Bricks Builder, I would definitely suggest checking out my full review below as it’s the fastest page builder I’ve ever used (both to build my pages AND it loads the fastest for my users).
The FASTEST Page Builder for WordPress that I have ever used.
If you’re already using Bricks Builder, then this section is for you.
Now, if you’re like me and you use Gutenberg to write your long-form blog posts and a Page Builder for everything else, then please read this next section.
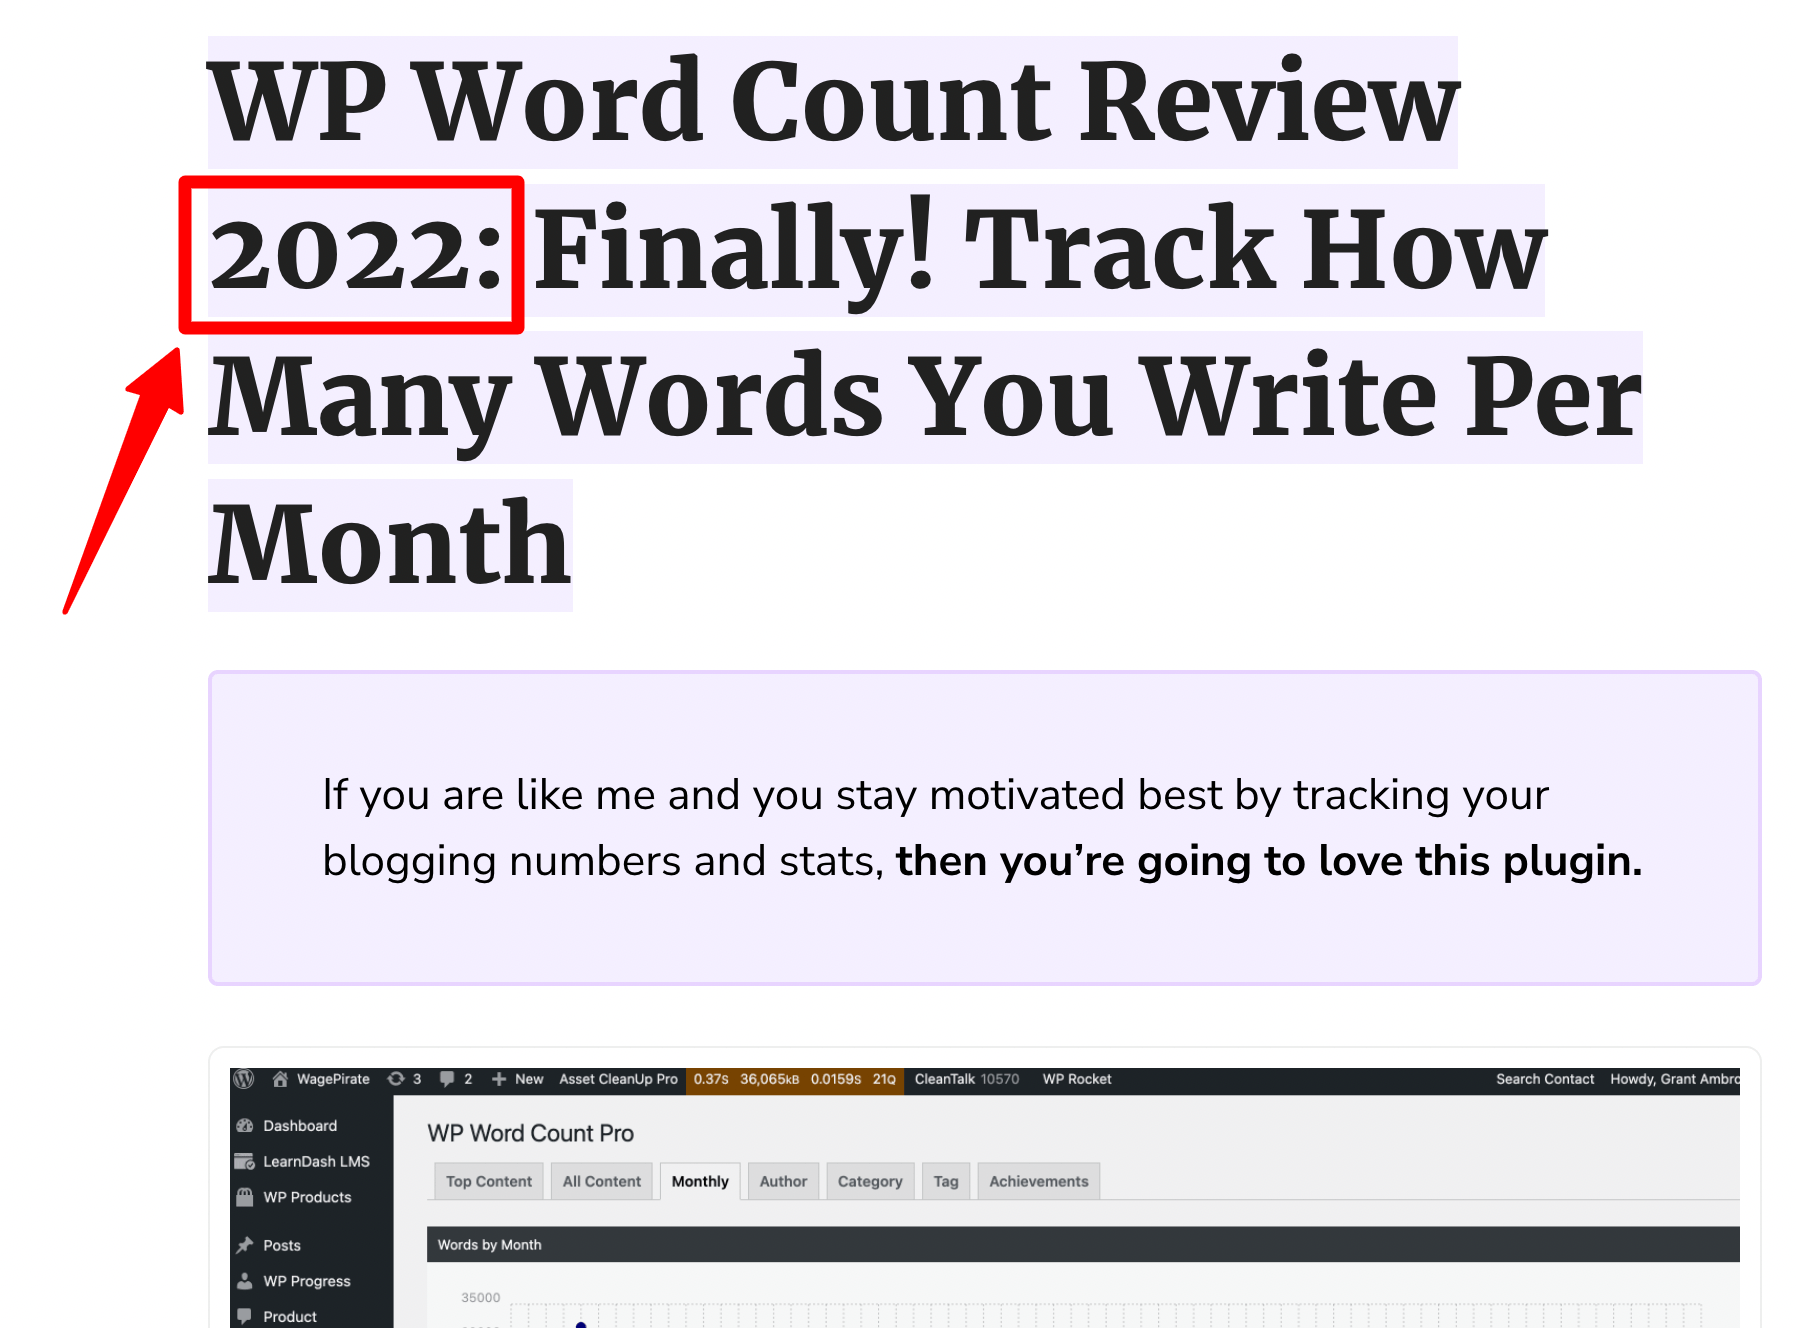
I use the Year Shortcode for my Blog Post titles, as I have shown above.
So I am basically just using this shortcode for my blog post titles and maybe on specific cases within the content I write using Gutenberg.
When I am designing the other pages on my website using Bricks Builder, I don’t use this shortcode – I use the built-in Bricks Builder dynamic tag.
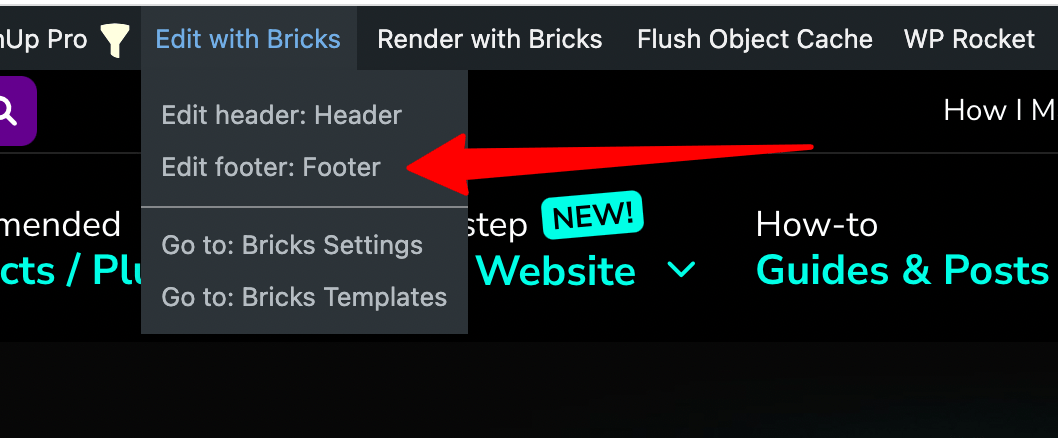
To best explain this, let’s go ahead and edit my footer template in Bricks Builder and add the current year + copyright to it.
I’m on the frontend of my homepage, so I’ll go up the top to Edit with Bricks and select Edit footer.
Now, let’s add a dynamic year at (1) so that it shows in my footer at (2).

To do this, I’ll click on the Dynamic Data icon (the lightning bolt icon at (1) and then I’ll go to Date > Current date (3) and click.
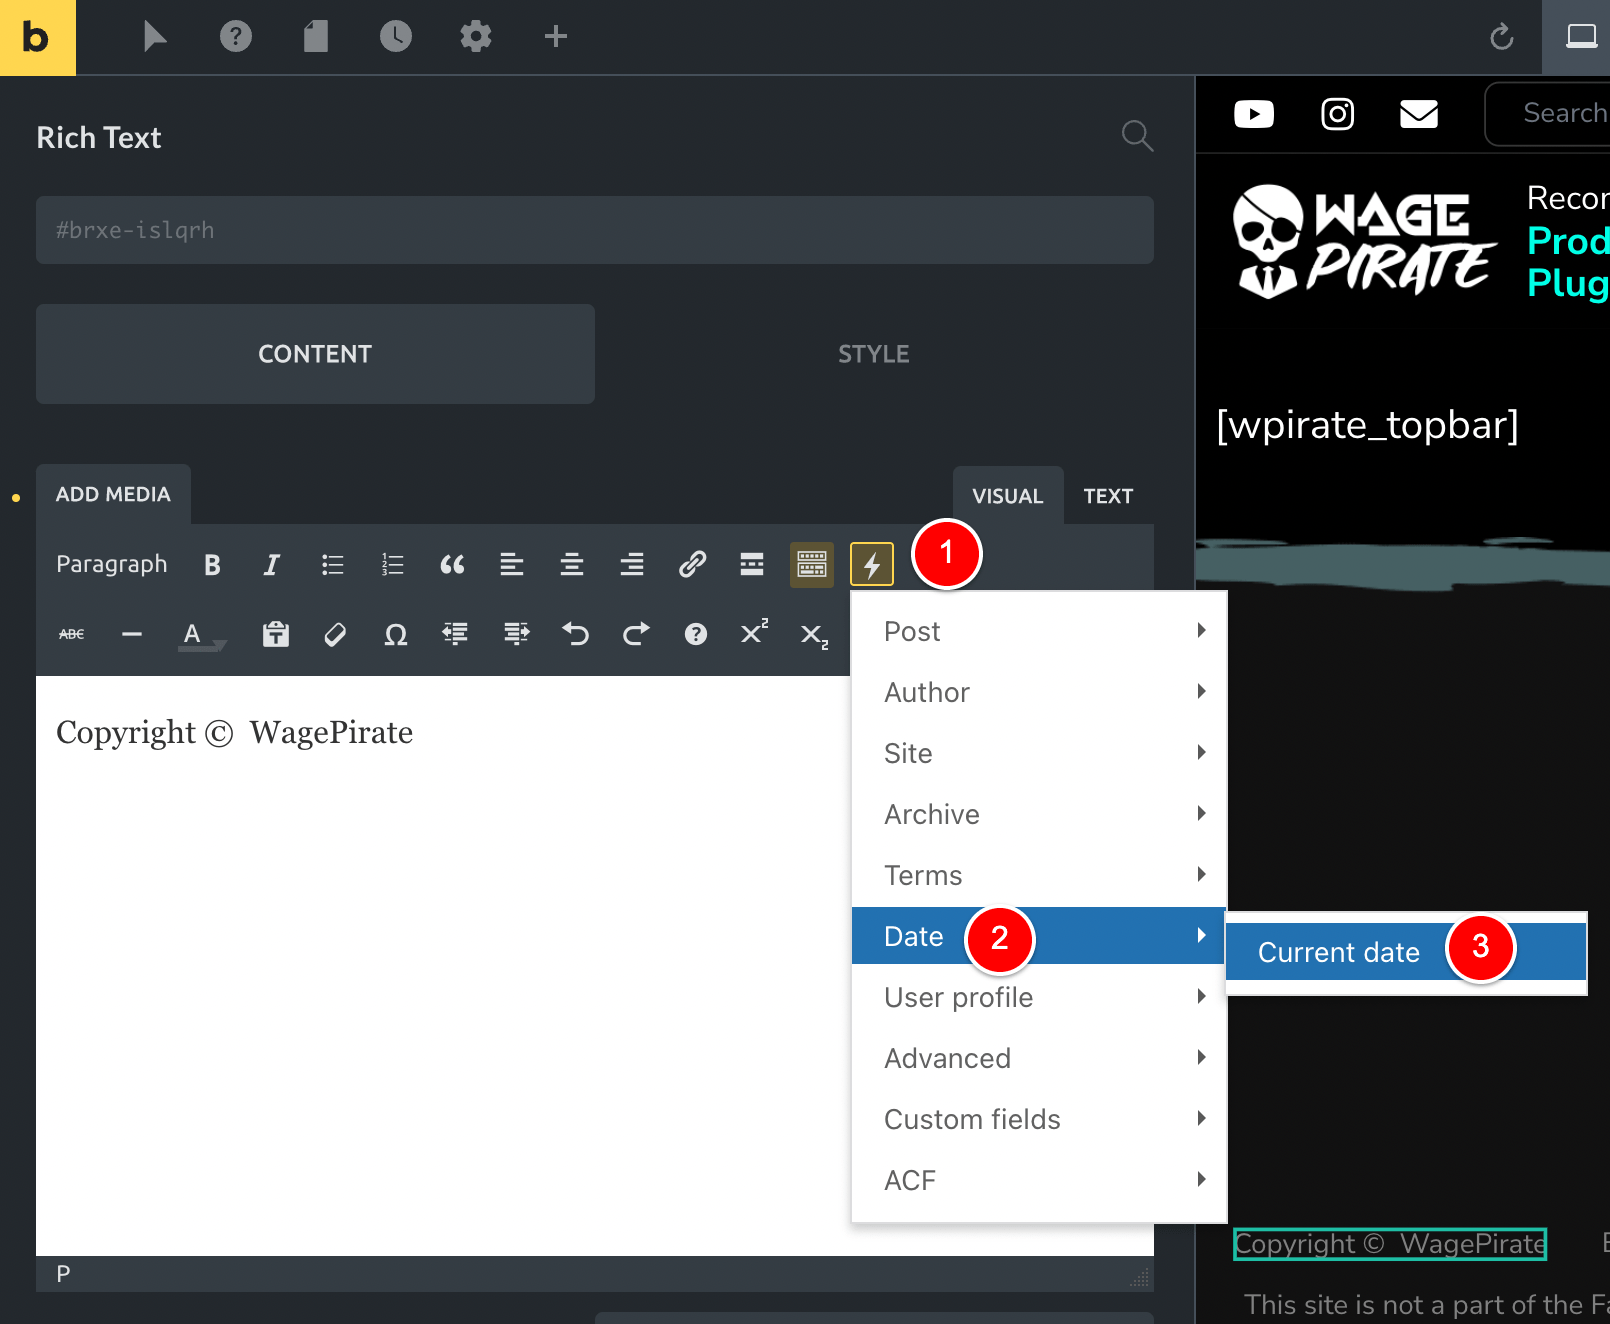
And once you do that, the current year dynamic tag should be inserted like below.
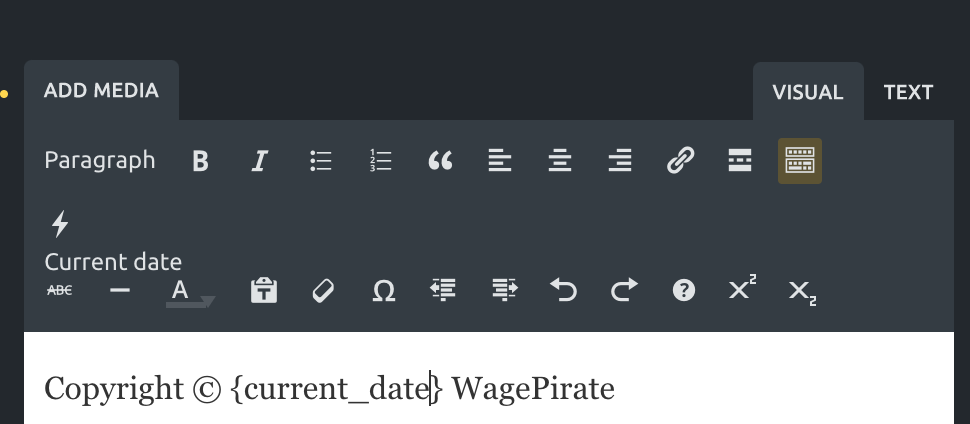
Now all you need to do is edit this tag as per below and click Save.
FROM
{ current_date }

Add :Y and thus change it to:
{ current_date:Y }
Code language: PHP (php)
All done!
View your footer on the frontend and you’ll see that the current year in the footer now shows.
Legacy Widgets: Add a Dynamic Copyright Date in WordPress Footer Widget
If you are building your WordPress website using legacy widgets and your text widget is not outputting your shortcode, do this next step.
Go to WPCodeBox or go to your theme’s functions.php file and add the below PHP code.
add_filter ('widget_text', 'do_shortcode');
Code language: PHP (php)
Now you can add your shortcodes into text widgets and they will execute as you need.
Leave a Reply