In this post, I will show you the FASTEST and EASIEST way to turn your default (ugly) WooCommerce Checkout page into a beautiful design that looks exactly like the Shopify Checkout design.
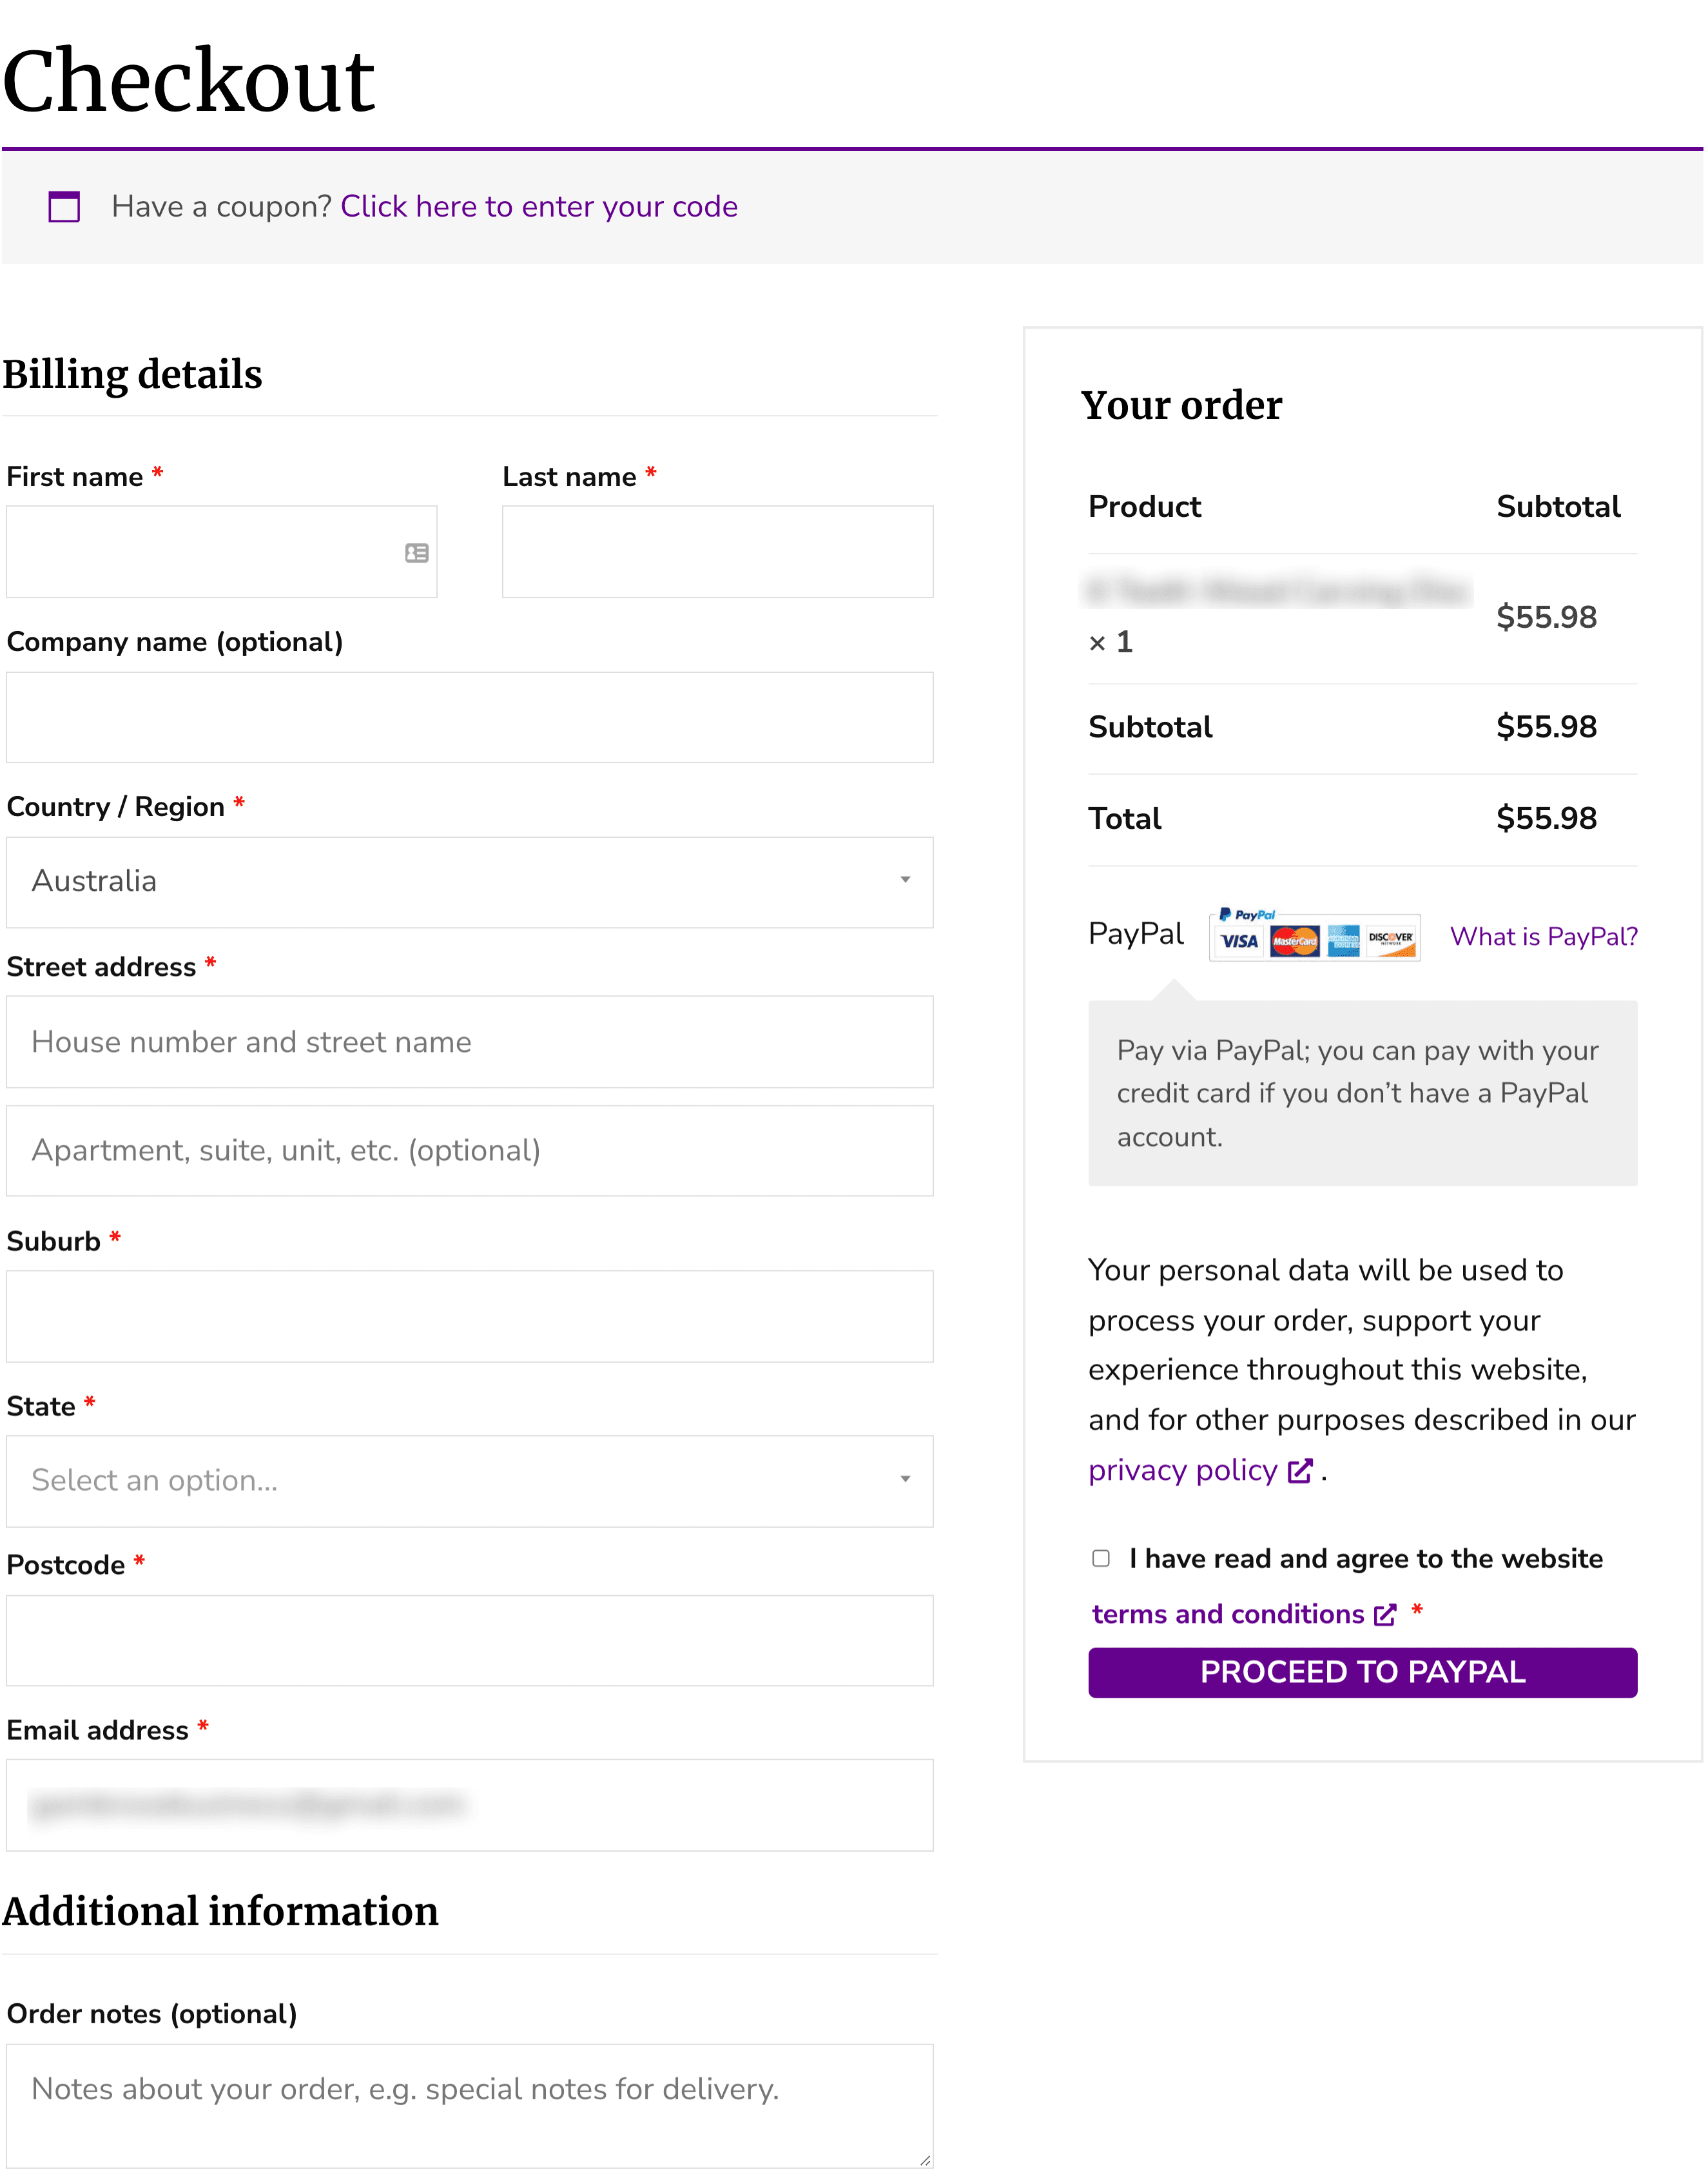
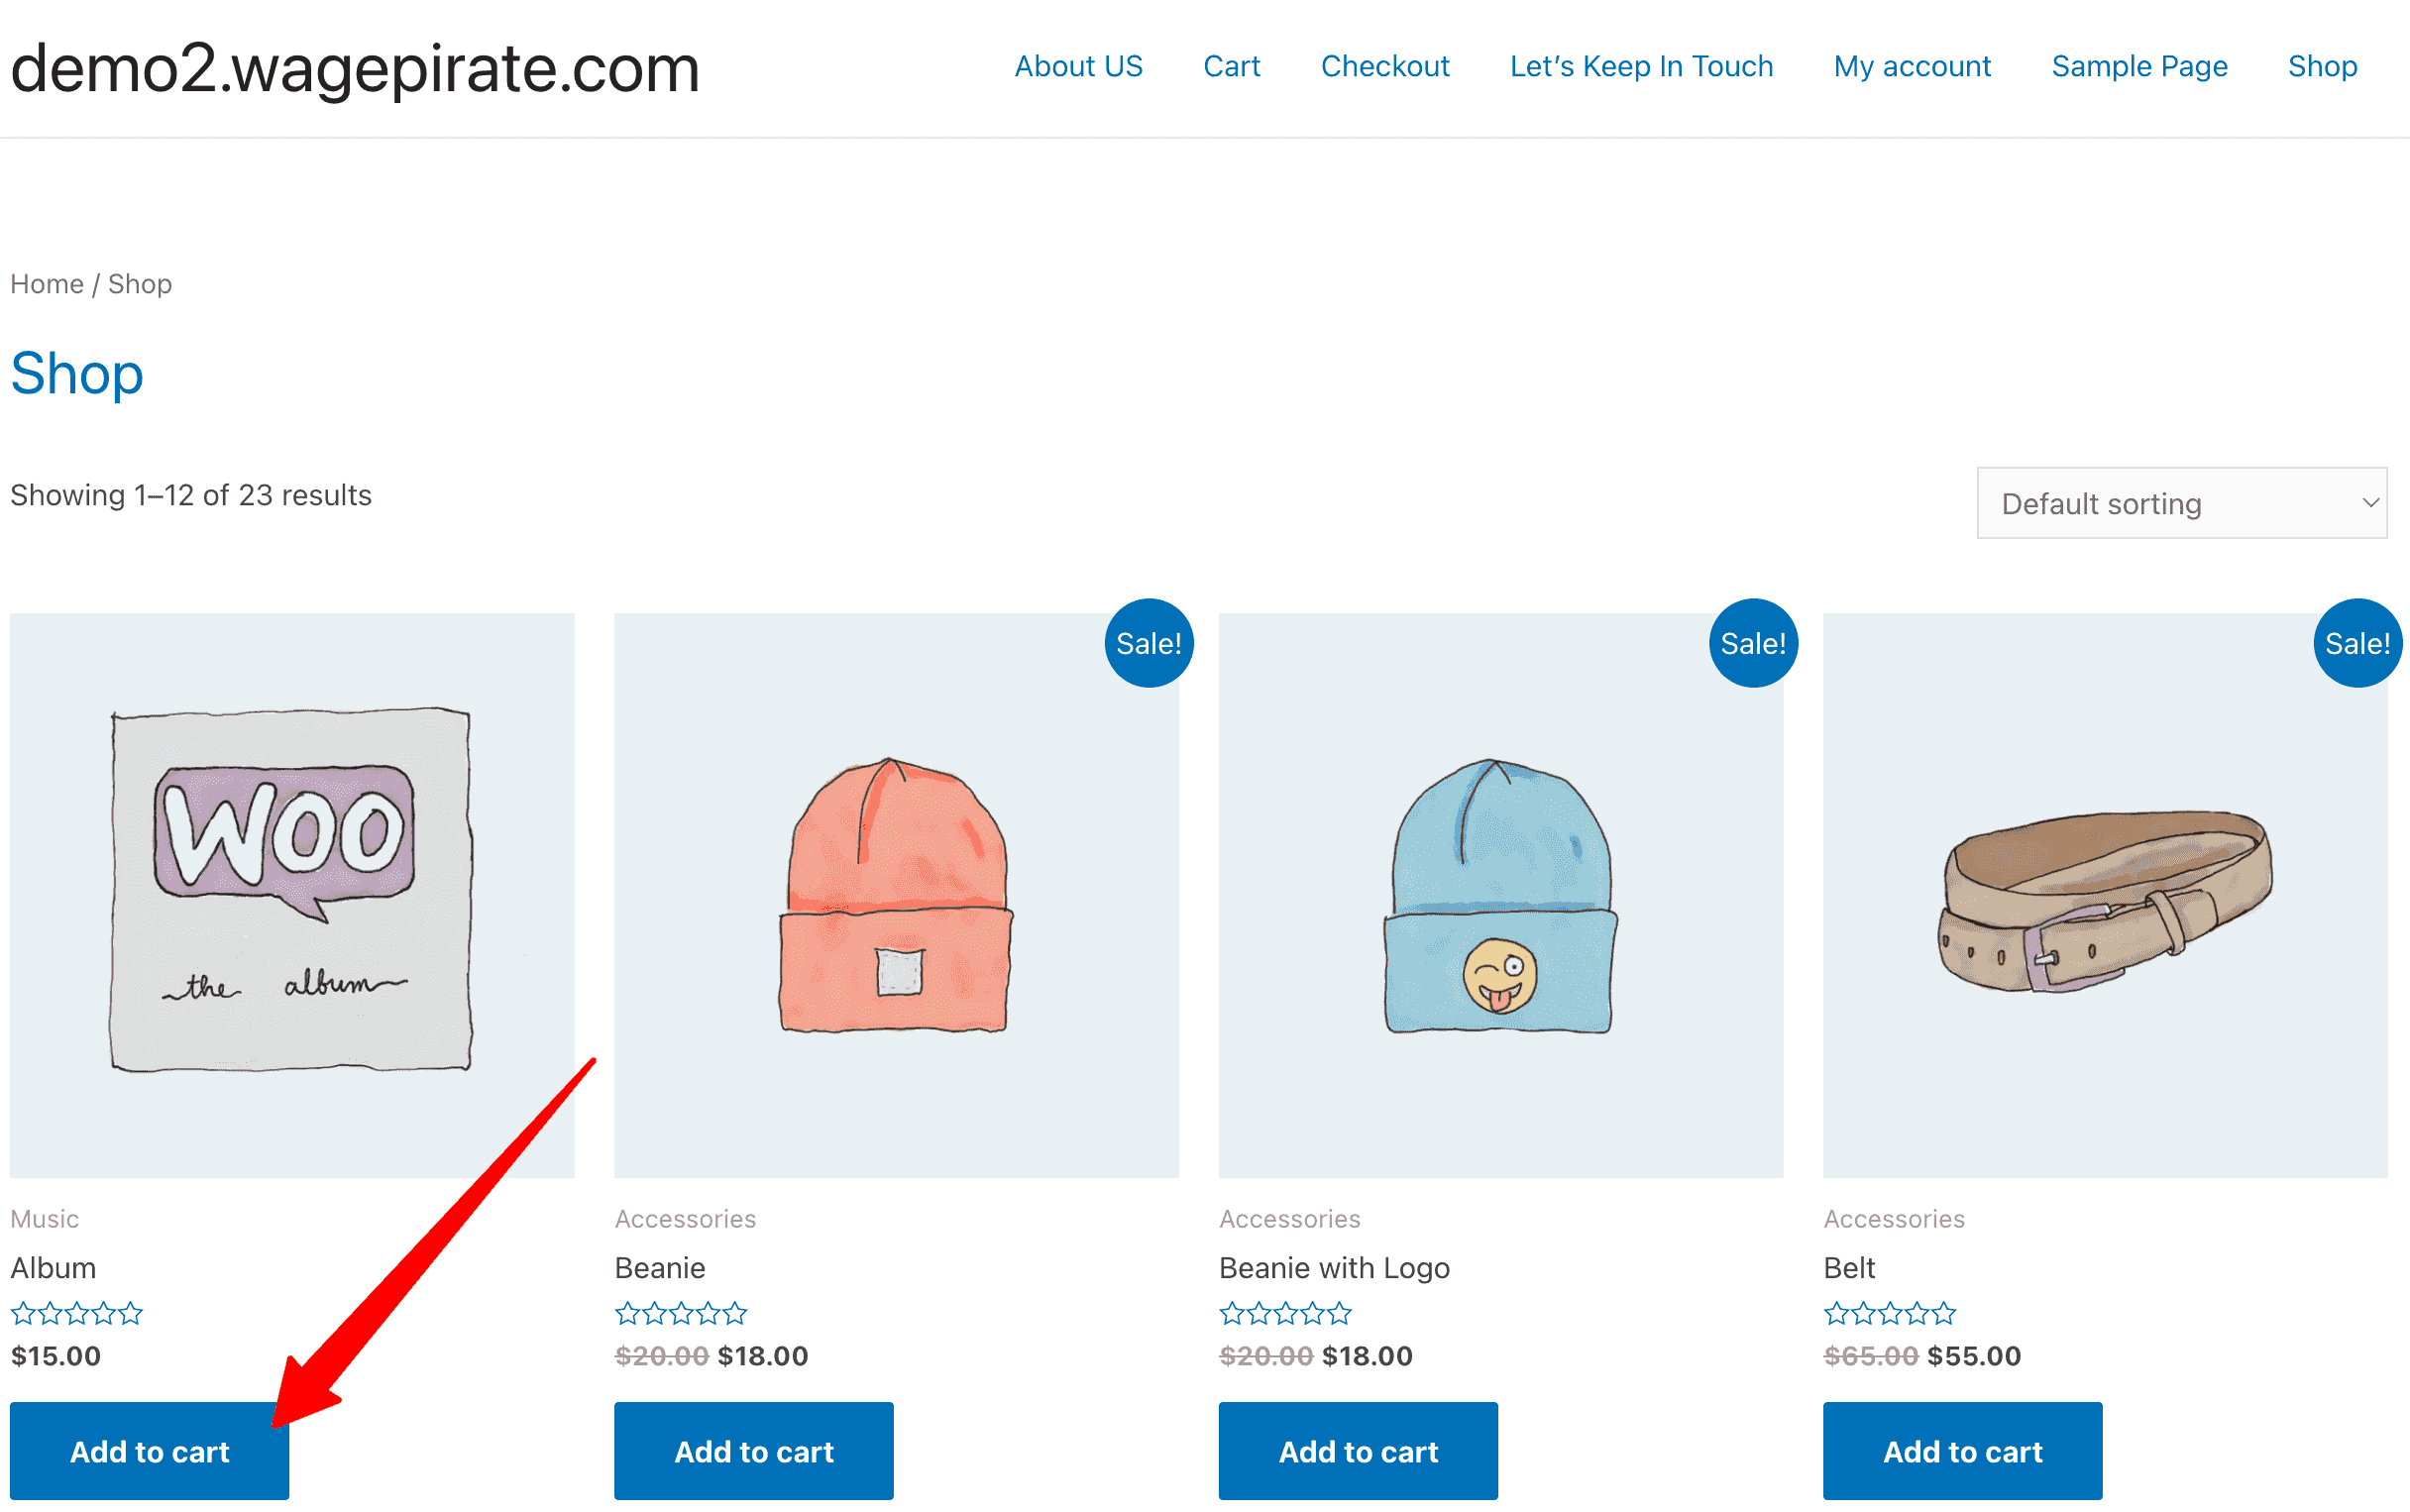
We will turn this boring WooCommerce Checkout page design…
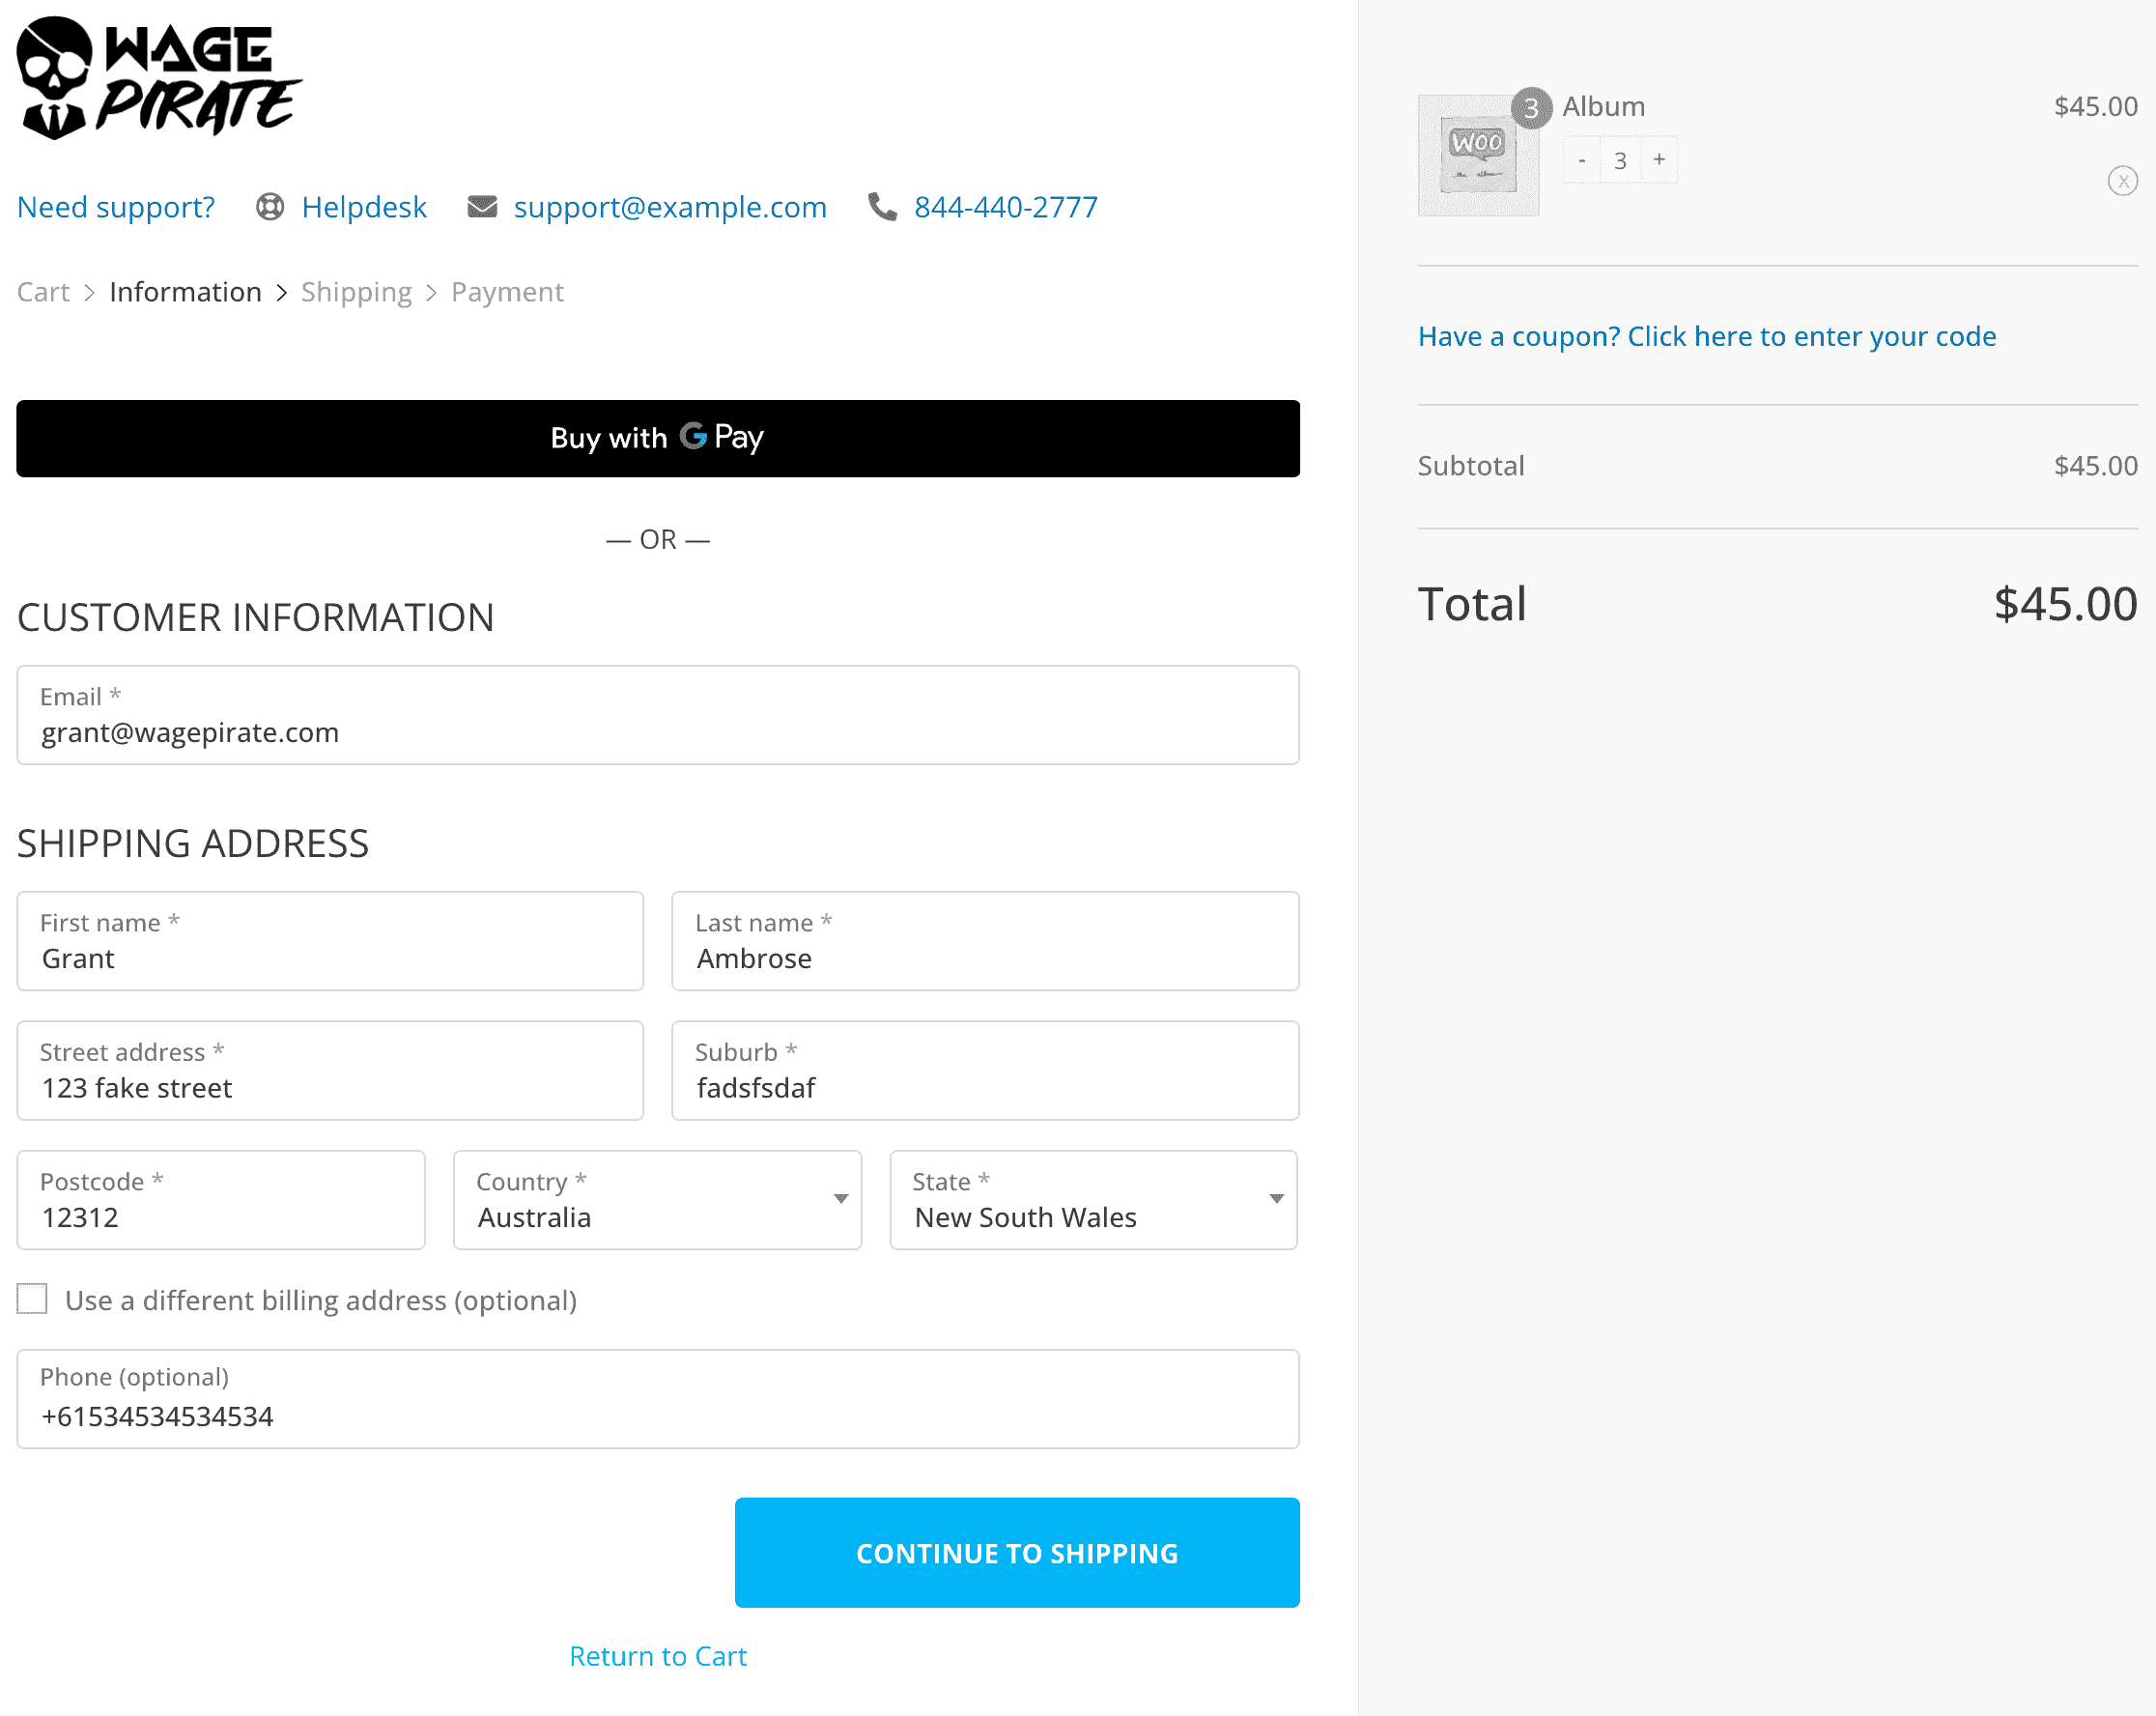
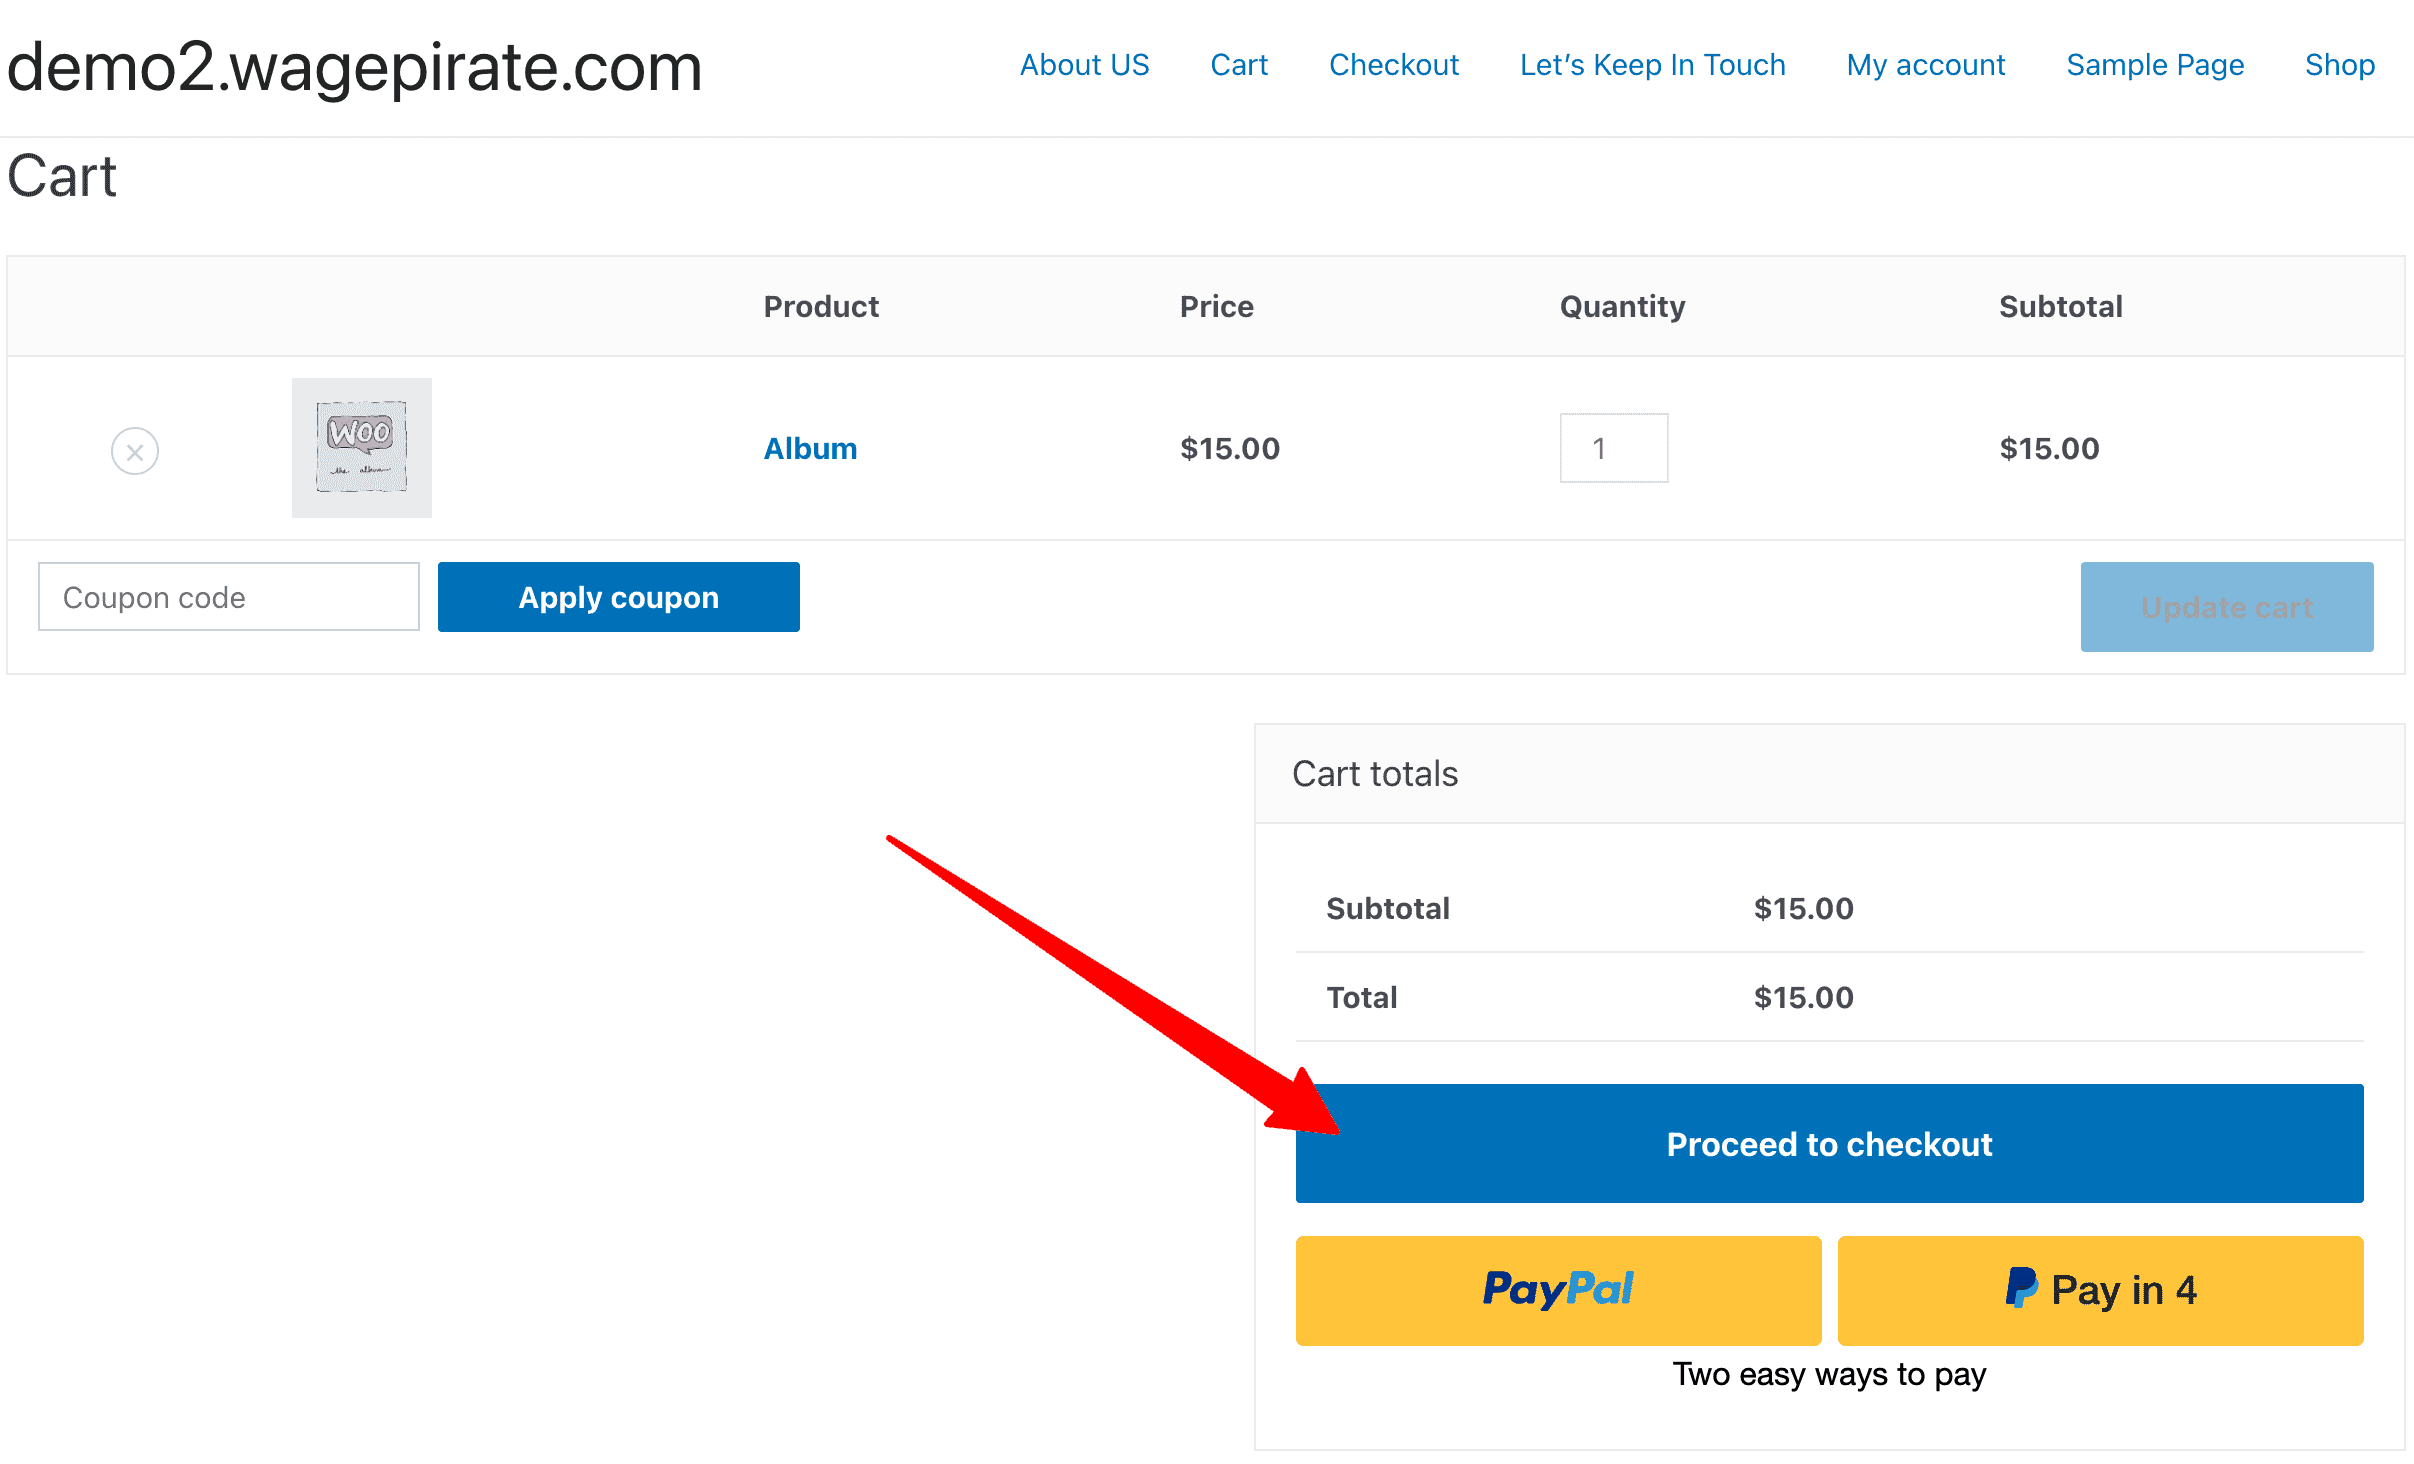
Into THIS beautiful design that looks like Shopify’s…
and best of all, you can do it ALL in less than 10 clicks (seriously), with NO CODING… AND using your favourite WordPress Page Builder of your choice!
The final result of this tutorial
Here is an animation that shows what your WooCommerce website will look like by the end of this tutorial.
MUCH better than the default WooCommerce Checkout page, right?
Notice in the animation above how we not only have a Checkout Page that looks like Shopify’s, but we also have:
- A Multi-step Checkout form
Notice how the checkout form is broken up into 3 steps. The first is collecting the Customer’s details, the second step is Shipping details and the third step is payment details. By doing this, we don’t overwhelm your customer by showing them all the Checkout forms at once, which could scare them off. We guide them through an easy-to-use checkout form that keeps things simple and easy to complete. - A WooCommerce Checkout design like Shopify’s
Your customers buy from large stores like GymShark and Kylie Jenner Cosmetics which all use the Shopify design. Your customers are used to buying from a checkout page that looks like Shopify’s and so that’s why I really love this idea of making our WooCommerce Checkout page look like Shopify’s. I feel it increases confidence in your customer, so they don’t feel like they are buying from a no-name website.
VIDEO: The Video Tutorial
Below is a YouTube video I made that explains how to customize your WooCommerce Checkout page to be like Shopify’s.
I do cover some unique things in this blog post today so I would recommend watching the video and reading this entire blog post to get the most value out of what I cover.
Let’s get into the written content!
Installing the FunnelKit plugin
Download and install the FunnelKit plugin for WordPress.
FunnelKit is the ONE plugin I am recommending every single WooCommerce website use this year because it offers SO MUCH value where you need it.
With FunnelKit, you can:
- Create One-click Upsells and Downsells
- Build ENTIRE Sales Funnels (it completely replaces ClickFunnels and other similar SaaS)
- And SO MUCH MORE (like what we’ll cover in today’s video
In (1) below, you select what Page Builder you want to use to customize your Checkout Page (I recommend Bricks Builder and you can CLICK HERE to read my full Bricks Builder review).
Then you can choose to “Start from Scratch” OR select a pre-made design.
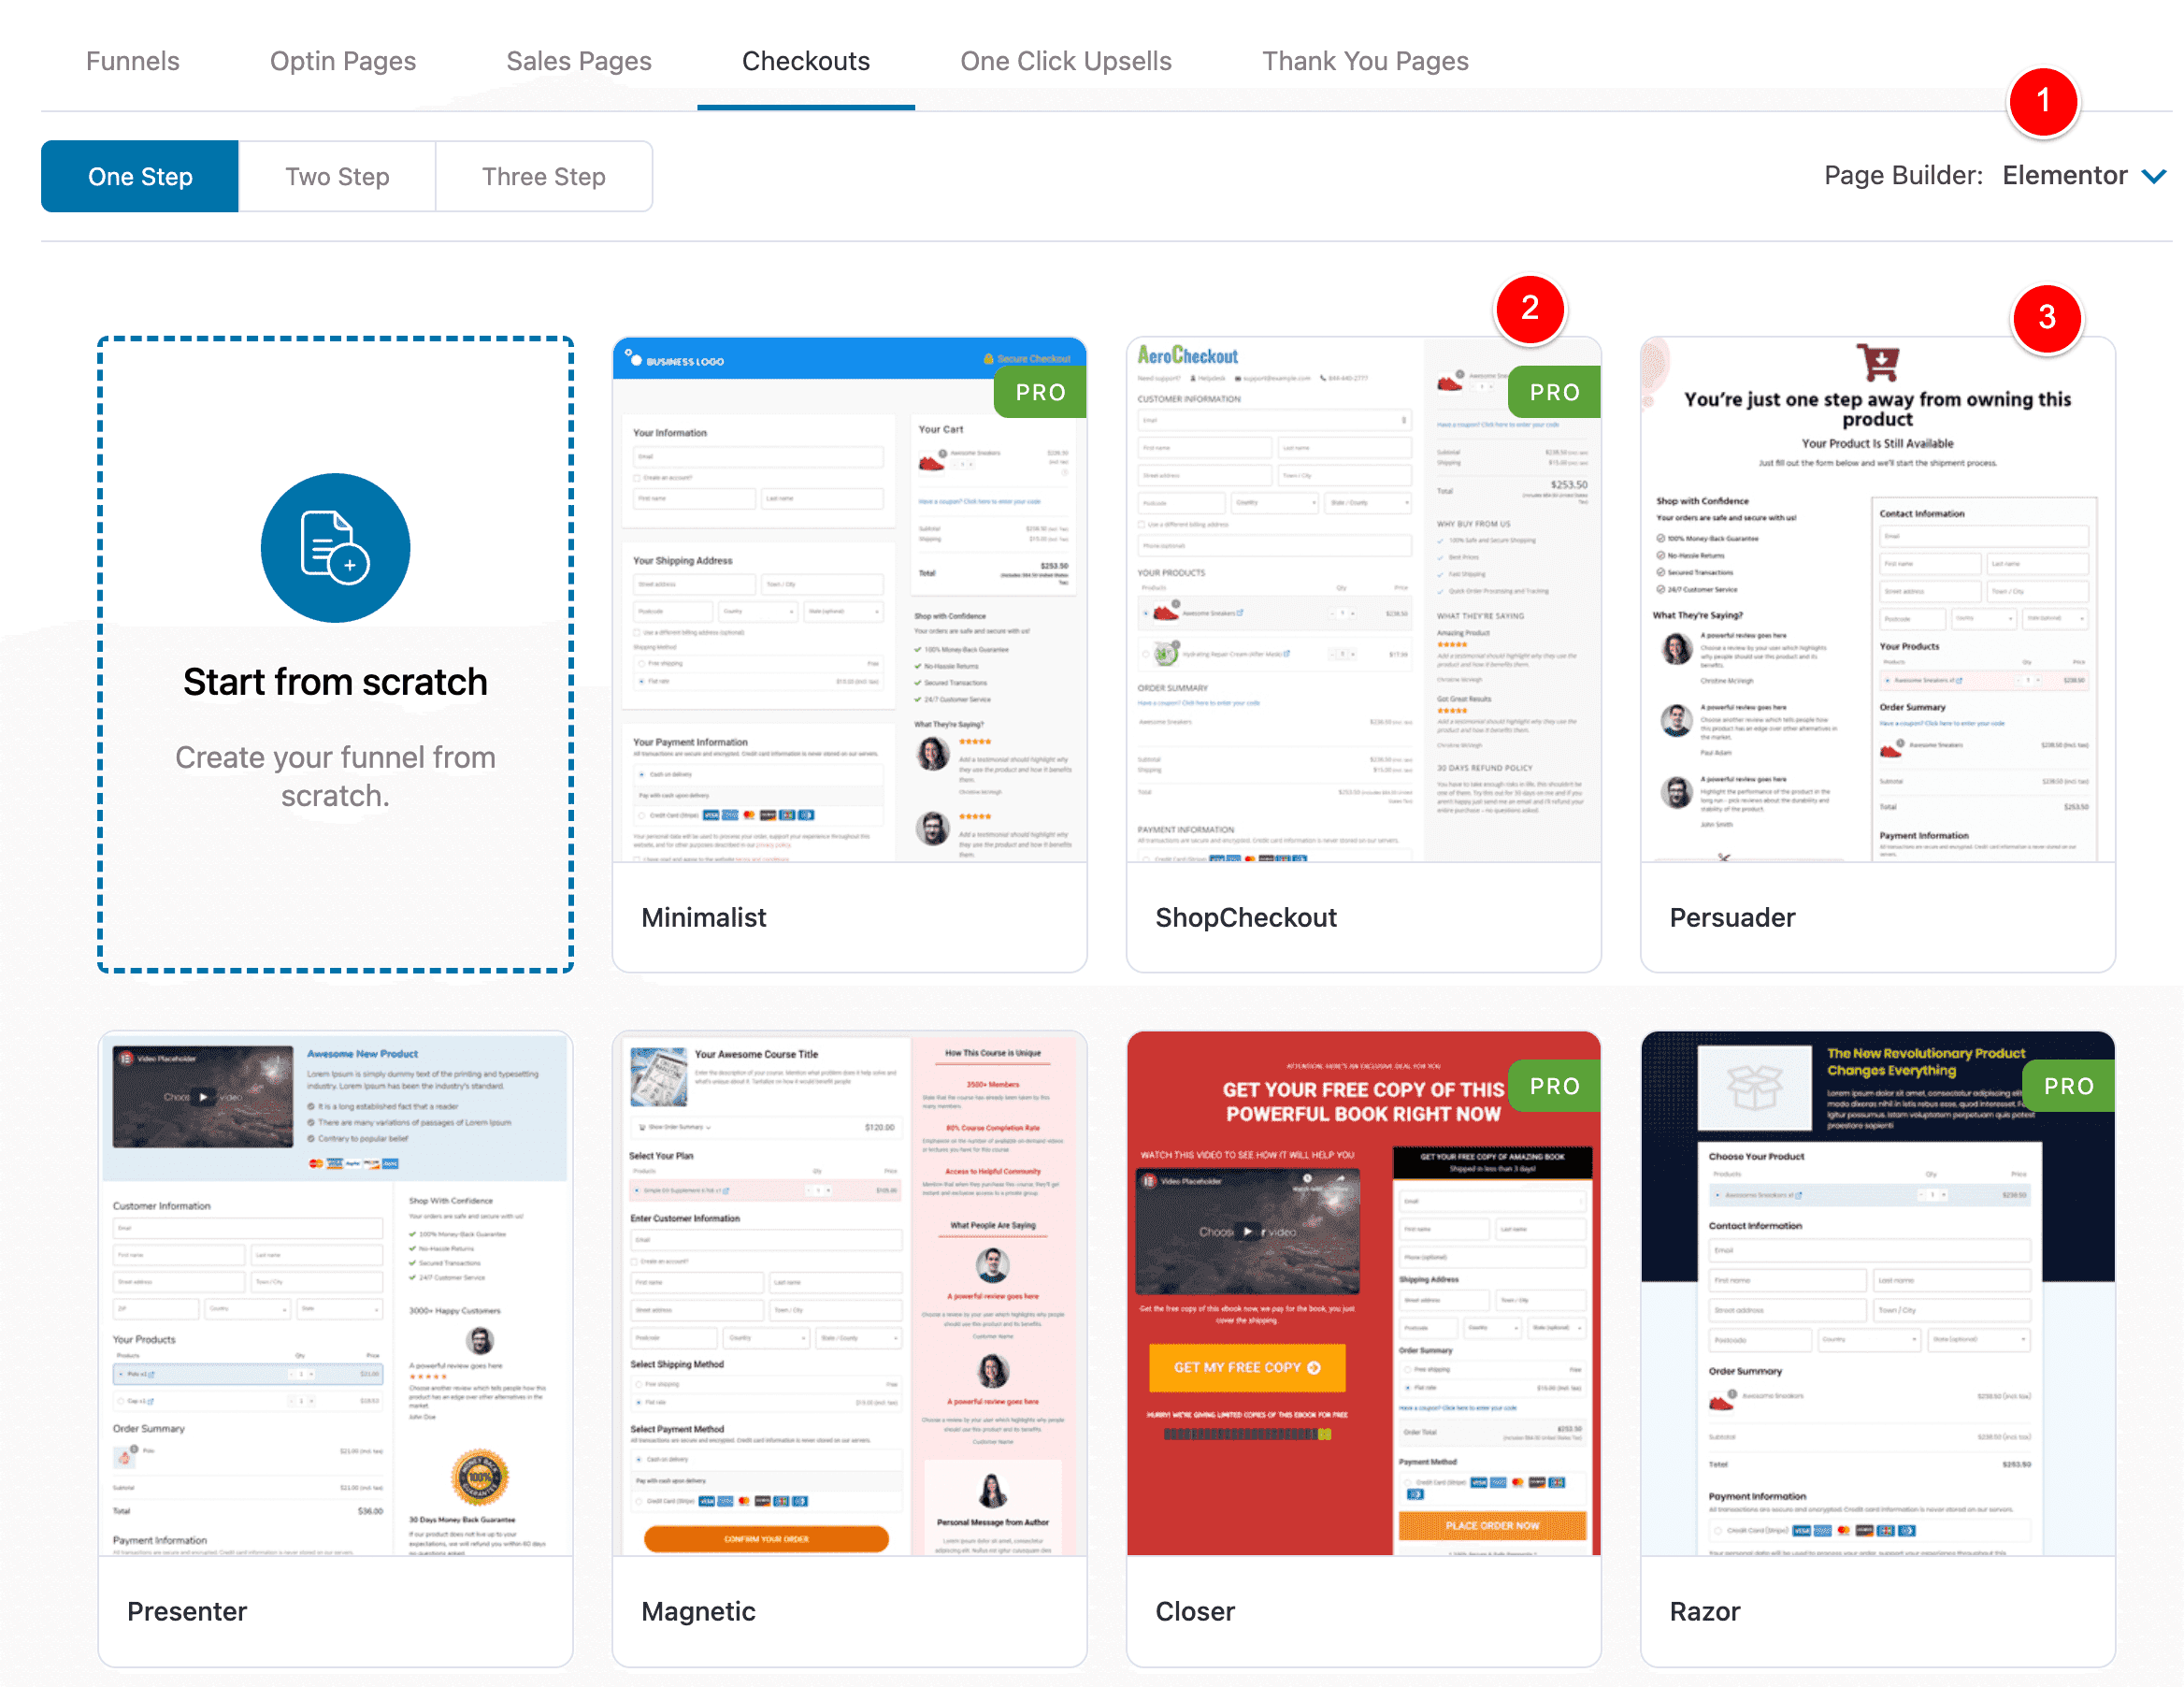
As shown above, you will need the PAID version of FunnelKit to be able to use any of the designs with the green PRO tag, one of which is the Shopify design, as shown in (2) below.
So, if you’re ULTIMATELY just trying to replace the boring WooCommerce checkout page design with a more professional one and you don’t necessarily NEED the Shopify design, you can see that there are some good FREE templates above.
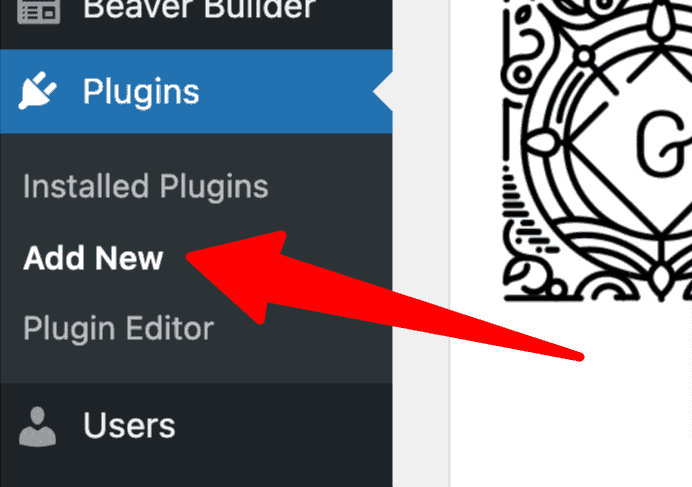
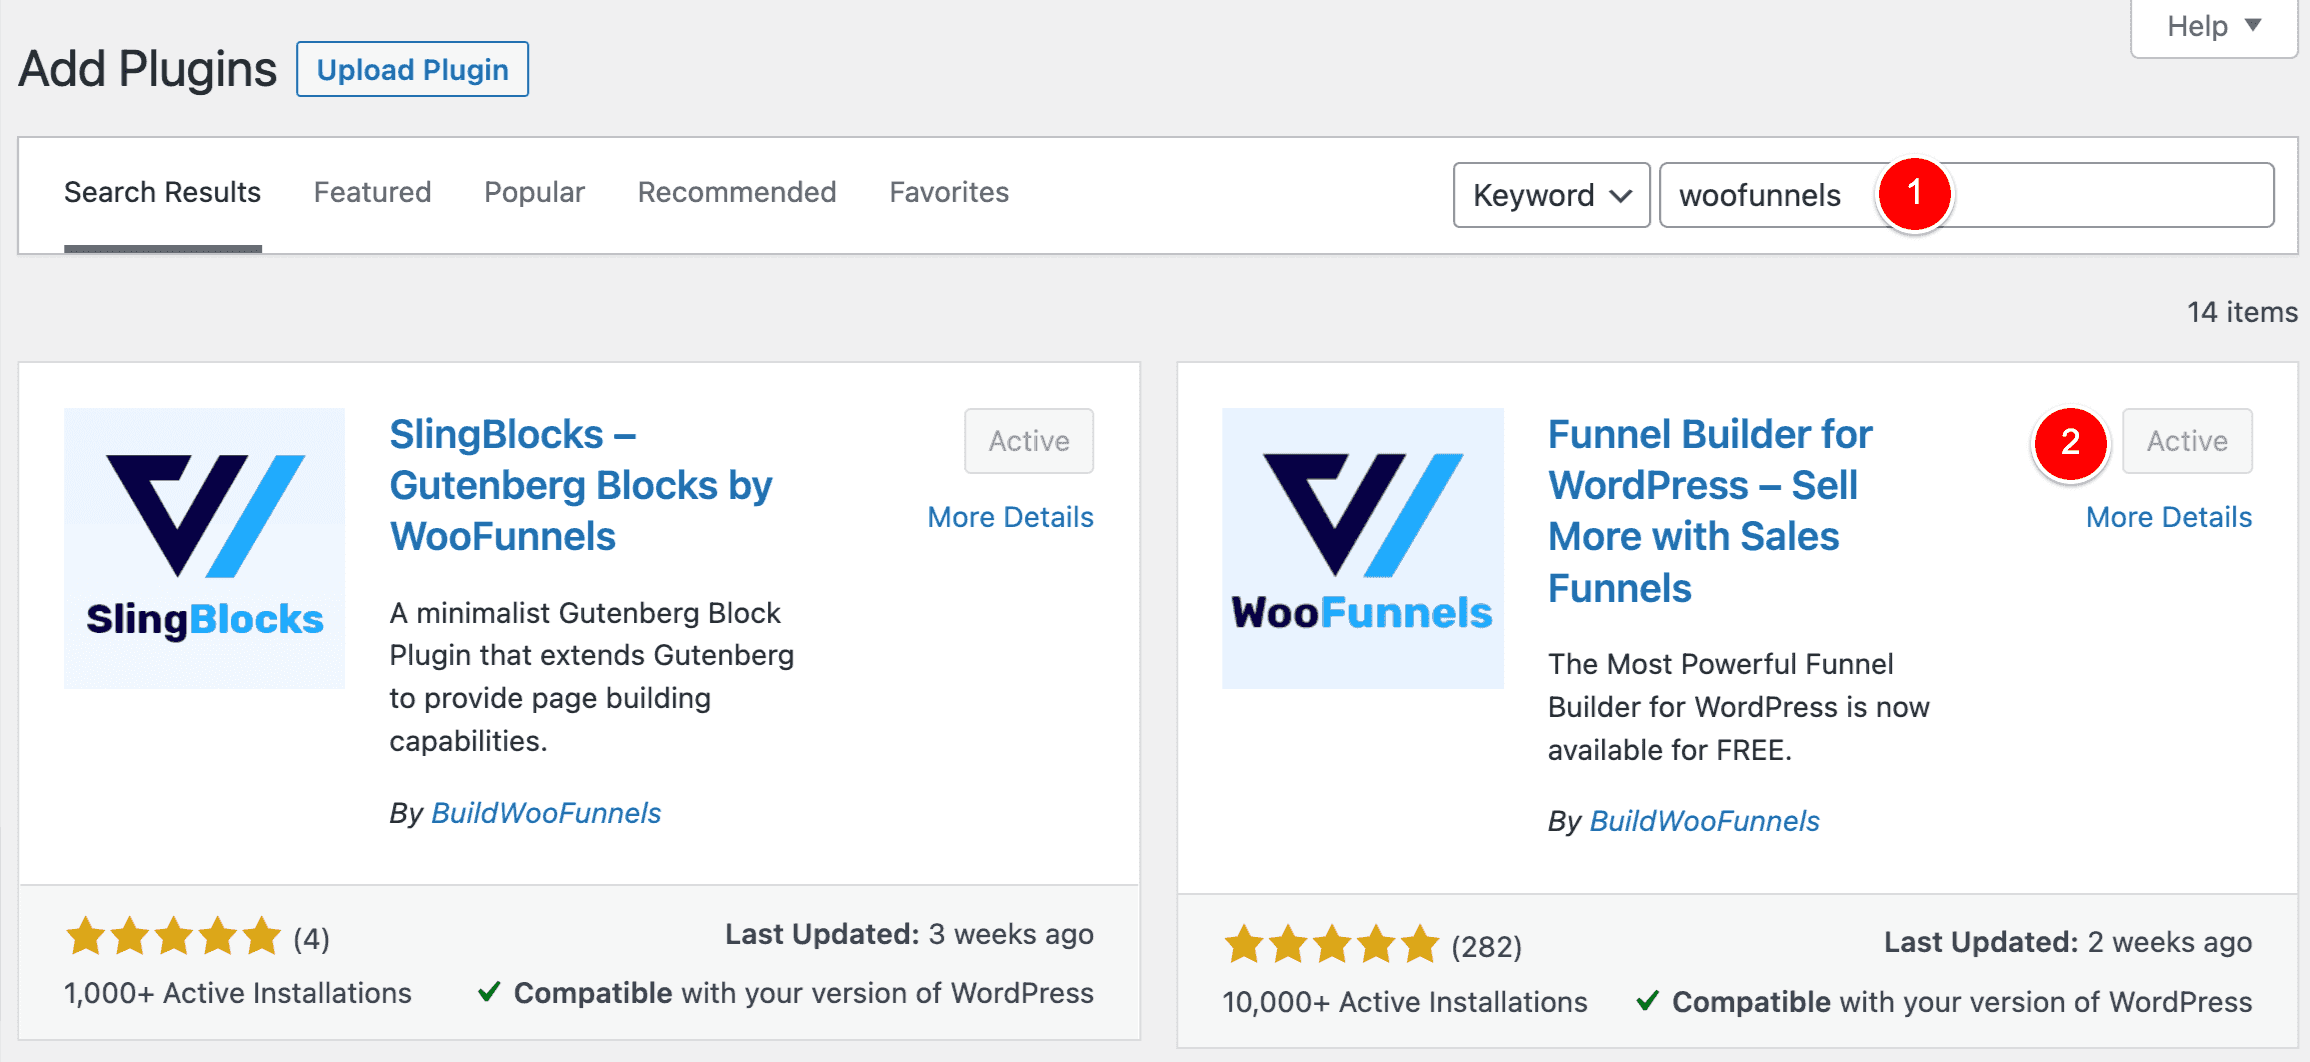
To use one of the free templates, you would just search for the free FunnelKit plugin like you would any other WordPress plugin, as shown below.
BUT… if you SPECIFICALLY want the Shopify look, you will need to get the PAID version of FunnelKit.
For the remainder of this tutorial, I’ll focus specifically on setting up this Shopify design with the PAID version.
Let’s continue and I’ll show you just how easy it is!
Creating a WooCommerce checkout page that looks like Shopify’s
With a few clicks, we will import and active the FunnelKit pre-made template that looks like Shopify’s (with multiple checkout steps, too!).
To apply this pre-made design to your main WooCommerce checkout page, do the following…
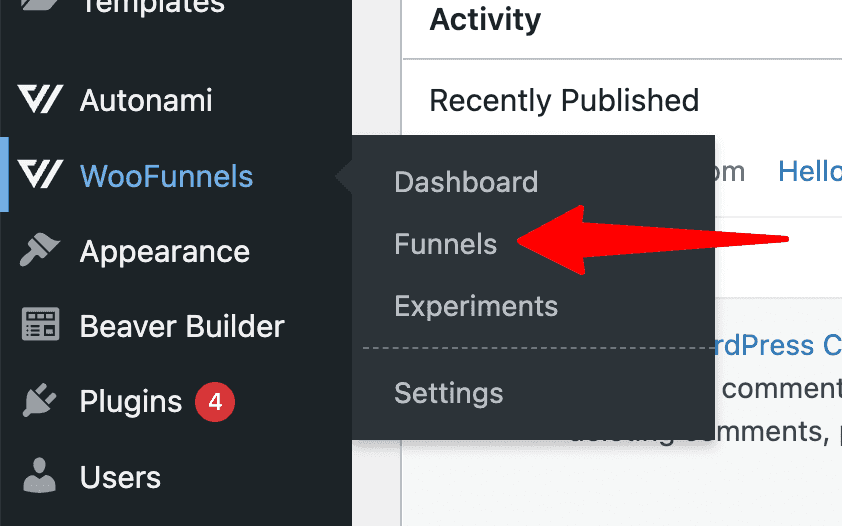
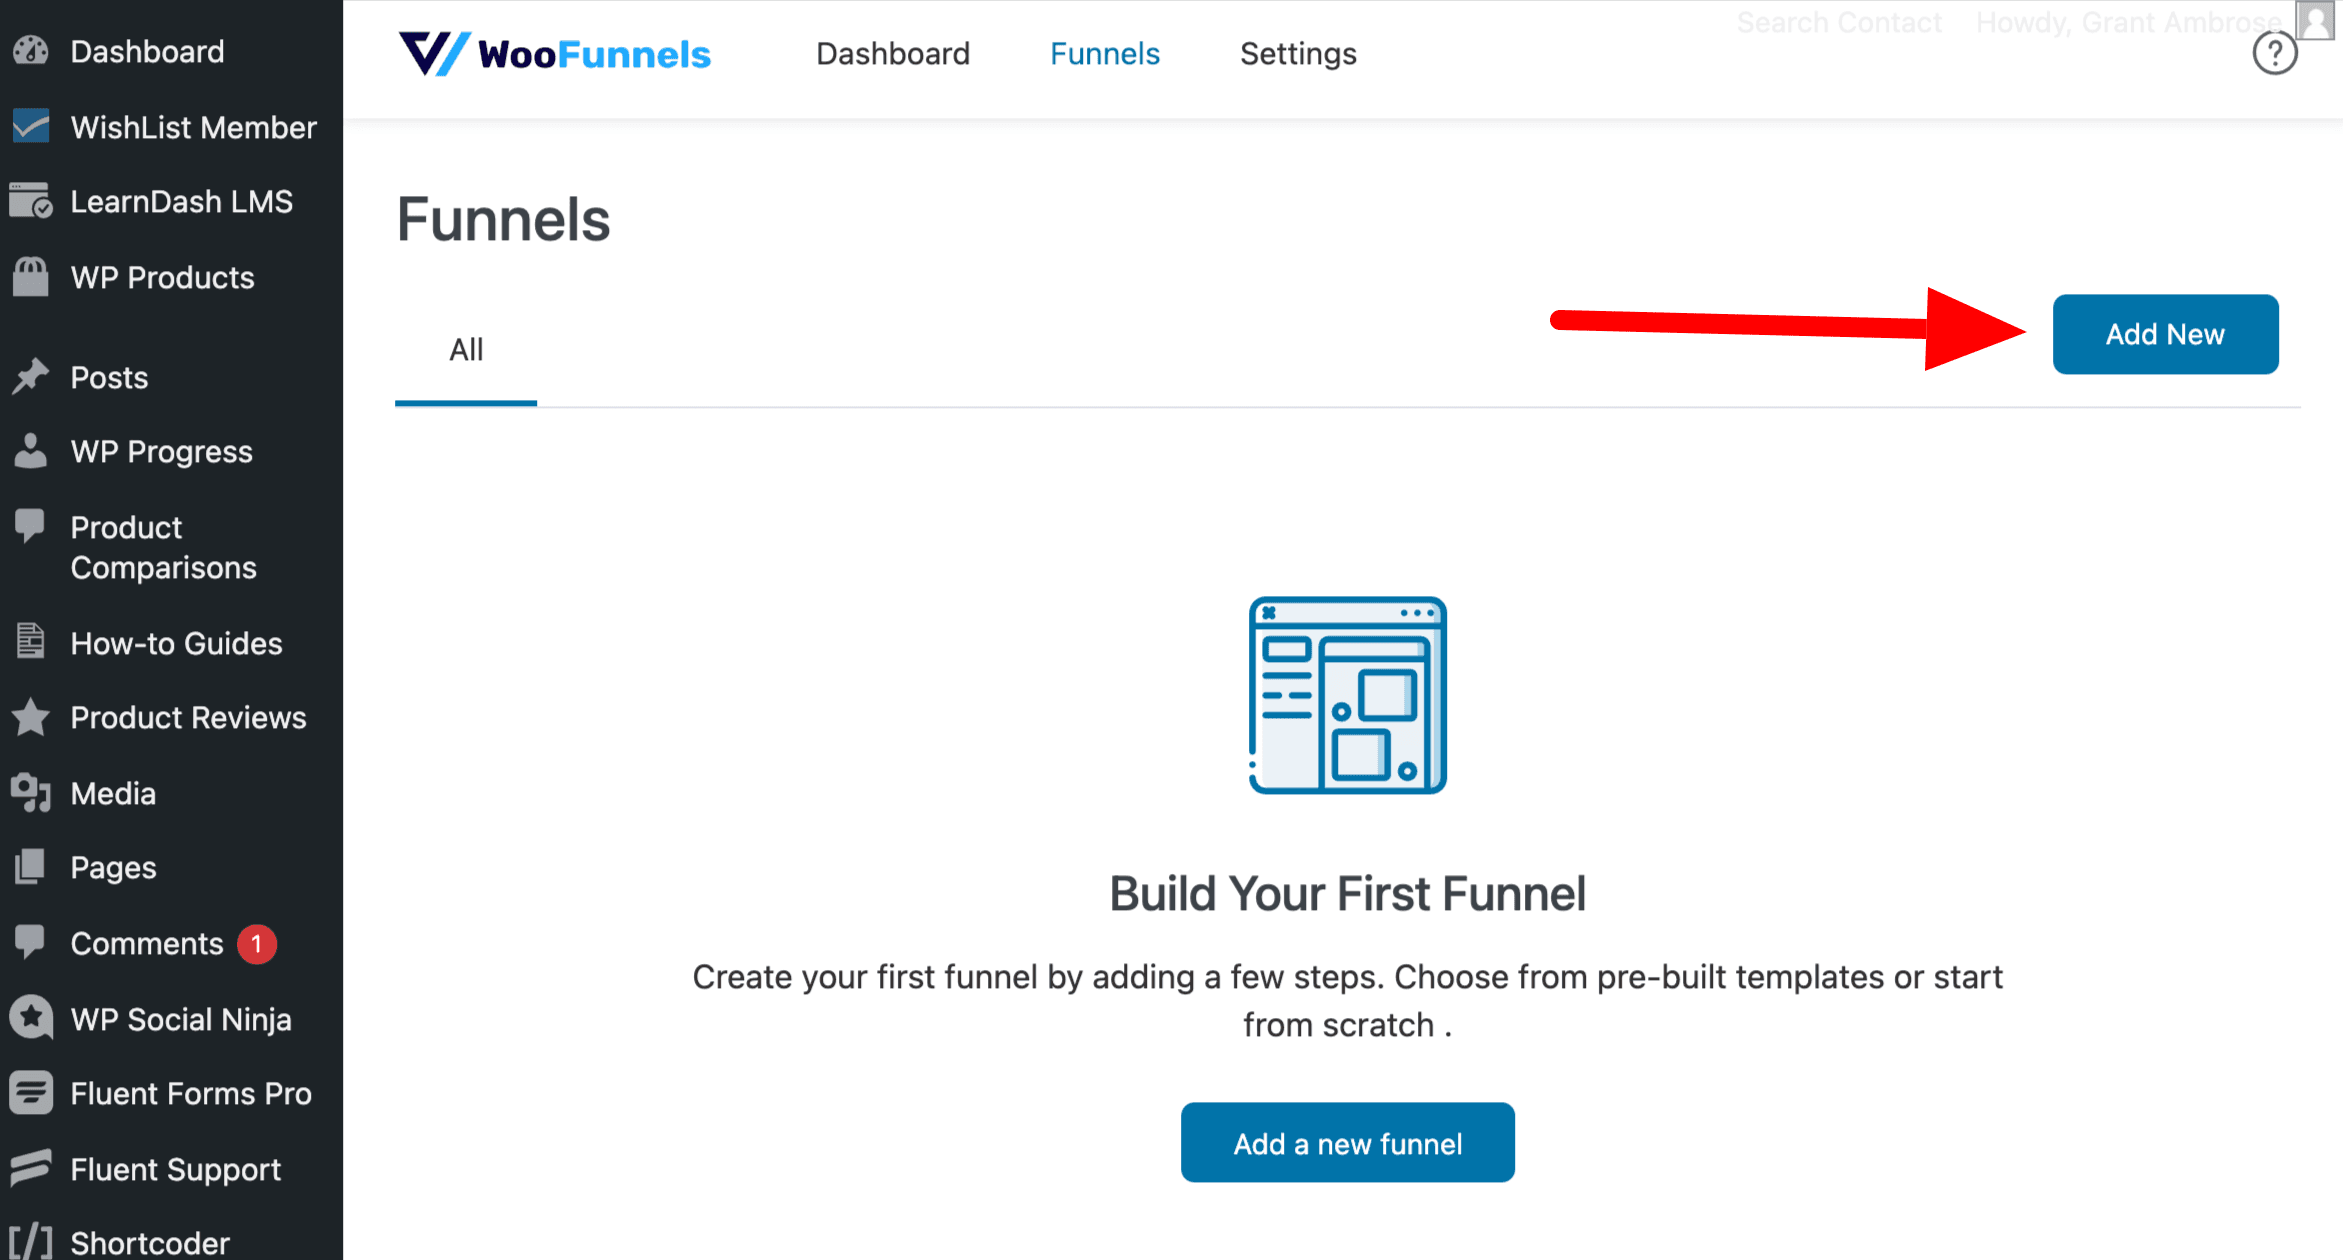
Go to FunnelKit > Funnels.
Then click Add New.
Name your Funnel as shown below in (1), then click Add (2).

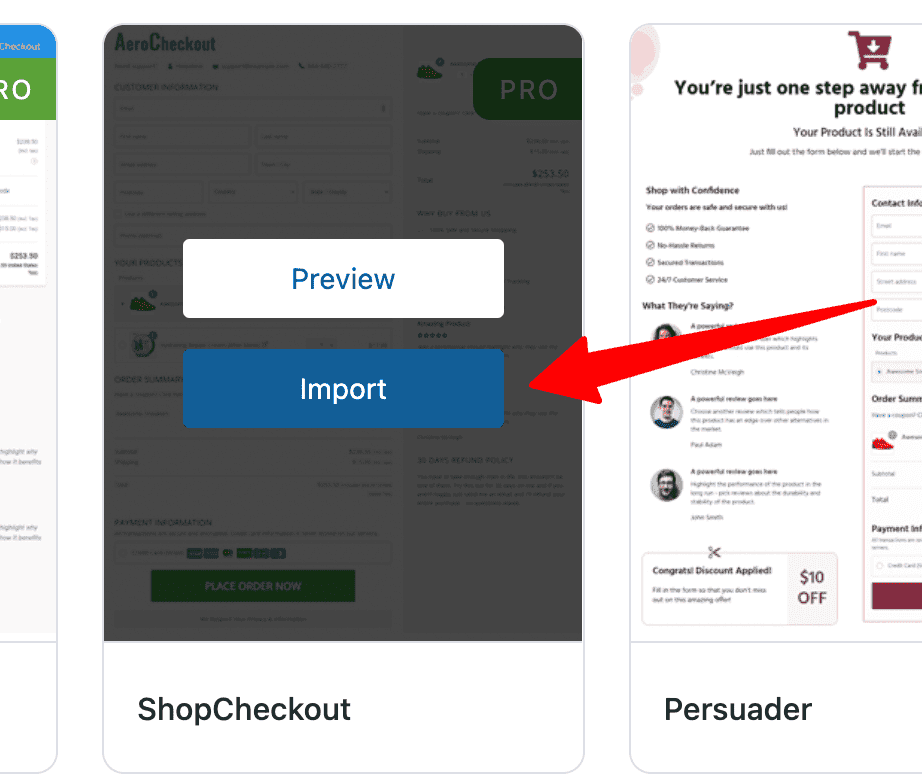
Click on Checkouts (1), choose how many steps you want your form to have at (2), select your Page Builder at (3) and then choose the Shopify Design at (4). This is shown below…

Hover on it and click Import.
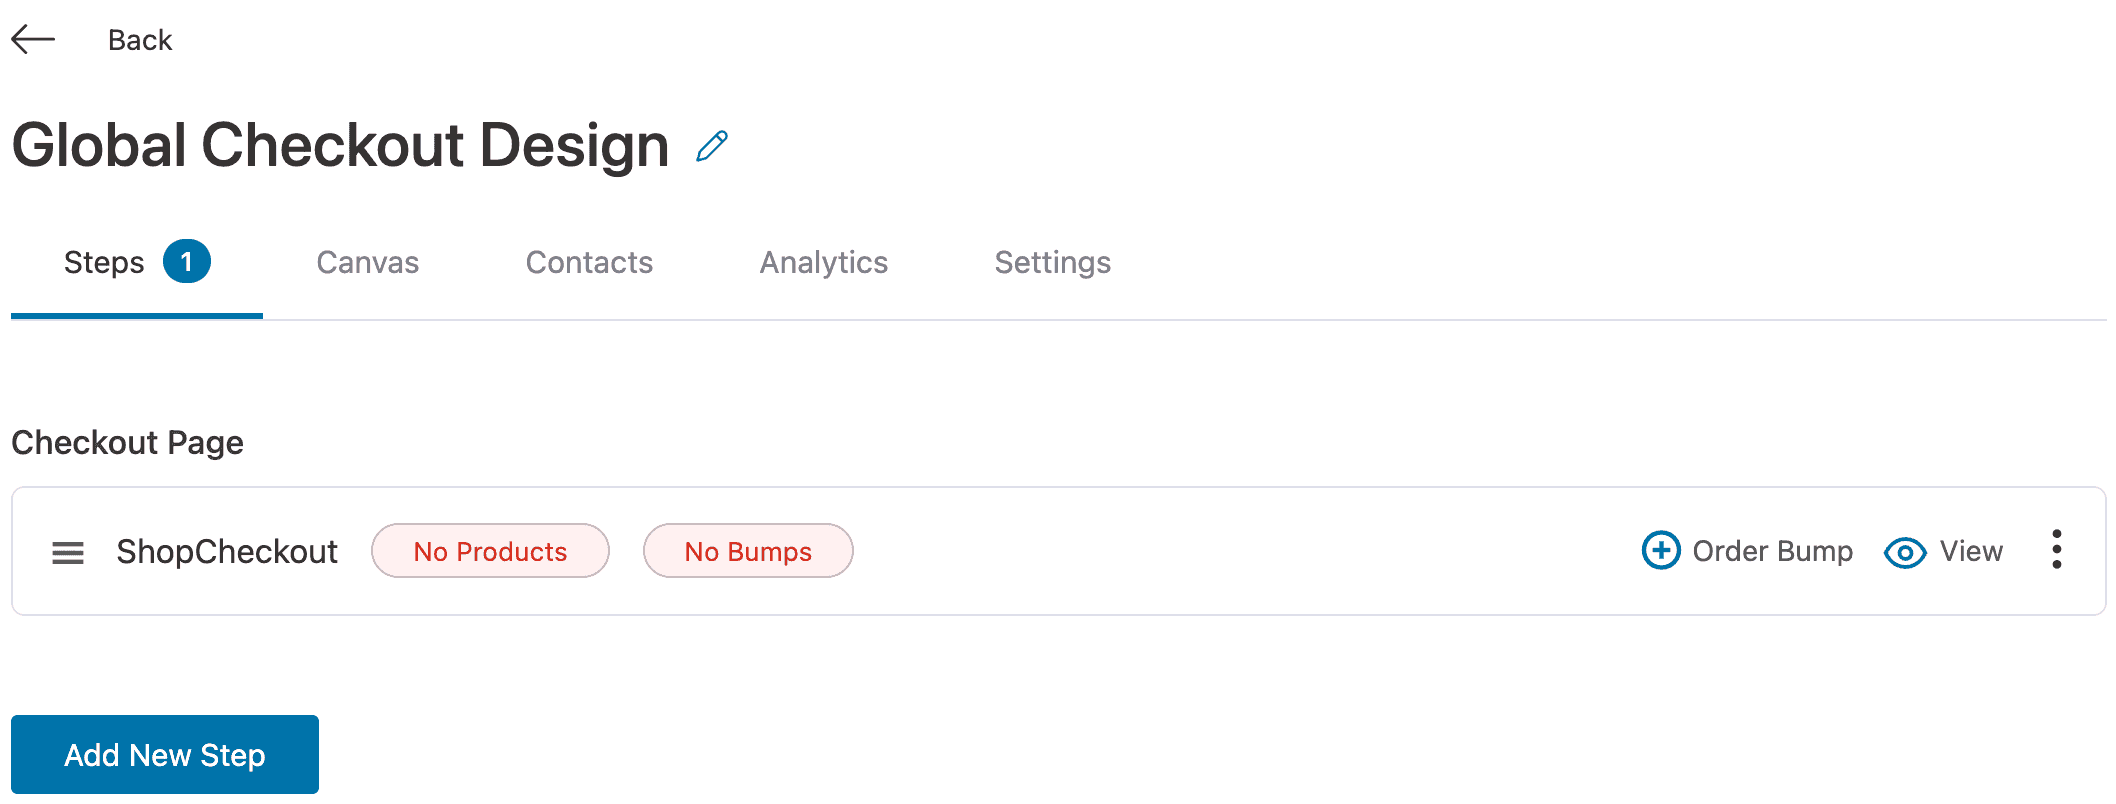
Once completed, you should see your Funnel has been created with 1 step inside it (your Checkout step).
Apply our Shopify template to our WooCommerce Checkout page
All that’s left to do now is apply this template to be used as our main WooCommerce Checkout page design.
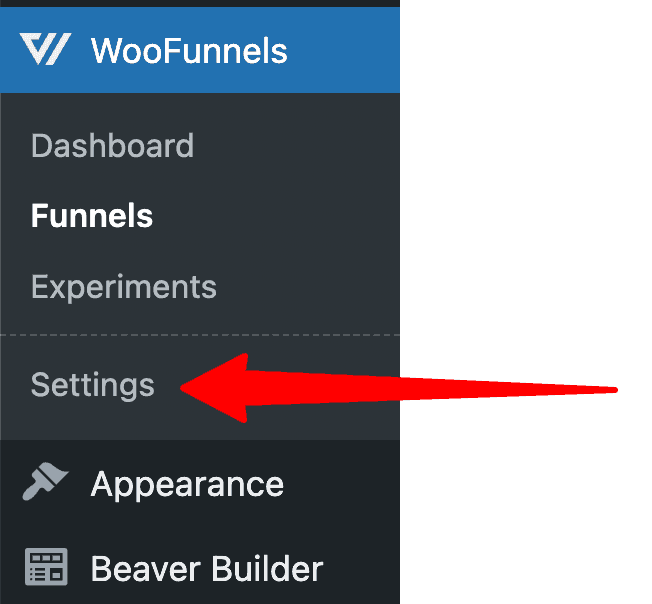
Go to FunnelKit > Settings.
Next, as shown below, click on Checkouts (1), then Global Checkout (2), select the Checkout Page we just created at (3) and then click Save Changes (5).
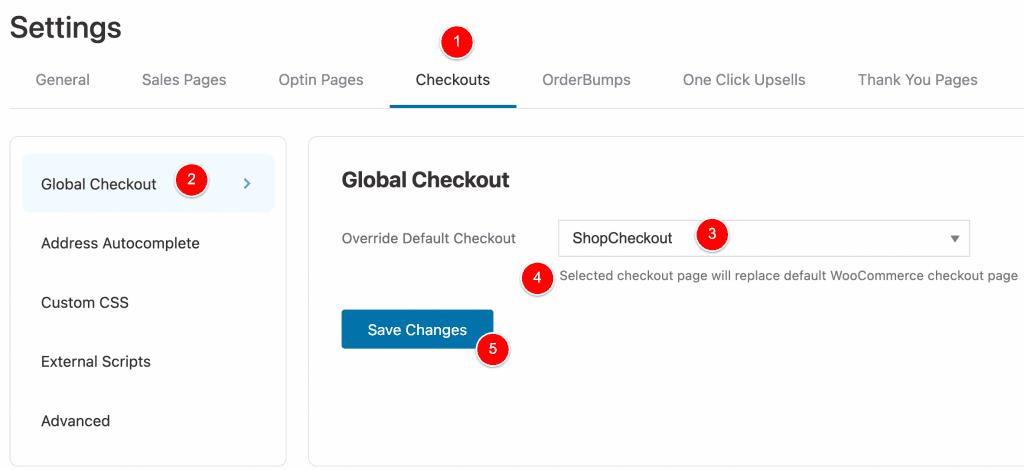
NOTE: At (4) above it says “Selected checkout page will replace default WooCommerce checkout page. This is EXACTLY what we want!
That’s it! You’re all done.
Testing our new Shopify checkout for WooCommerce
Let’s do the final test of our Shopify design and then I’ll cover some extra enhancements you might want to implement into your Checkout Page.
To test if it’s all working, go to your website and add a product to your Cart.
Then from your Cart page, click to continue to your Checkout page.
Then you’ll reach your customized WooCommerce checkout page design, like below.
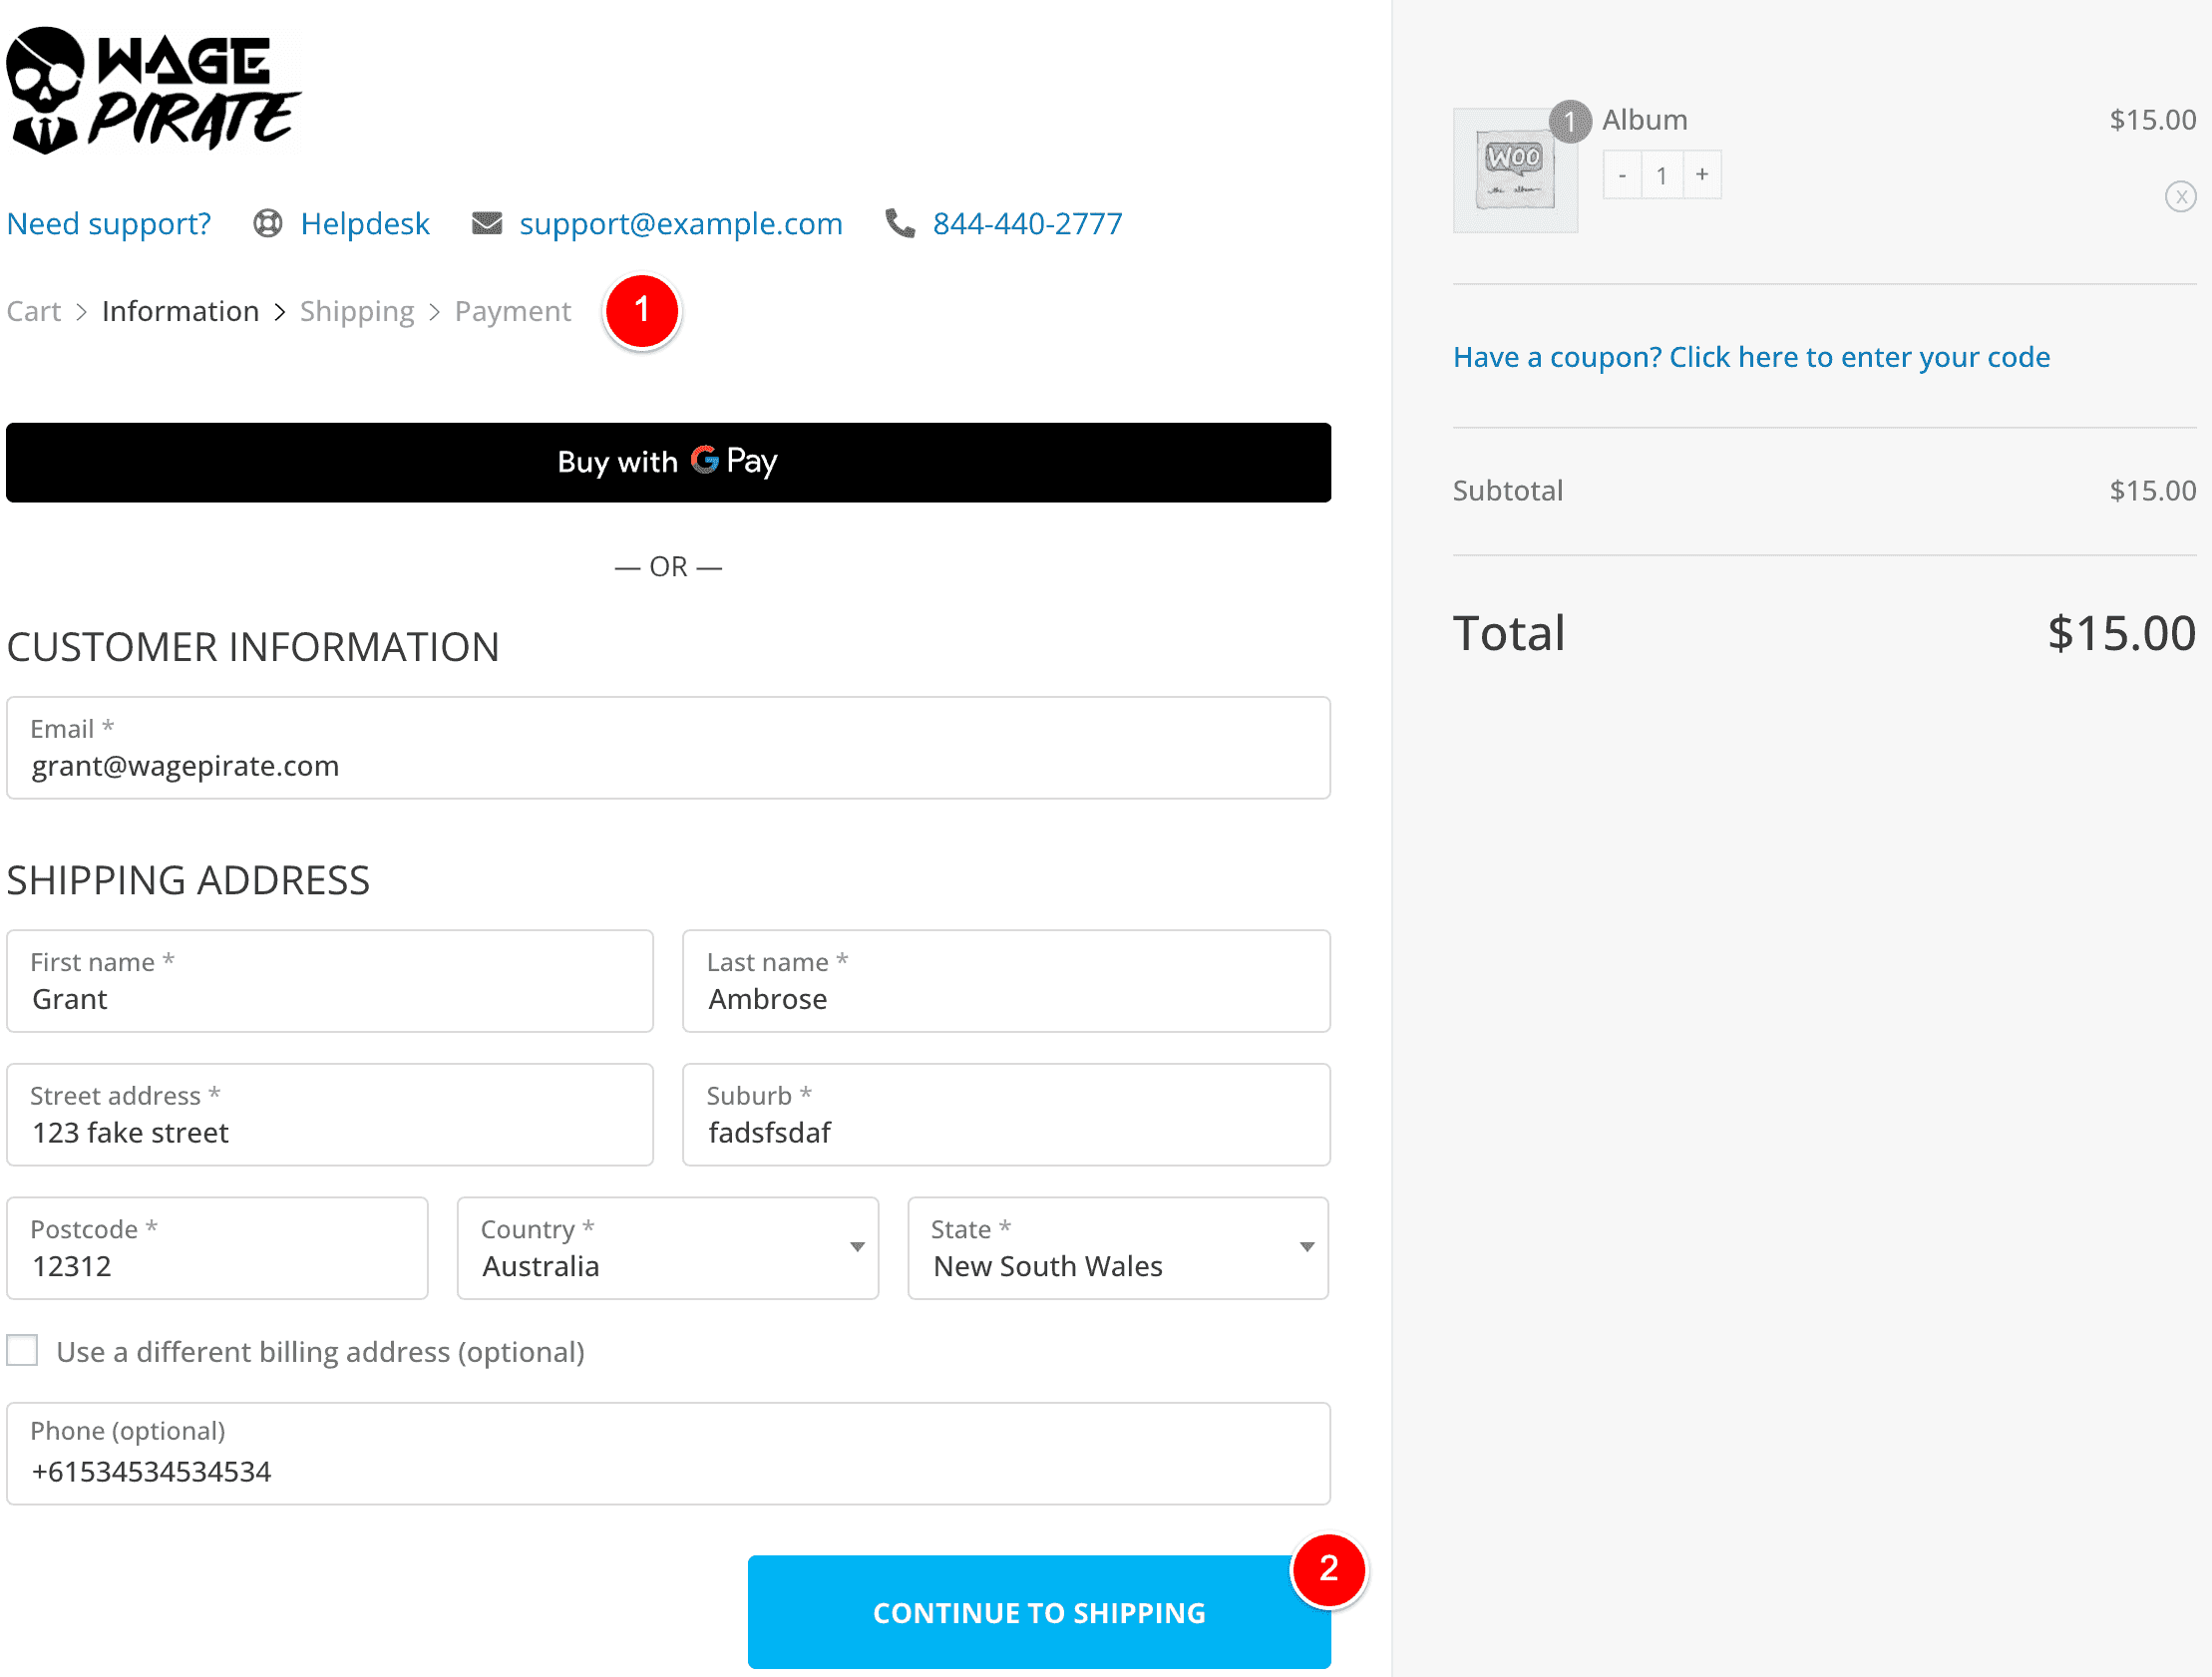
In (1) above, you have the 3 steps of your Checkout Page. When your customers click on the button at (2), it moves through these 3 checkout steps until they finally click the PAYMENT button and their order is completed.
Step 1 of the Checkout From
Step 1 of the checkout page is shown above, where you collect the customer’s personal details.
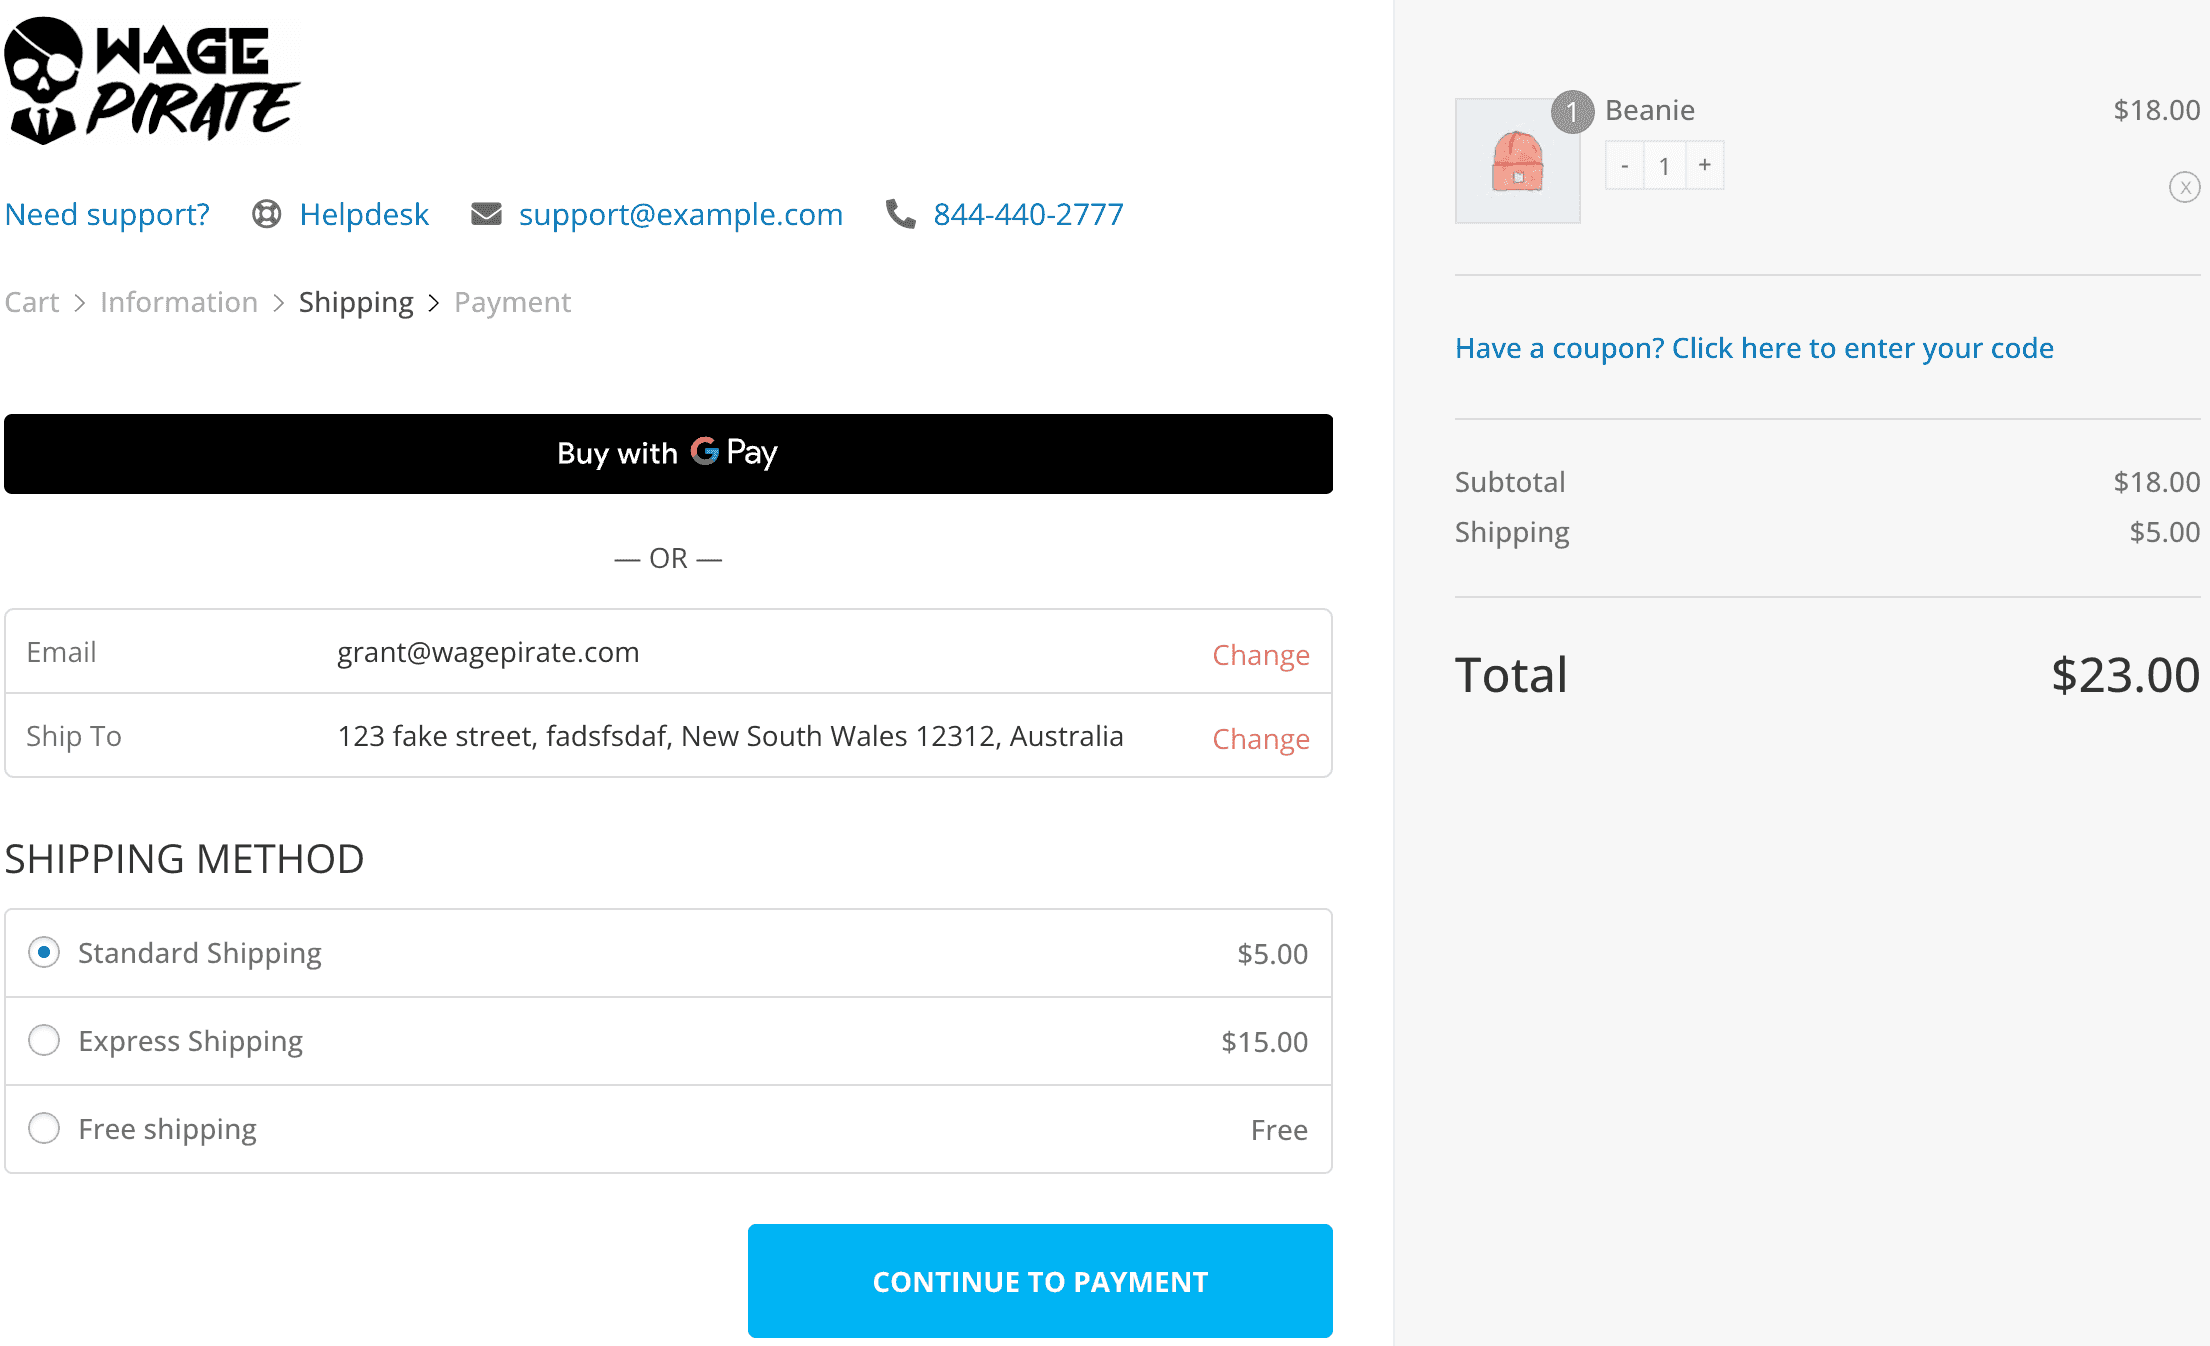
Step 2 of the Checkout From
Here is Step 2 below, where the customer can choose their Shipping Method.
Step 3 of the Checkout From
And below is Step 3, where your customers input their payment details and complete the order on your website.
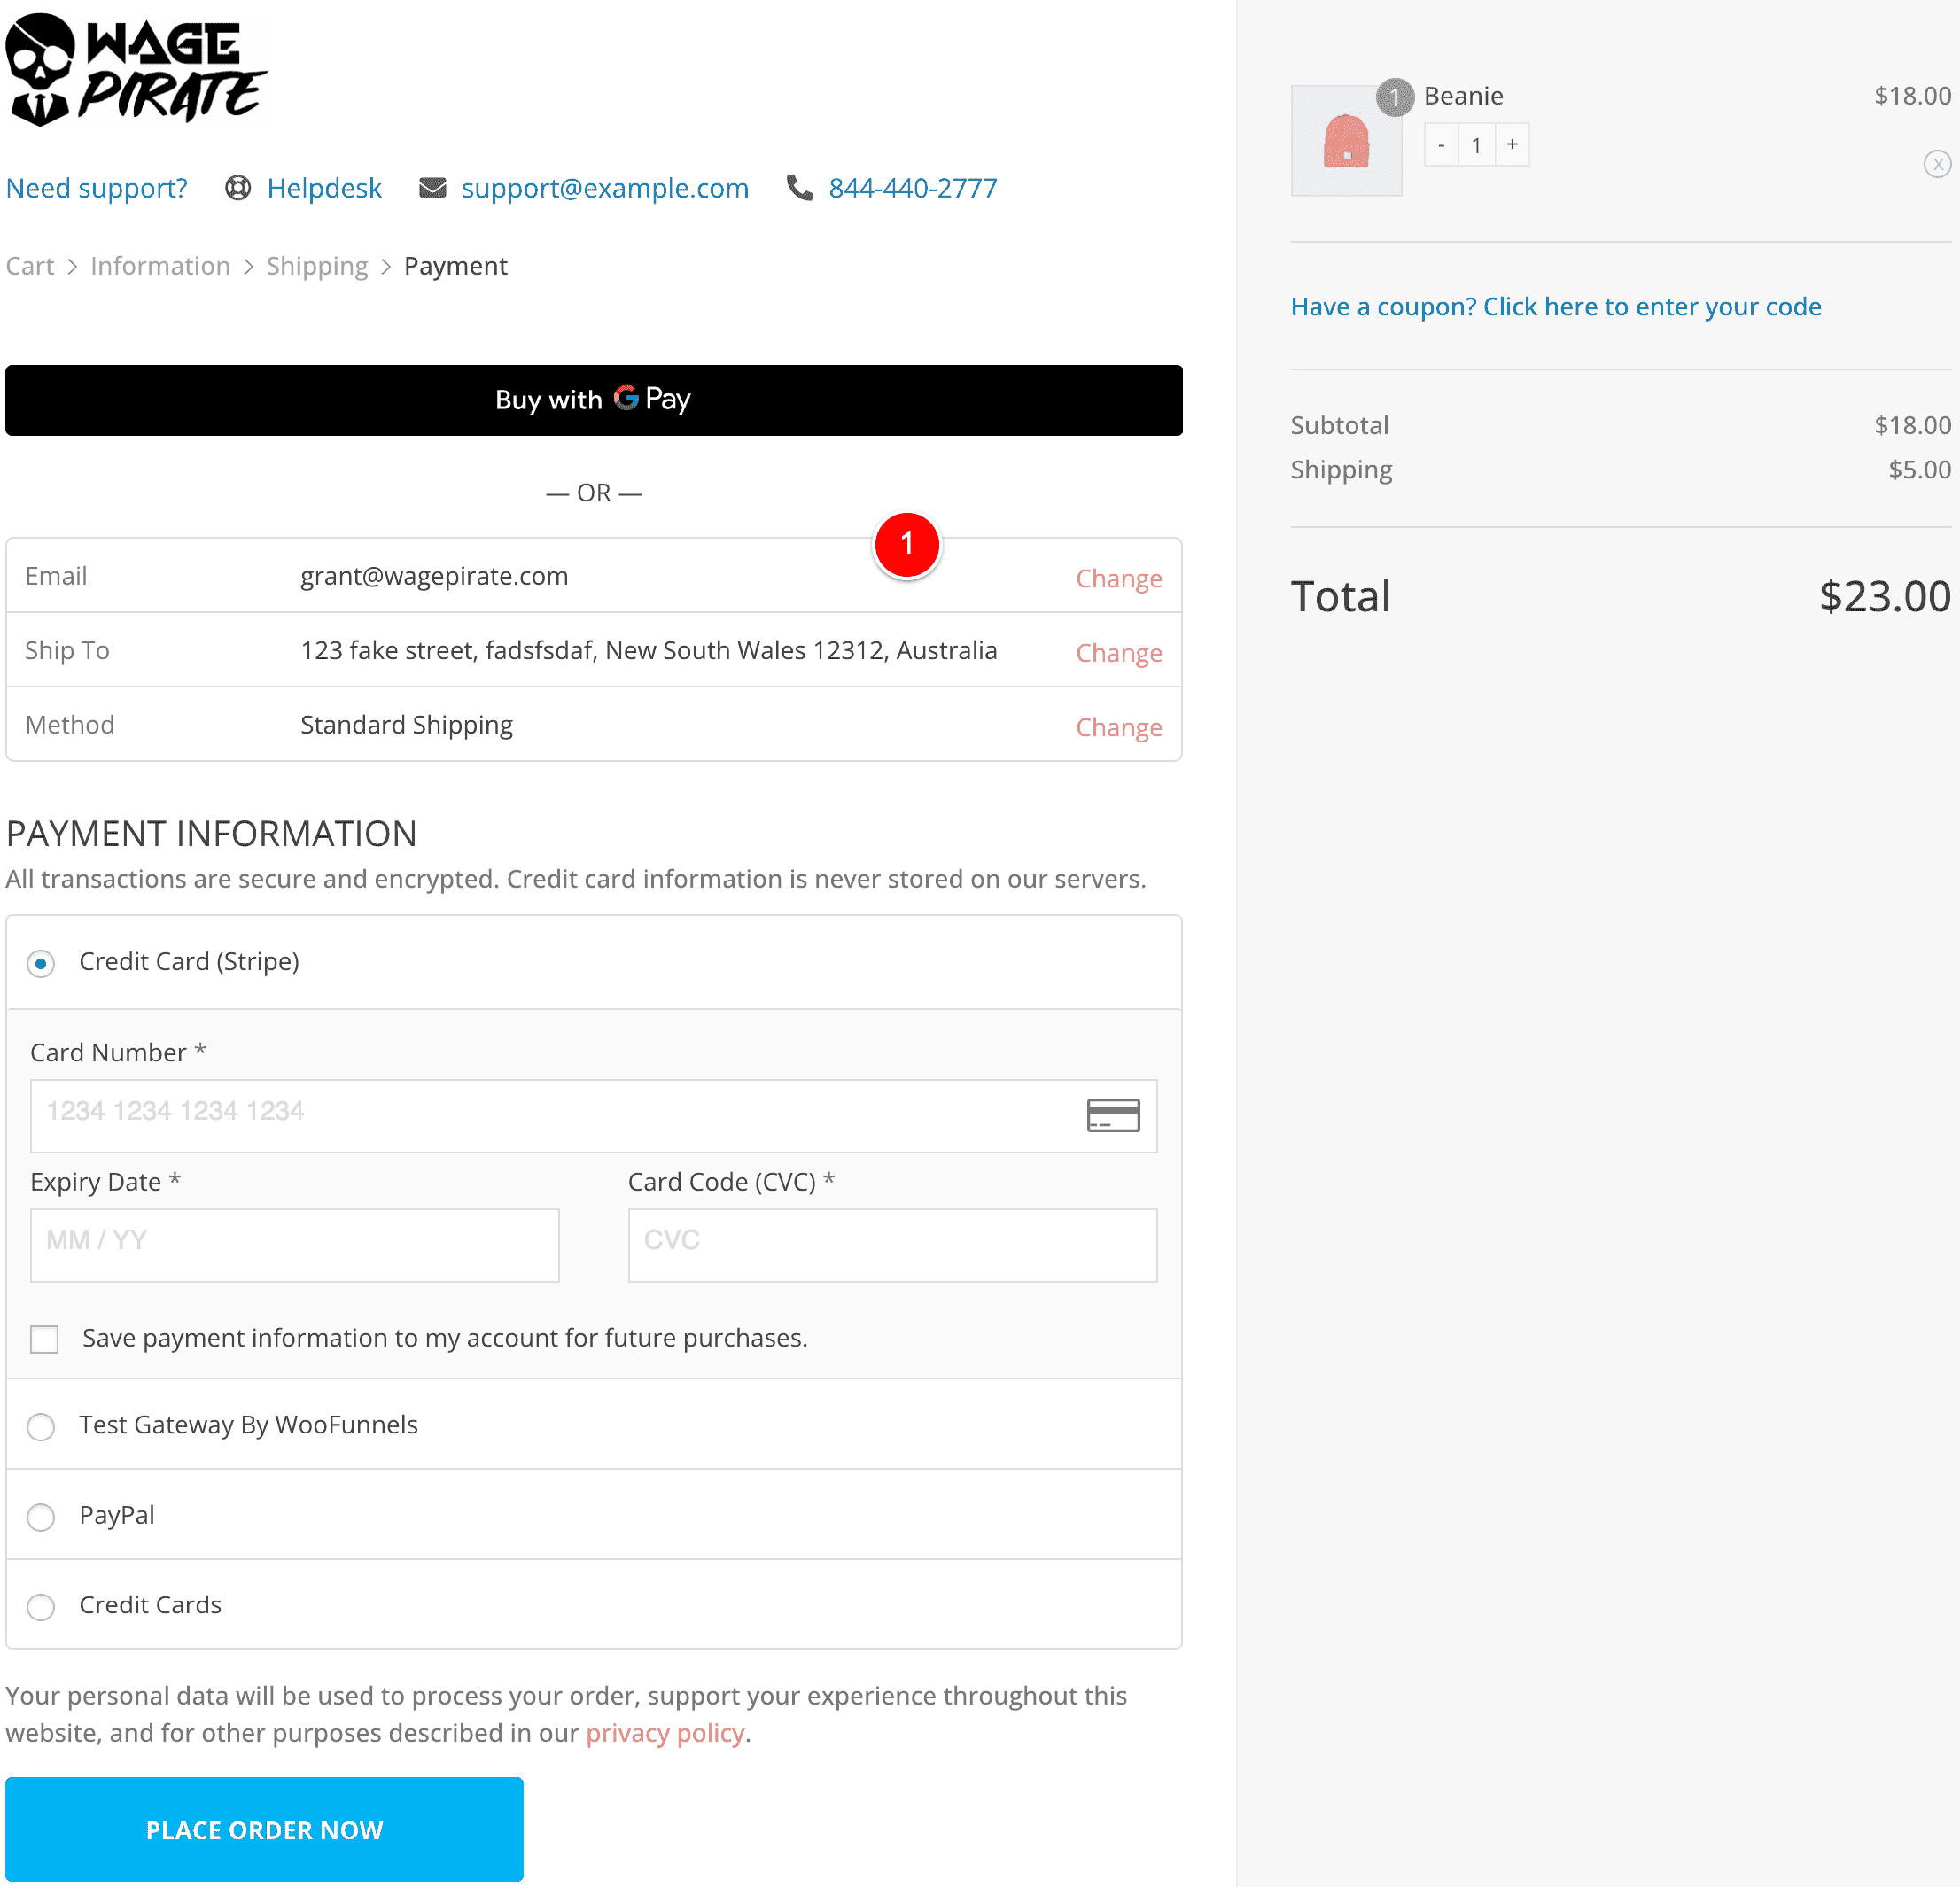
What I really like about the FunnelKit plugin and how it handles multi-step Checkouts is that it summarises the information the customer input on the previous step. This is shown at (1) in the image above.
I love this feature because your customer can clearly see any typos or incorrect details they input in the previous steps.
This helps your customer catch errors before they submit their order to your business, which reduces the amount of customer service work your team need to do and minimizes the number of incorrect orders processed.
Do these 2 things next
Here is what I recommend you do now that you’ve finished this article:
Firstly, I recommend reading my article Two Column WooCommerce Checkout Page In 30 Seconds (With Code).
It covers more of the ways you can use FunnelKit to customize your checkout page, including A/B testing, different WooCommerce Checkout template and more.
I would also recommend watching this YouTube video below titled How To Build The ULTIMATE Sales Funnel With WordPress, FunnelKit & FunnelKit Automations (NEW Updated Method!!!)
In this YouTube video, I build an ENTIRE Sales Funnels inside of WordPress.
I show you how to do EVERYTHING to set up this Sales Funnel, including how to add One-click upsells and downsells to your WooCommerce website.
I also go through how to easily set up an Abandoned Cart email automation sequence that runs entirely inside your WooCommerce store (no need to pay for other software to do this).
Lastly, I also show you how to set up an Opt-in form to collect emails and build your email list.
It’s definitely worth the watch if you have time.
Leave a Reply