This is the EASIEST way I have found to add a Back to Top button in Bricks Builder.
The best thing about the method we use today to add our Return to Top button is that we use the Bricks UI as much as possible.
This method requires very little custom code and minimal JavaScript (and the JavaScript code is an optional enhancement).
Let’s get going!
The Video Tutorial
Here is a Video version of this Blog Post that compliments the content of this Blog Post.
Header VS Footer Template
The first thing we need to do is add our Back to Top button to our Bricks website.
BUT!… we first need to go through where we’ll add this button (because it matters).
In my opinion, you have two choices when considering where to add this Button element:
- Your Header
- Your Footer
My recommendation is to use your Footer Template because you might disable your Header on some pages of your website but your footer will most likely always be present.
RELATED: Remove the Header and Footer in Bricks Builder (The Correct Way)
For example, I have Optin Pages across my website that I do NOT output my Header.
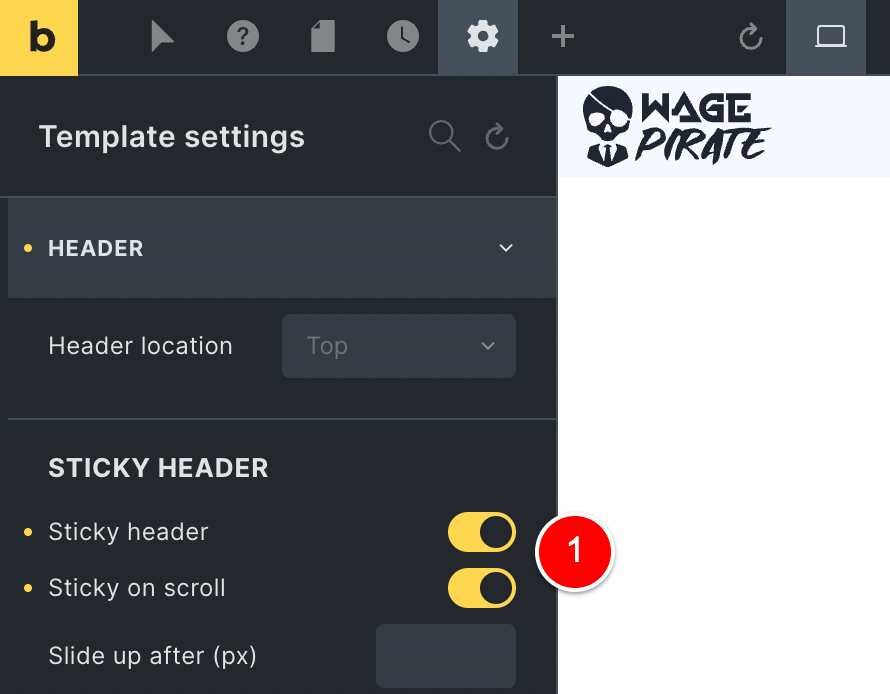
Below is one of my Optin Pages where I have disabled the Header as shown at (1).

But my Footer is at the bottom of this Optin Page.
In most cases and in most websites, your Footer will be more often present across pages of your site than your Header.
For this reason, today I will be using the Footer Template to add our Back to Top button.
Adding our Back to Top button to our Footer Template
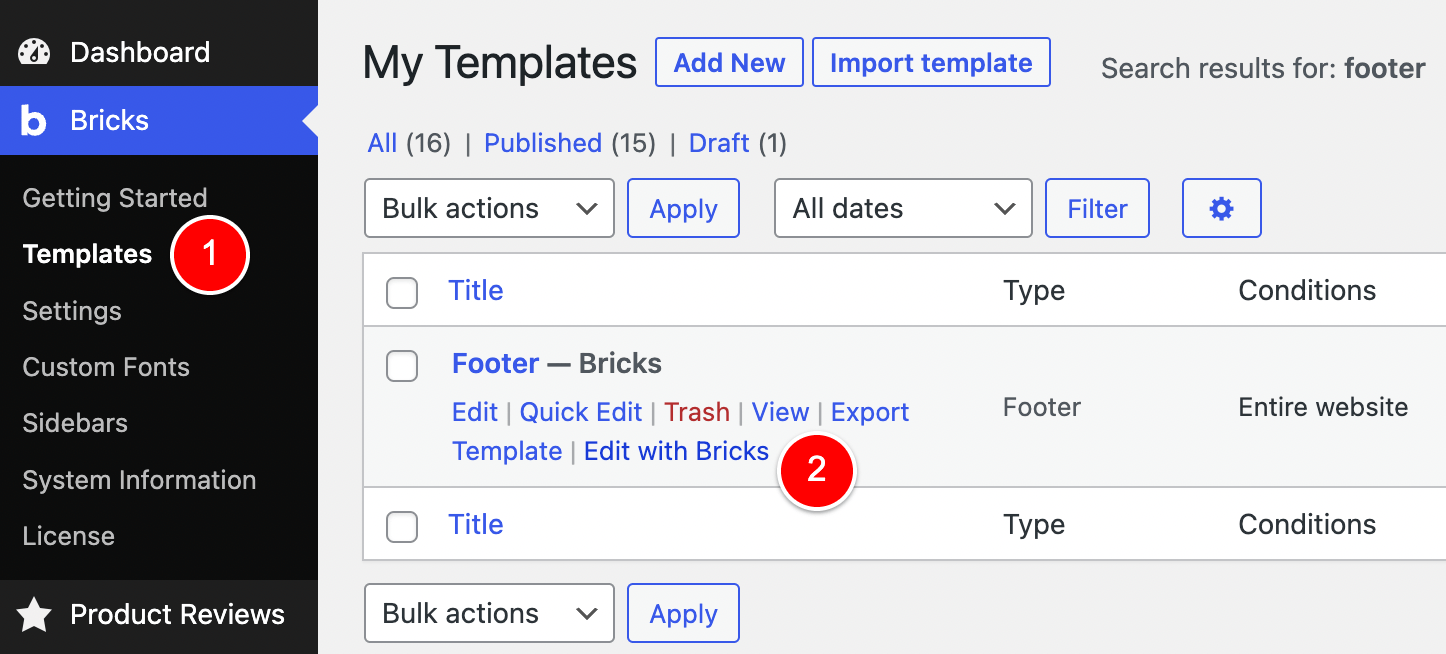
To do this, go to Bricks > Templates (1) and edit your Footer template (2).
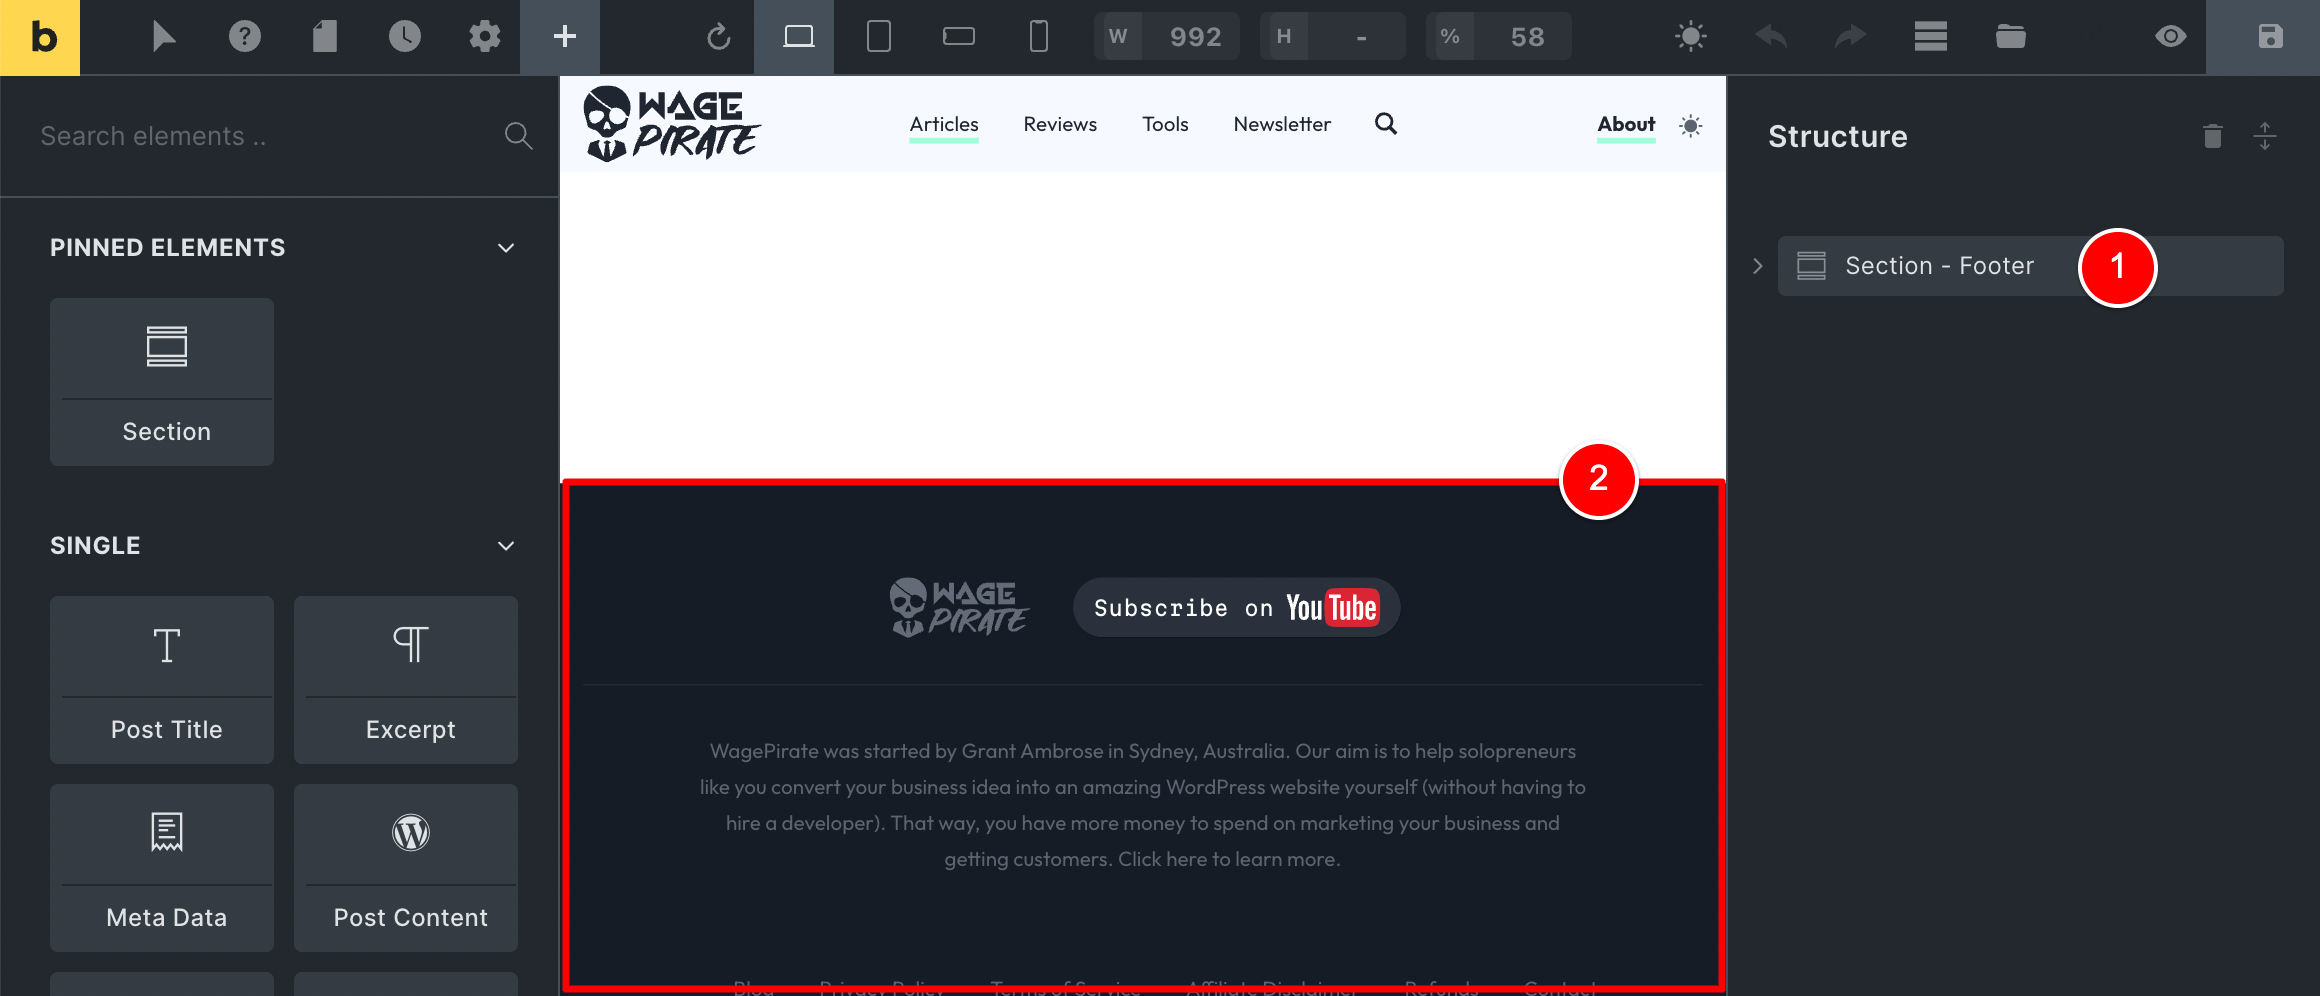
Your Footer template will probably look similar to mine, where you have your Footer content inside of a Section (1)(2).
To add our Back to Top button element that our users can click on, let’s add a new Button element to the very bottom of our Footer template (under all the existing Sections so that this Button element is the last element in our template).
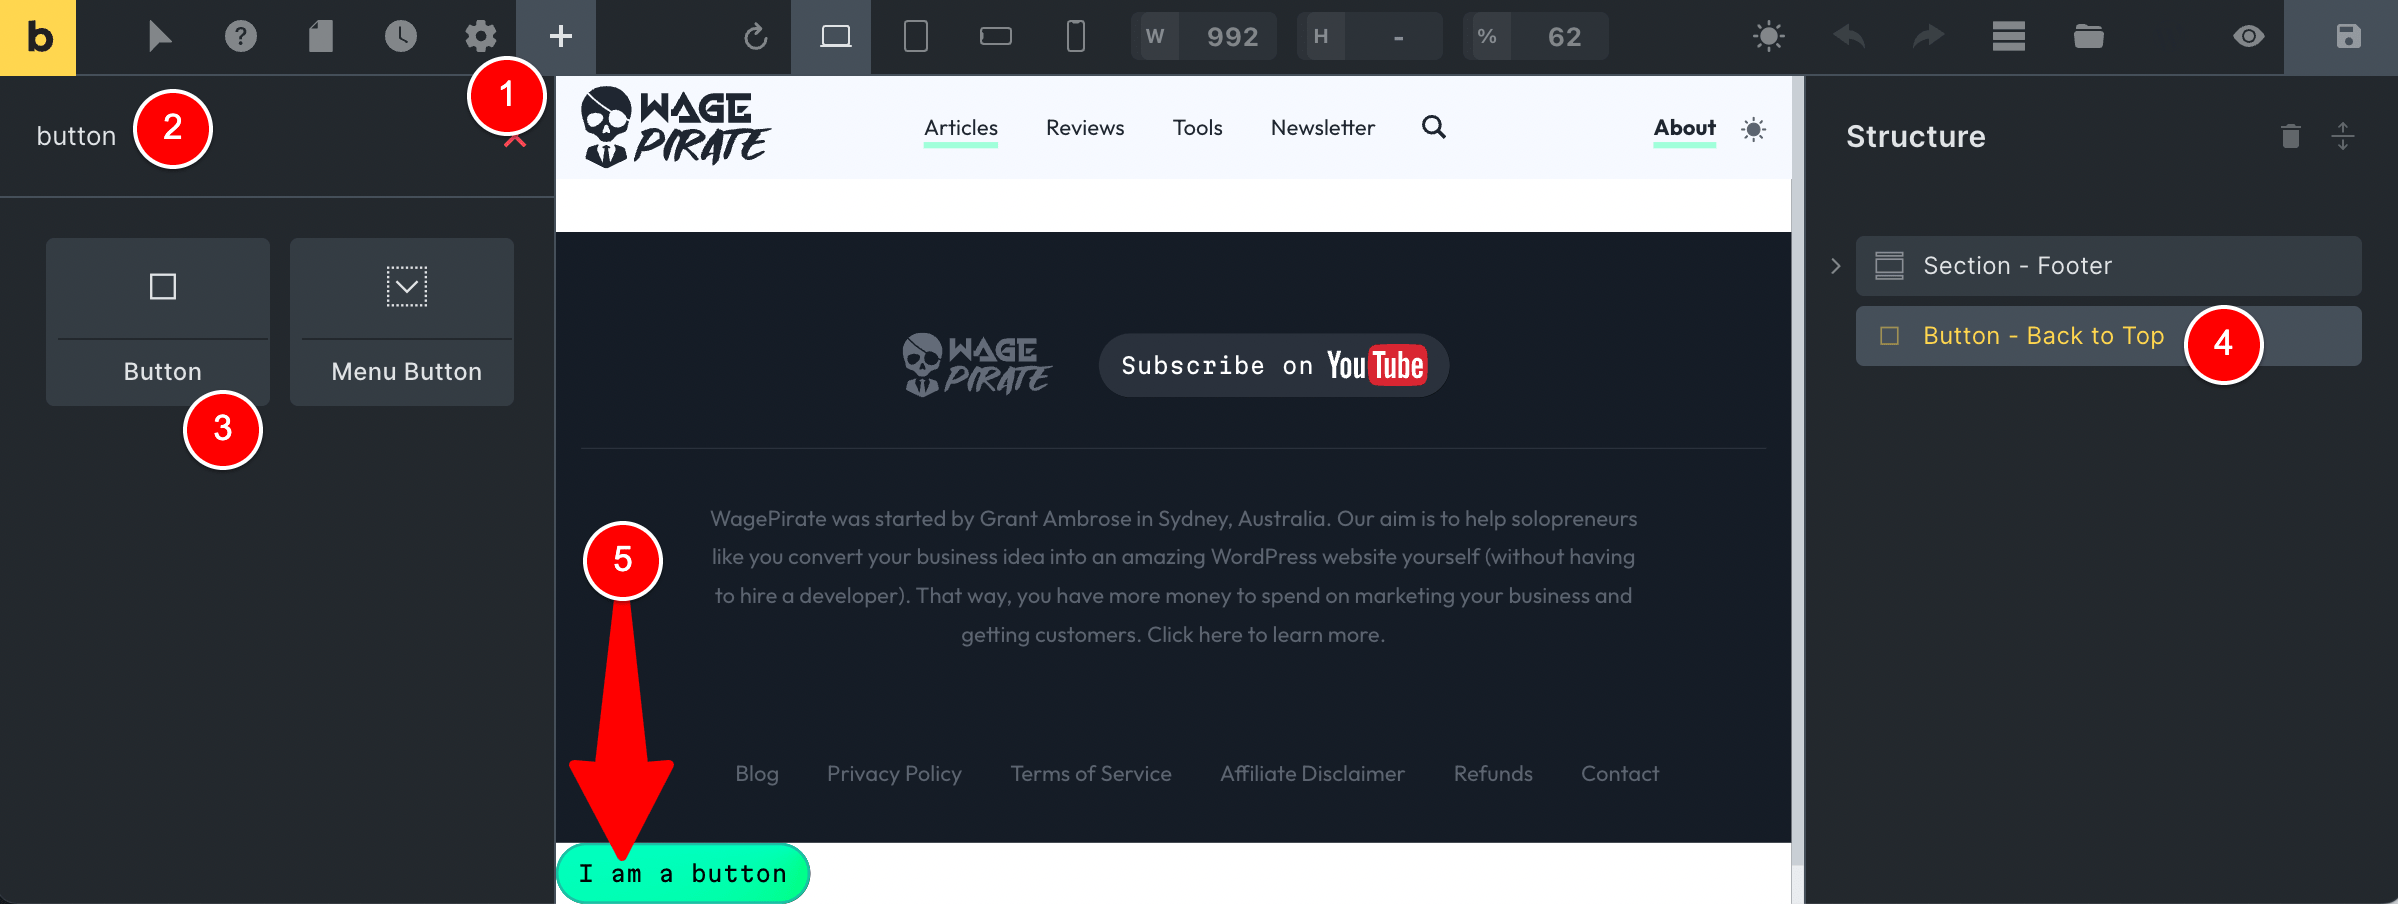
With our Button on the page…
Deciding which HTML Element to scroll back up to
We need to specify what HTML element we should scroll the user back up to once they click this Button.
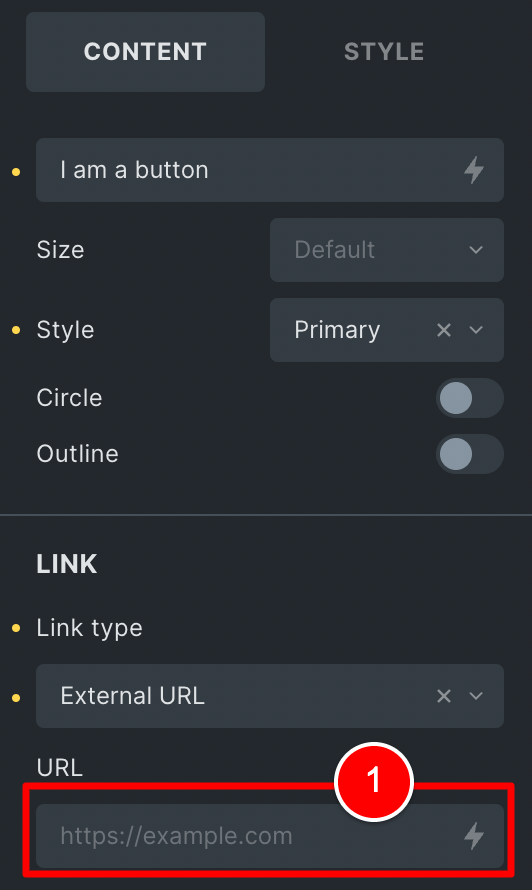
To do that, we need to edit the Button element and add the ID of the HTML element we want to scroll to in the field at (1) below.
Naturally, you might think that we should scroll the user back up to the ID of the <header> element as that is at the very top of our website.
But I want to show you why this is NOT the best element to scroll up to…
If we go to the frontend of my website and view the source code, we can see that my Bricks Header (1) has the HTML ID of brx-header.

#brx-header is the ID that Bricks outputs for its Header Template, which means this will be the case on your website, too.
If you go and view the source code of your website and find your
<header>you should also see the samebrx-headerHTML ID.
So yeah – we could edit our Button element and use #brx-header as the ID we will scroll up to (1).

And yes – that WOULD work… but I DO NOT recommend you do it this way.
Why a Sticky Header causes issues (and how to fix it)
The main reason I recommend against using #brx-header as the ID you scroll up to is because of how the Sticky Header works.
If you think about it…
When you go to your Header Template and enable Sticky Header…
By definition, your Sticky Header will always be “stuck” to the top of the browser window as your user scrolls down.
And herein lies the problem.
If you have a Sticky Header and your Return to Top button is set to scroll up to it…
Nothing happens!
As the Header element is already in view!
If you try it, you’ll see what I mean – it fails to scroll your user to the very top of the page.
As shown, if you’re using a Sticky Header, you CAN NOT scroll back up to #brx-header as it won’t work.
But what about if you are NOT using a Sticky Header?
You CAN consider using #brx-header as the ID you scroll your users to if you DO NOT have a Sticky Header.
That will work and it’s up to you.
But in the future, maybe you want to enable a Sticky Header and then you’ll run into this issue and need to reconfigure it.
Creating a new HTML element with bricks_before_header
In any case, I think the safest way to set up your Back to Top button (regardless of whether or not you have a Sticky Header) is as follows…
Firstly, we will go ahead and create a new item that we will scroll to and this item will appear in our HTML before our Header.
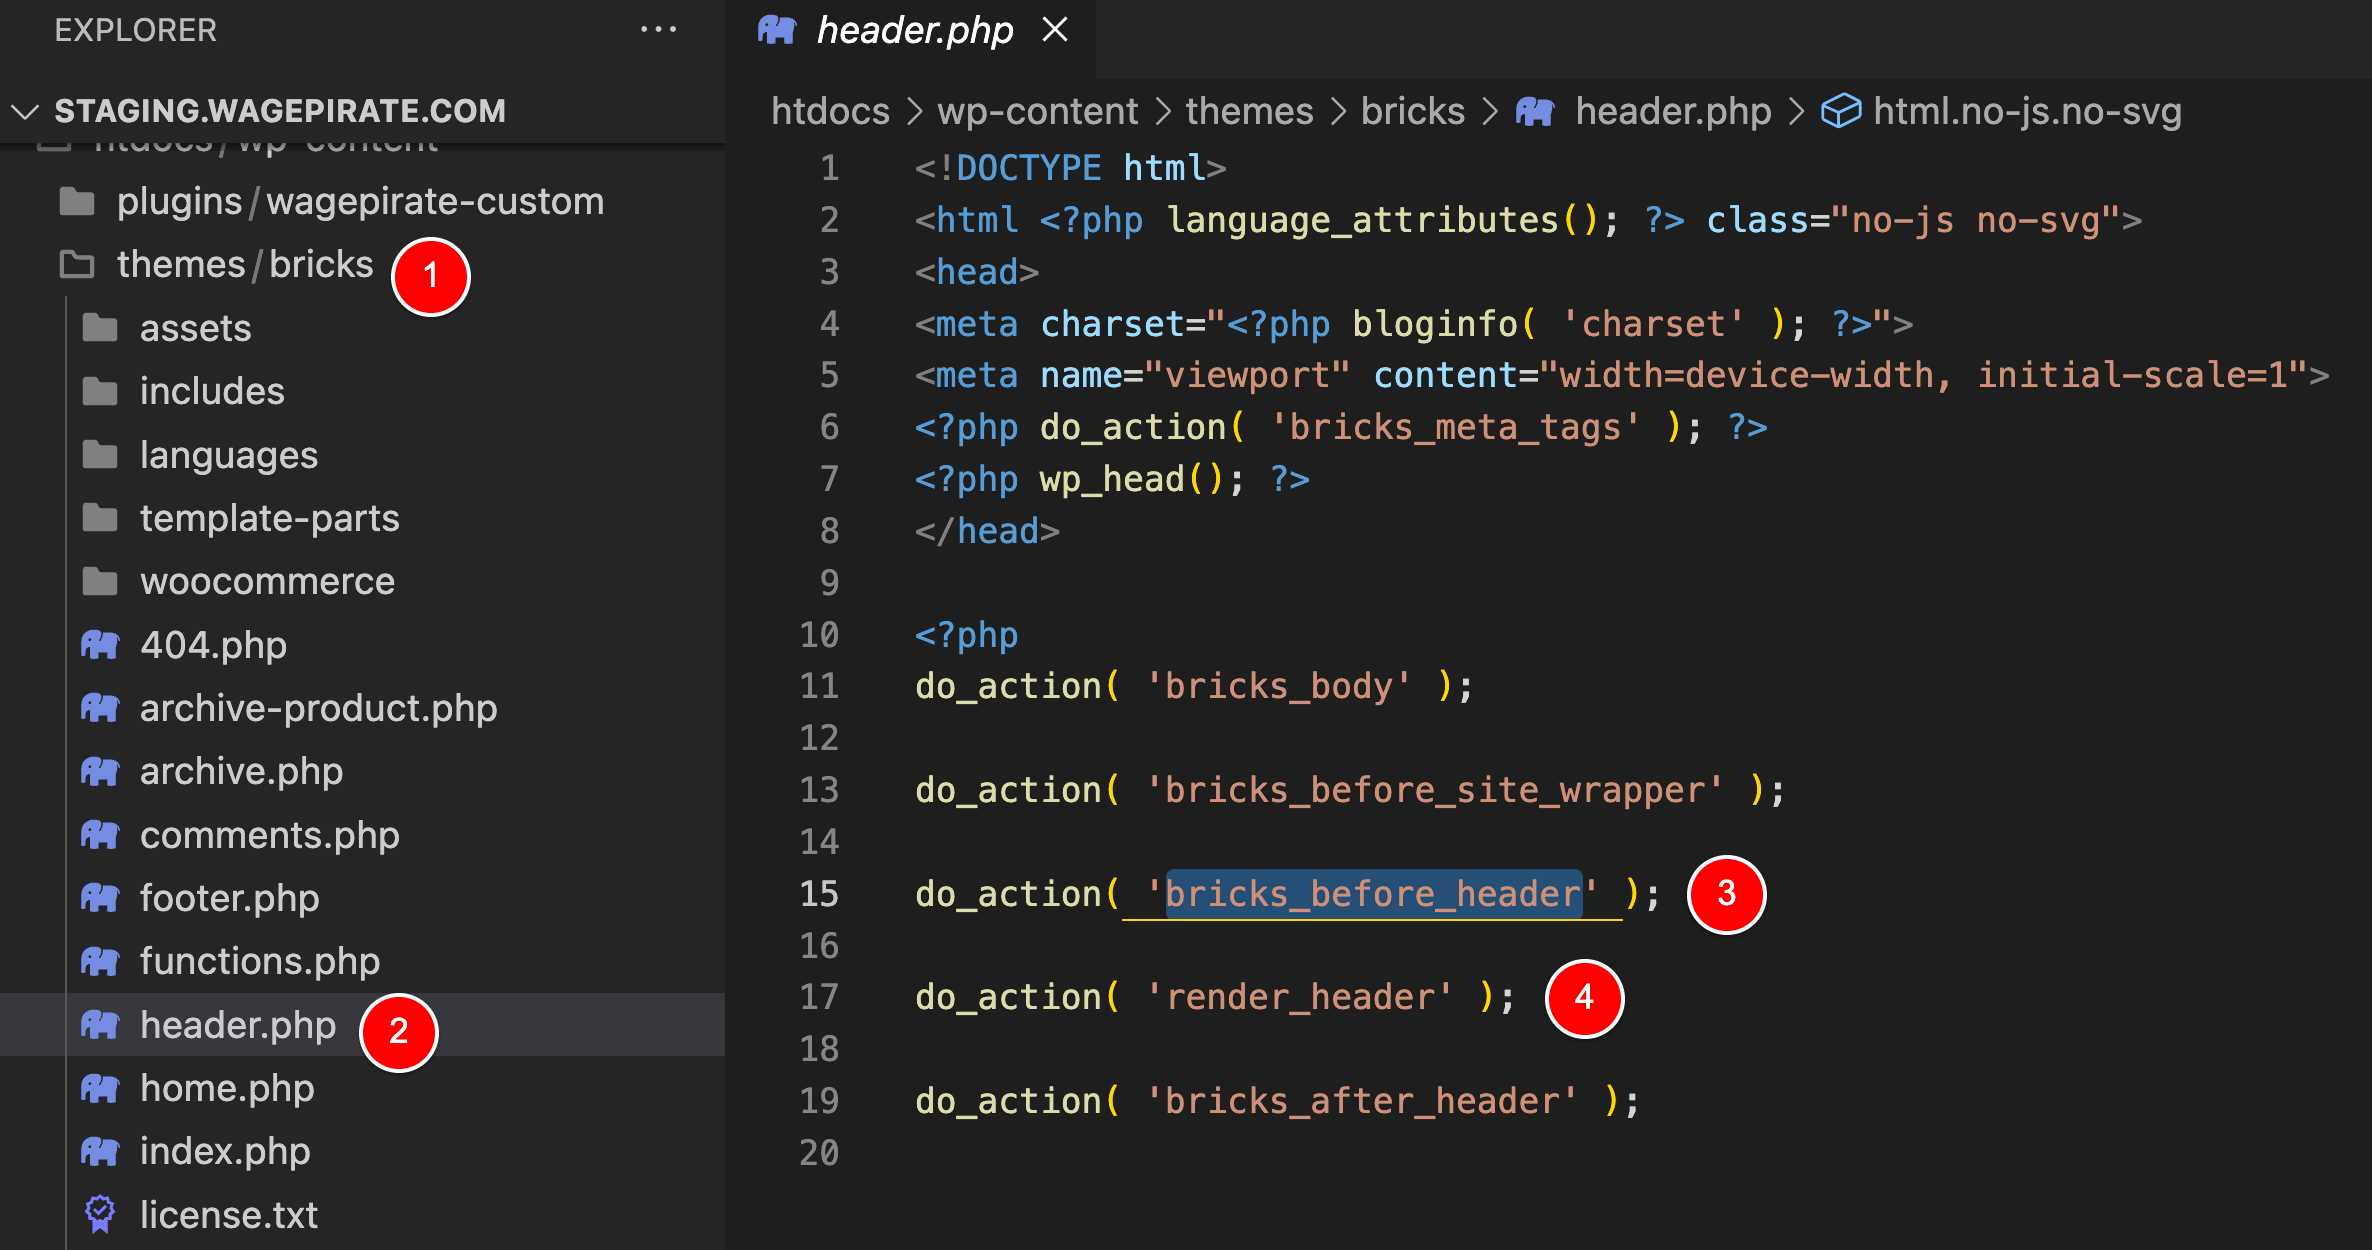
To do this, we will use the bricks_before_header action hook that can be found in the header.php file inside the Bricks Builder theme.
As you can see, this hook fires BEFORE the render_header action hook (3)(4) that actually outputs the Header, making it the before hook to insert our custom HTML element that we’ll use to scroll back up top to.
Go to wherever you add your custom PHP code snippets and paste in the following PHP Code that creates a new <div> element before the Bricks Header using the bricks_before_header hook:
add_action('bricks_before_header', 'c_do_before_header_backtoptop');
function c_do_before_header_backtoptop(){
echo '<div id="backtotop"></div>';
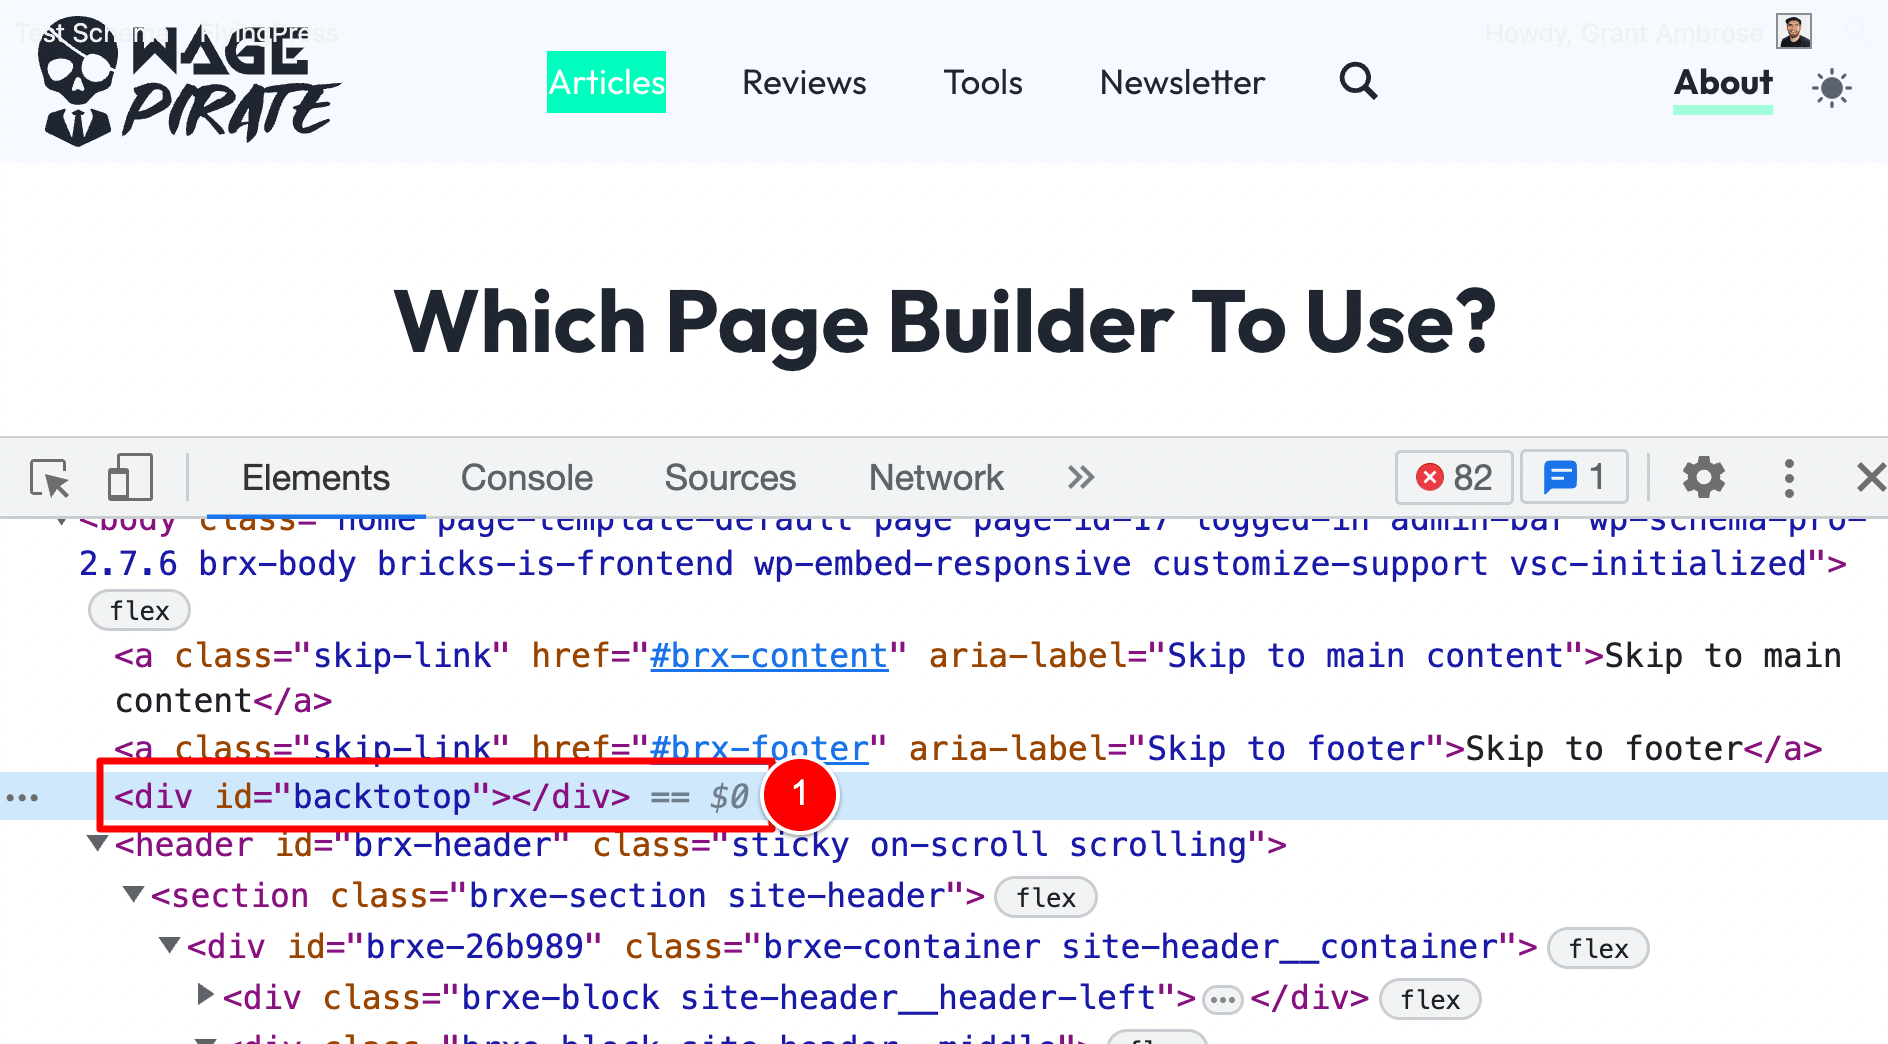
}Code language: PHP (php)With that PHP code added, if we go to the frontend of our website and view the source code – we can now see the new <div> with the ID backtotop added before our <header> element (1).
Linking our Back to Top button to our new HTML element
With that added, let’s go back and edit our Button element which will be our Back to Top button.
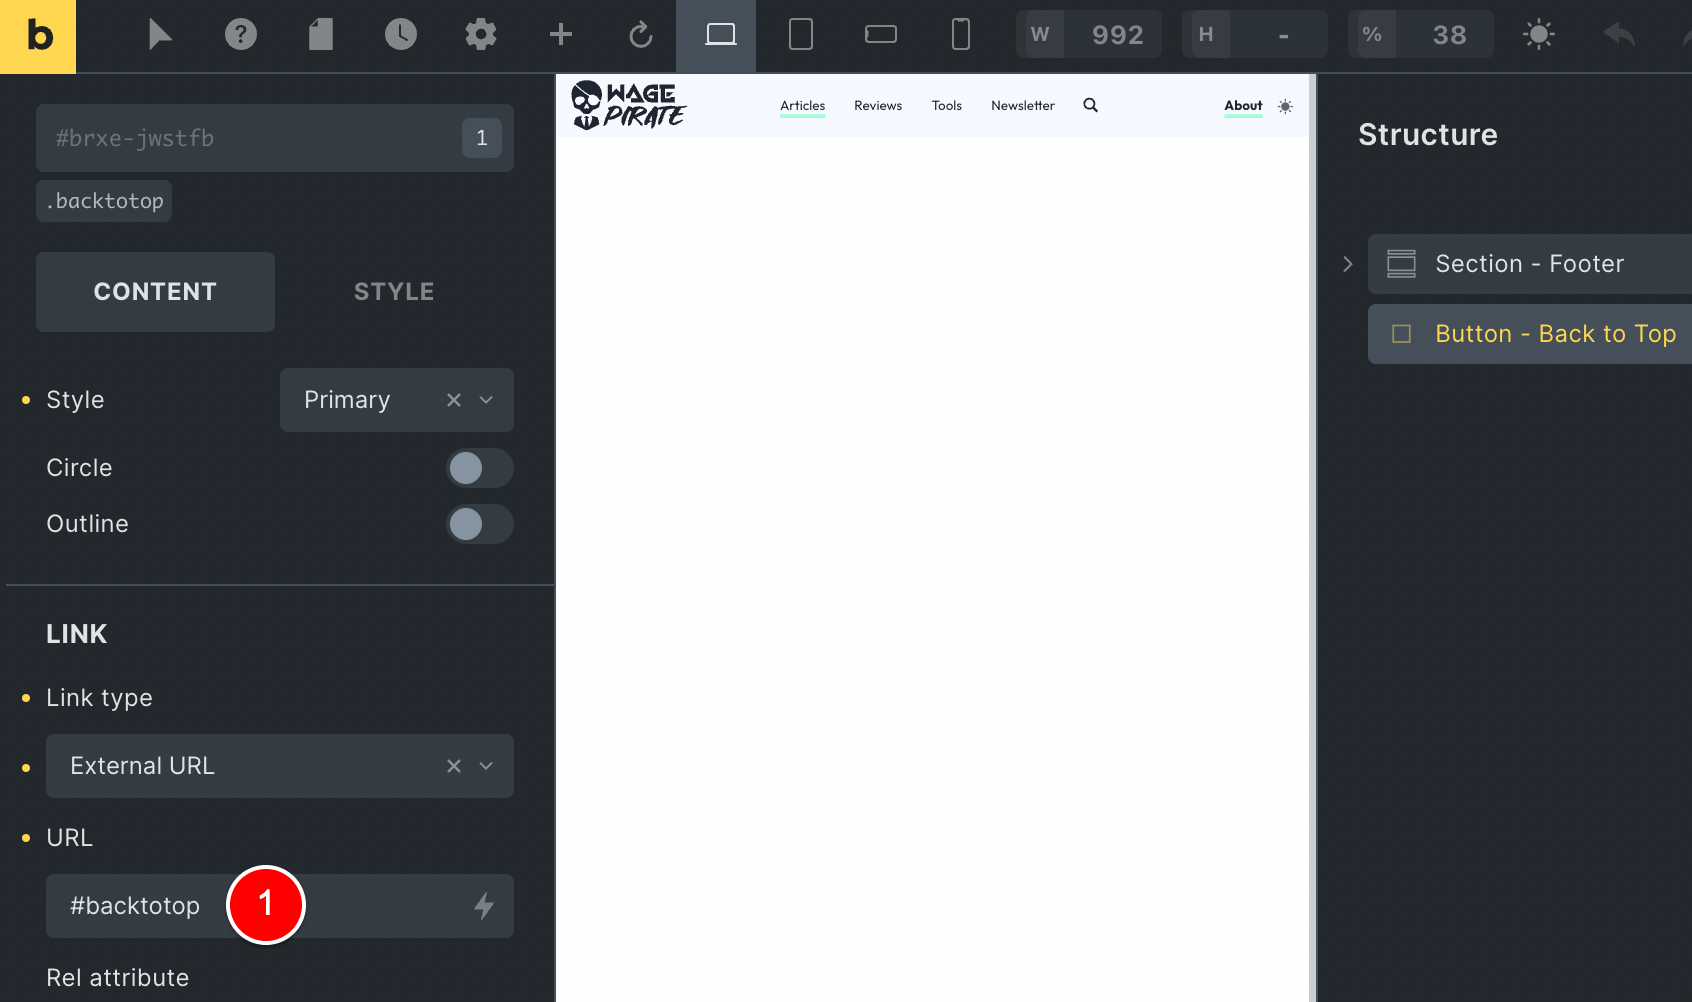
We will change the URL to now link to our new <div> with the ID #backtotop (1).
With everything set up to this point in the article, we have our Back to Top button working!
Styling and positioning our Return to Top button
With the functionality all setup, let’s go ahead and make this button look pretty and stuff 😛
The first thing we need to do is position the Back to Top button so that it’s not stuck at the bottom of our Footer.
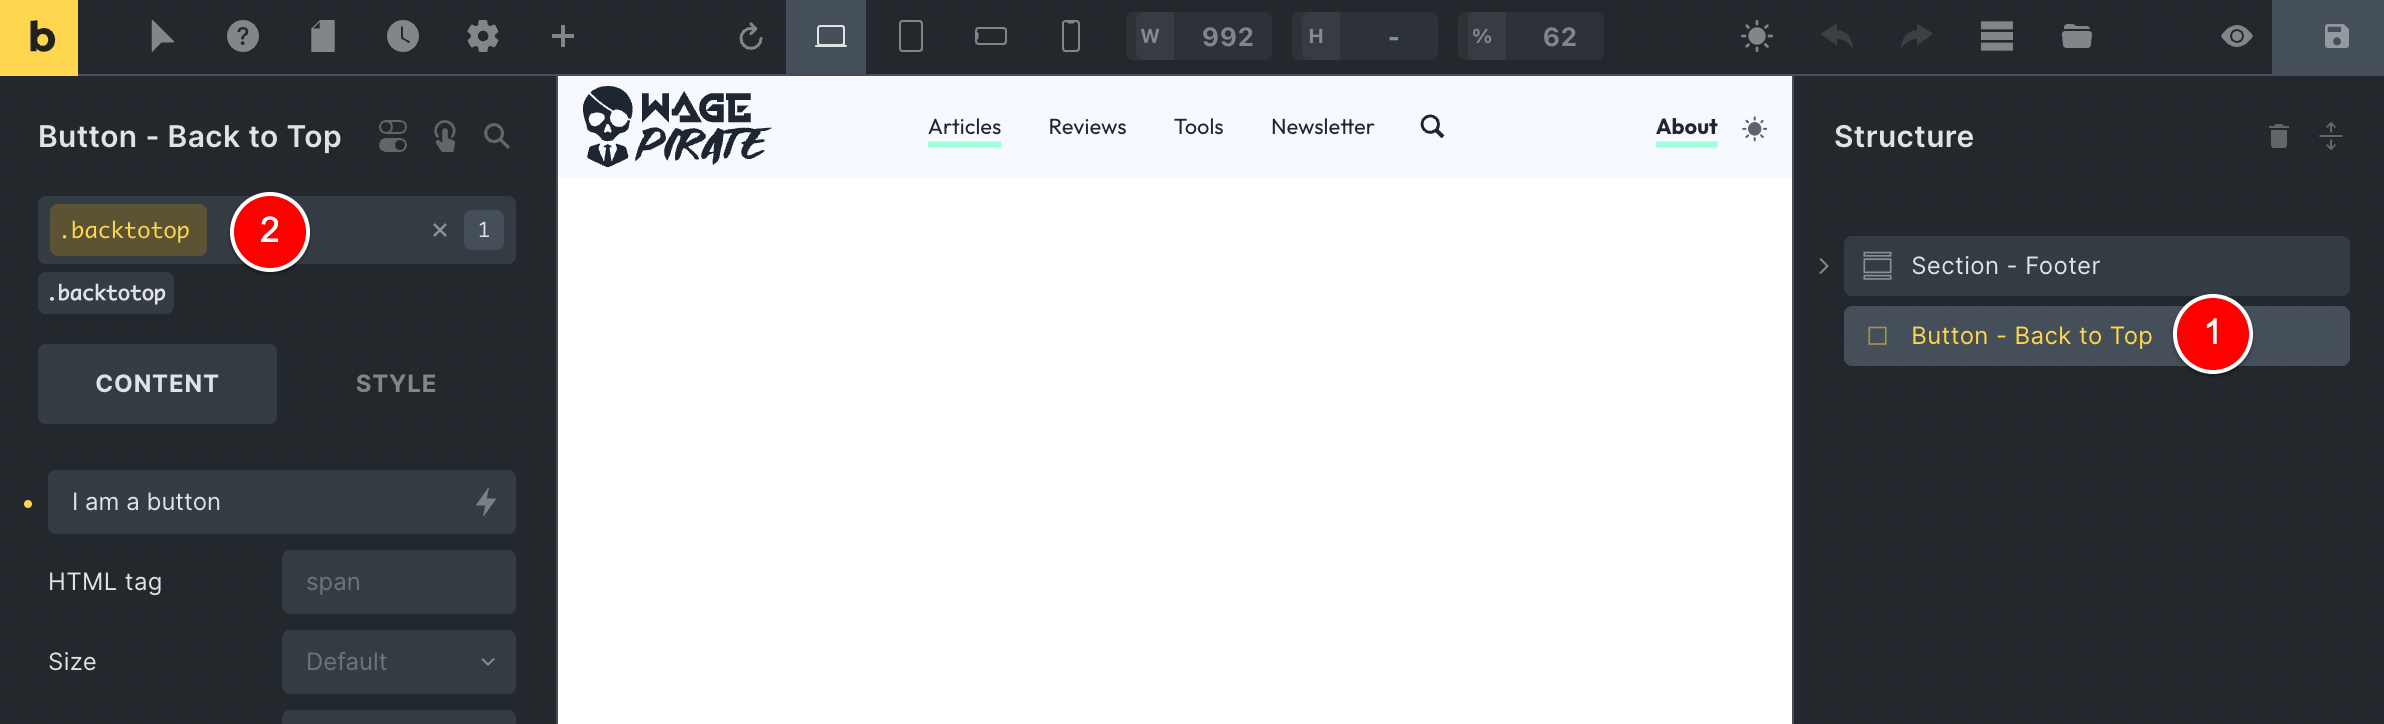
Let’s add a new CSS Class to our Back to Top button named .backtotop (1)(2).
We will use this CSS Class to apply our styling for the button.
Using this CSS class is optional and you could add styling directly to the Button element.
But, I have personally found that adding all my styling to CSS classes and NOT locally to Bricks elements has saved me numerous times while building Bricks websites and I think it’s a good habit to adopt.
Next, we will apply the below settings using the Bricks UI to the .backtotop Global CSS Class:
- Style > Layout > Width = A width that works for your design
- Style > Layout > Height = A height that works for your design
- Style > Positioning > Position = Fixed
- Style > Positioning > Right = 1rem (or whatever works for your design)
- Style > Positioning > Bottom = 1rem (or whatever works for your design)
- Style > Positioning > Z-index = 5 (or whatever works for your design)
With those CSS settings added, we now have a button that is fixed to the bottom right of our Browser at all times which, when clicked, scrolls us back to the top of the page to the HTML element with the ID #backtotop that is output before our Header.
Tips for adding an Up Arrow icon
Next, let’s change the “I am a button” text to something that makes a bit more sense.
Let’s click to edit our Back to Top button and then add an up arrow as the icon.
There are several ways to do this, one of which is to go to Google and search for the up symbol (1) and copy it from here (2)…
And paste it as the text (1) for our Back to Top Button element in Bricks.
You could also upload an SVG icon for an up arrow, or choose an icon from one of the Icon Fonts that Bricks gives you access to.
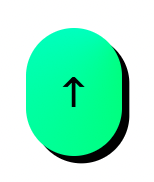
With our up arrow added, here is what our Return to Top button looks like now:
We’re so close to finishing this!
Show the Back to Top button only after the user scrolls X pixels
The icing on the cake for this set-up is to do the following:
- Fade-In and Fade-Out
Let’s add some animation to the button so that when it shows and hides on our page, we slide it up / down and fade it in / out. - Hide on Page Load
Hide this Back to Top button on page load and only show it once the user has scrolled down the screen a bit
These as the last 2 things we need to do but I think they’re well worth putting in the effort to complete.
Best of all – you can just copy and paste my code and it will work on your website!
Oh – and we will complete both of these things at the same time with our code.
To do this, let’s edit the .backtotop Global CSS Class (2) (that we have applied to our Back to Top button element) and go to the Custom CSS tab (3).
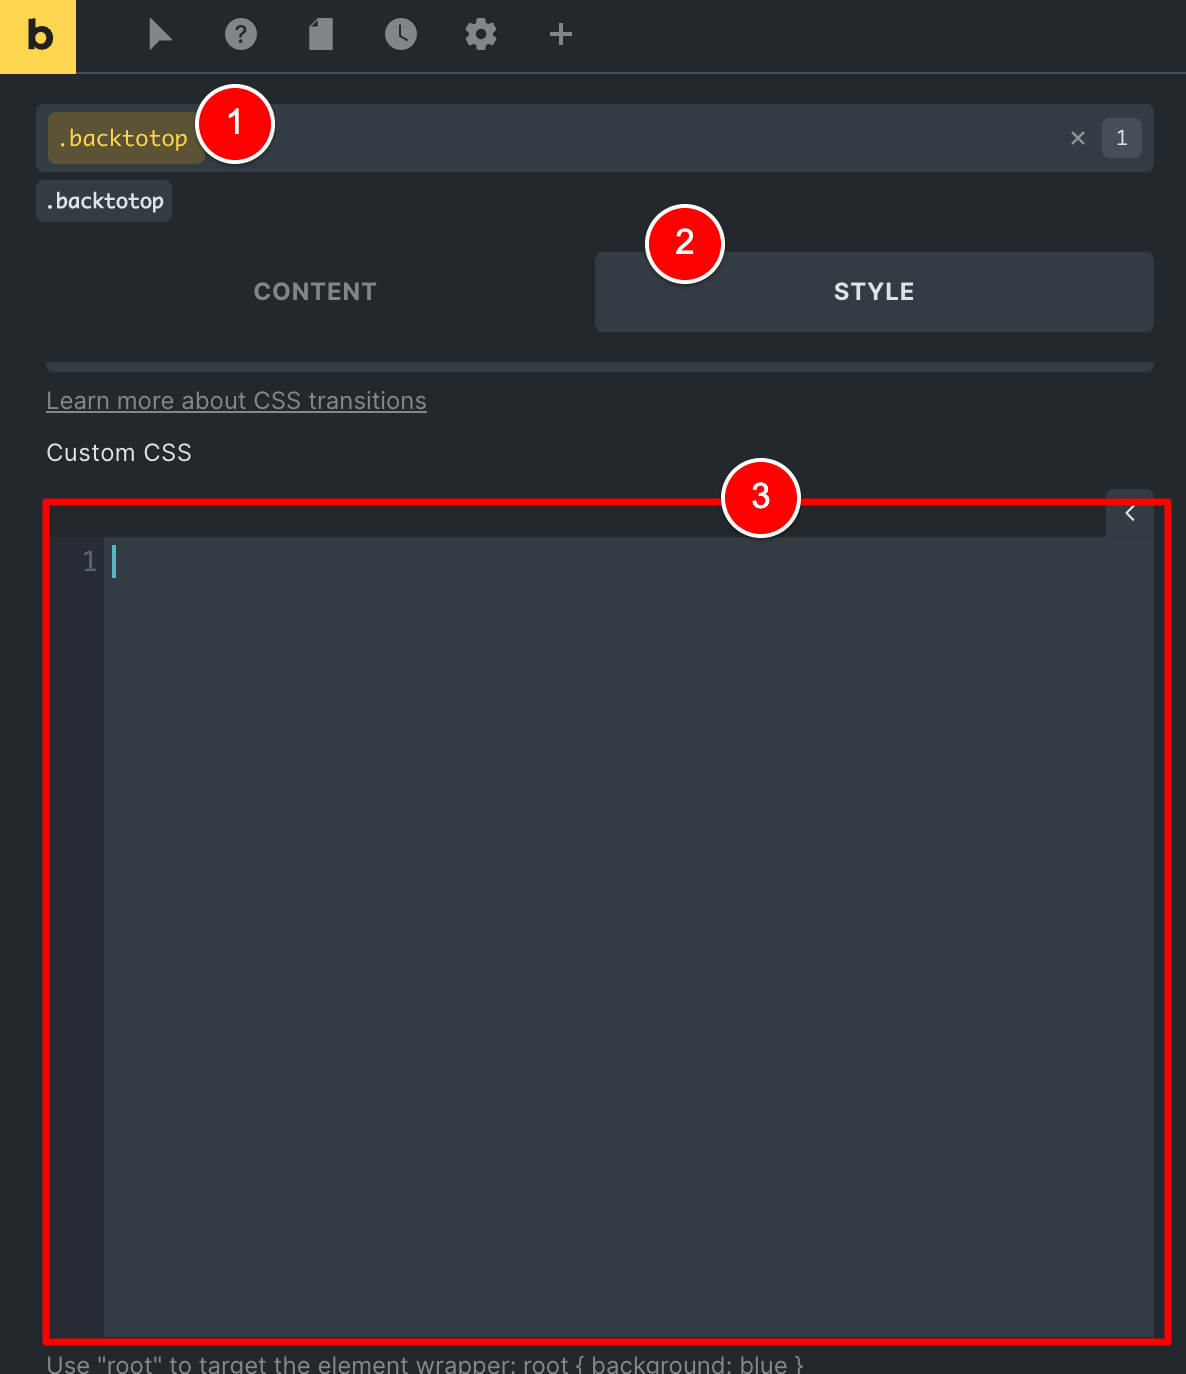
Copy and Paste the code below into this Custom CSS box.
.bricks-is-frontend root{
	opacity: 0;
  visibility: hidden;
}
root[show="true"]{
	animation: fadeIn 0.5s;
  animation-fill-mode: forwards;
}
@keyframes fadeIn {
   0% {opacity: 0;visibility: hidden;}
   100% {opacity: 1;visibility: visible;}
}

root[show="false"]{
	animation: fadeOut 0.5s;
  animation-fill-mode: forwards;
}
@keyframes fadeOut {
   0% {opacity: 1;visibility: visible;}
   100% {opacity: 0;visibility: hidden;}
} Code language: CSS (css)
Next, we just need to add the below PHP snippet that outputs a small bit of vanilla JavaScript.
Add this PHP code just after the previous PHP code from earlier in this tutorial.
// handle our Back to Top button
add_action('wp_footer', 'c_do_backtotop_footer');
function c_do_backtotop_footer(){ ?>

	<script>
		const backtotop_button = document.querySelector(".backtotop");
		const scrollAmount = 100; // number of px before Back to Top button shows.

		window.onscroll = function() {
			// handles when user scrolls more than scrollAmount, then we show the Back to Top button
			if (document.body.scrollTop > scrollAmount || document.documentElement.scrollTop > scrollAmount) {
				backtotop_button.setAttribute('show', 'true');
			}
			// handles when user has not scrolled at all (i.e. on page load)
			else if (document.body.scrollTop <= scrollAmount && !backtotop_button.hasAttribute('show')) {
				return
			}
			// handles when user scrolls down and then back up,
			// or has scrolled down and then clicks the Back to Top button
			else {
				backtotop_button.setAttribute('show', 'false');
			}
		}
	</script>

<?php }Code language: JavaScript (javascript)
The above code has been set up to only show the Back to Top button when our user has scrolled at least 100px of the page (i.e. it does not show on page load, only after a bit of scrolling).
Also, if the user clicks the Back to Top button (or manually scrolls up the page) the Back to Top button will hide again once the user is less than 100px away from the top of the page.
You can change 100 value in the code above to your own values if you’d like the user to scroll a bit more down your Page before you reveal the Back to Top Button.
For example, you could change 100 in the code to 300 and then the Back to Top button would only show to your user once they have scrolled more than 300px down your Page.
With all that done, click SAVE and go and check out your new Back to Top button.
As you can see, with a little bit of code we have managed to create a very cool Back to Top button that does everything we need it to (and nothing less).
Leave a Reply