Remove the Header and Footer in Bricks Builder (The Correct Way)
By the end of this article, you’ll know the easiest way to remove the Header and Footer on the different pages, templates, Custom Post Types and layouts you build inside of Bricks Builder.
HINT: The best way to disable the header and footer is NOT like the below:
Because… even though this does indeed work…

There is another way you can achieve this same result that is:
- Much easier to manage as your website grows
- Allows you to disable the Header and Footer per post type and more.
- Plus a few other benefits I’ll explain in this article.
Keep reading to see the best way to hide your Header and Footer in Bricks Builder.
The TWO ways you can remove the Header and Footer in Bricks Builder
YAAAASS – there are indeed two ways to do this, which is why I decided to make this post. I’ll show you each of the ways you can do it and then you can decide which one best suits your use case.
Firstly – in the image above, that is what I refer to in this article as Method 1 (the per-post method).
Method 2 is far superior and is the method you should use (and I’ll explain what Method 2 is very shortly).
When you use Method 2 to turn off the header and footer in Bricks Builder:
- You can see on one page in the admin area ALL the pages / custom post types / templates that you’ve disabled the header and footer on.
- You will be able to set show/hide rules on a per Post Type basis, per Template basis, and much more.
Overall, by the end of this article, you’ll see why you don’t want to turn the Header and Footer off like the image above.
But first – I want to go through some examples of where I had to disable the header and footer recently on my website, because by doing this – the advantages of Method 2 will become a lot more apparent later on.
VIDEO: The Video Tutorial
Here is the entire Blog Post as a Video Tutorial, in case you’d rather watch a video than read the Blog Post (but I’d recommend you do both to get the most out of this tutorial).
Examples: Why I removed the Header and Footer from my website
I recently needed to remove the Header and Footer from the pages I was building using the FunnelKit plugin for WordPress.
I was using ClickFunnels previously for all my Sales Funnels but I decided to replace it with FunnelKit because FunnelKit has a lot more functionality and FunnelKit is a much cheaper alternative for ClickFunnels.
When you install FunnelKit, you create your Sales Funnels under FunnelKit > Funnels and the steps you add into your funnel are actually Custom Post Types.
Some of the Custom Post Types that FunnelKit uses are:
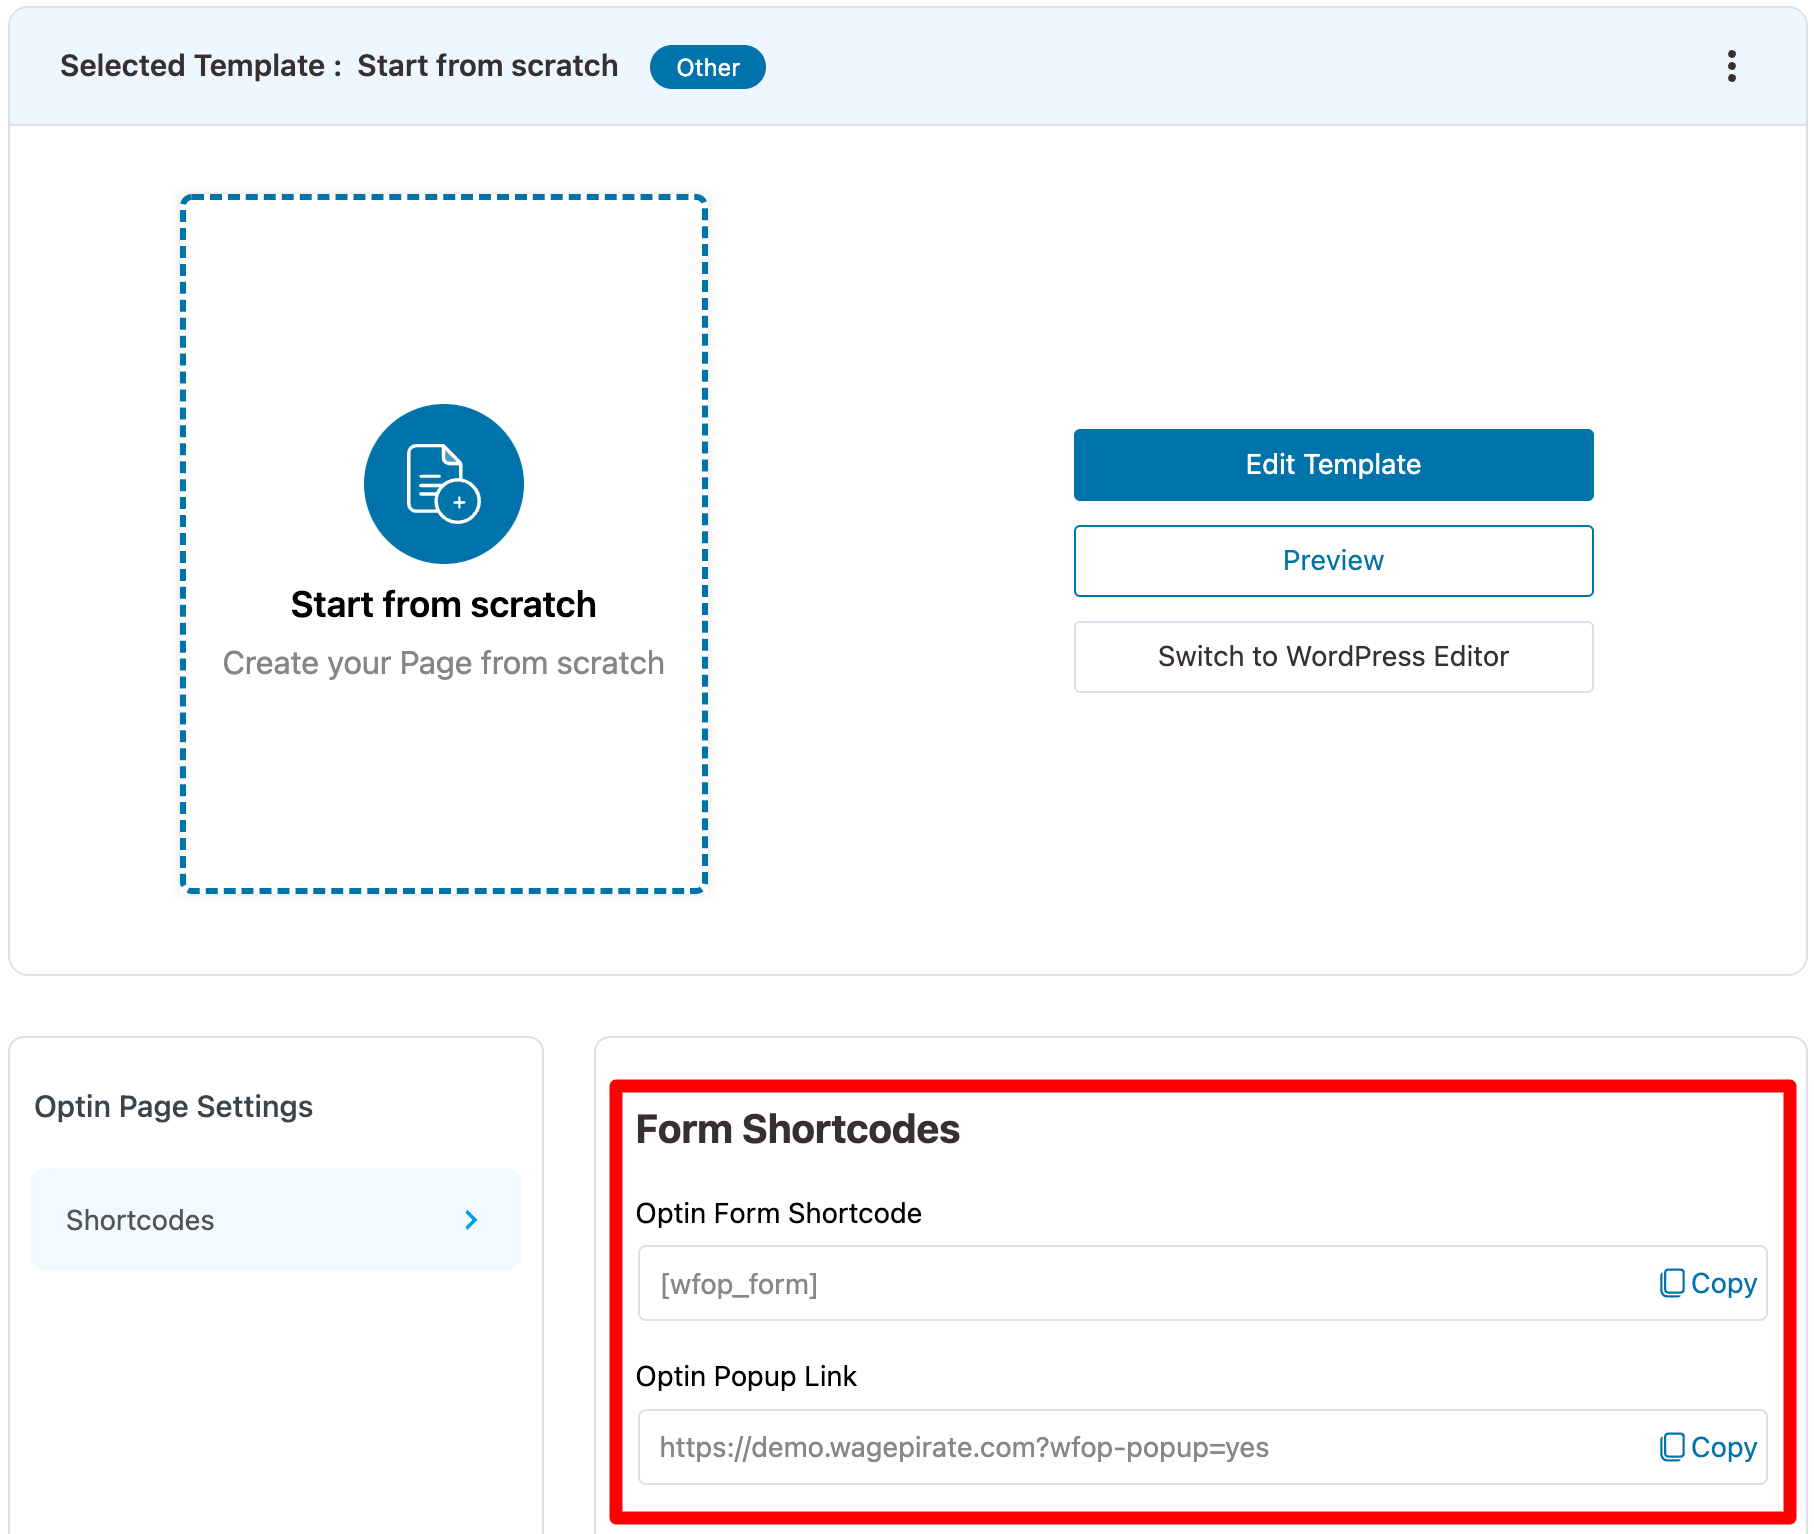
- wffn_optin (optin pages)
- wffn_oty (optin thank you page)
- + a few more.
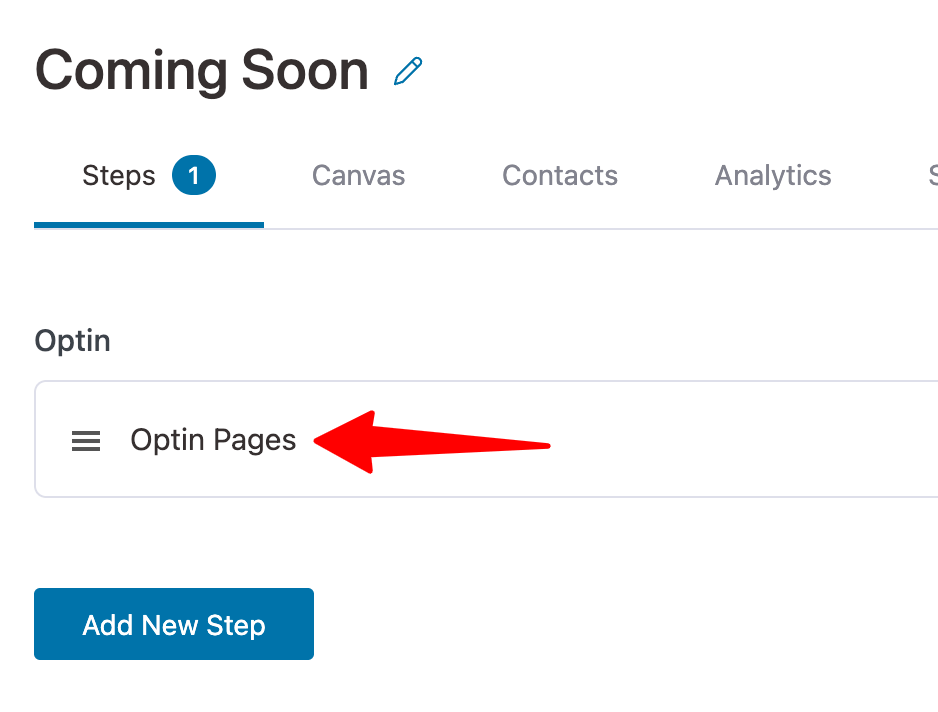
Now, because sales funnels are really just a series of pages showing one-after-another, I realised that FunnelKit is the best plugin to use to make a Coming Soon page in WordPress.
And so, I wrote an entire WordPress tutorial that shows you how to use FunnelKit to create a Coming Soon page.
RELATED: FunnelKit: The BEST Coming Soon Page plugin for WordPress in 2022 (see why…)
In that tutorial, I needed to remove the Header and Footer from all the steps inside the Coming Soon page funnel.
So that I could turn this Coming Soon page…
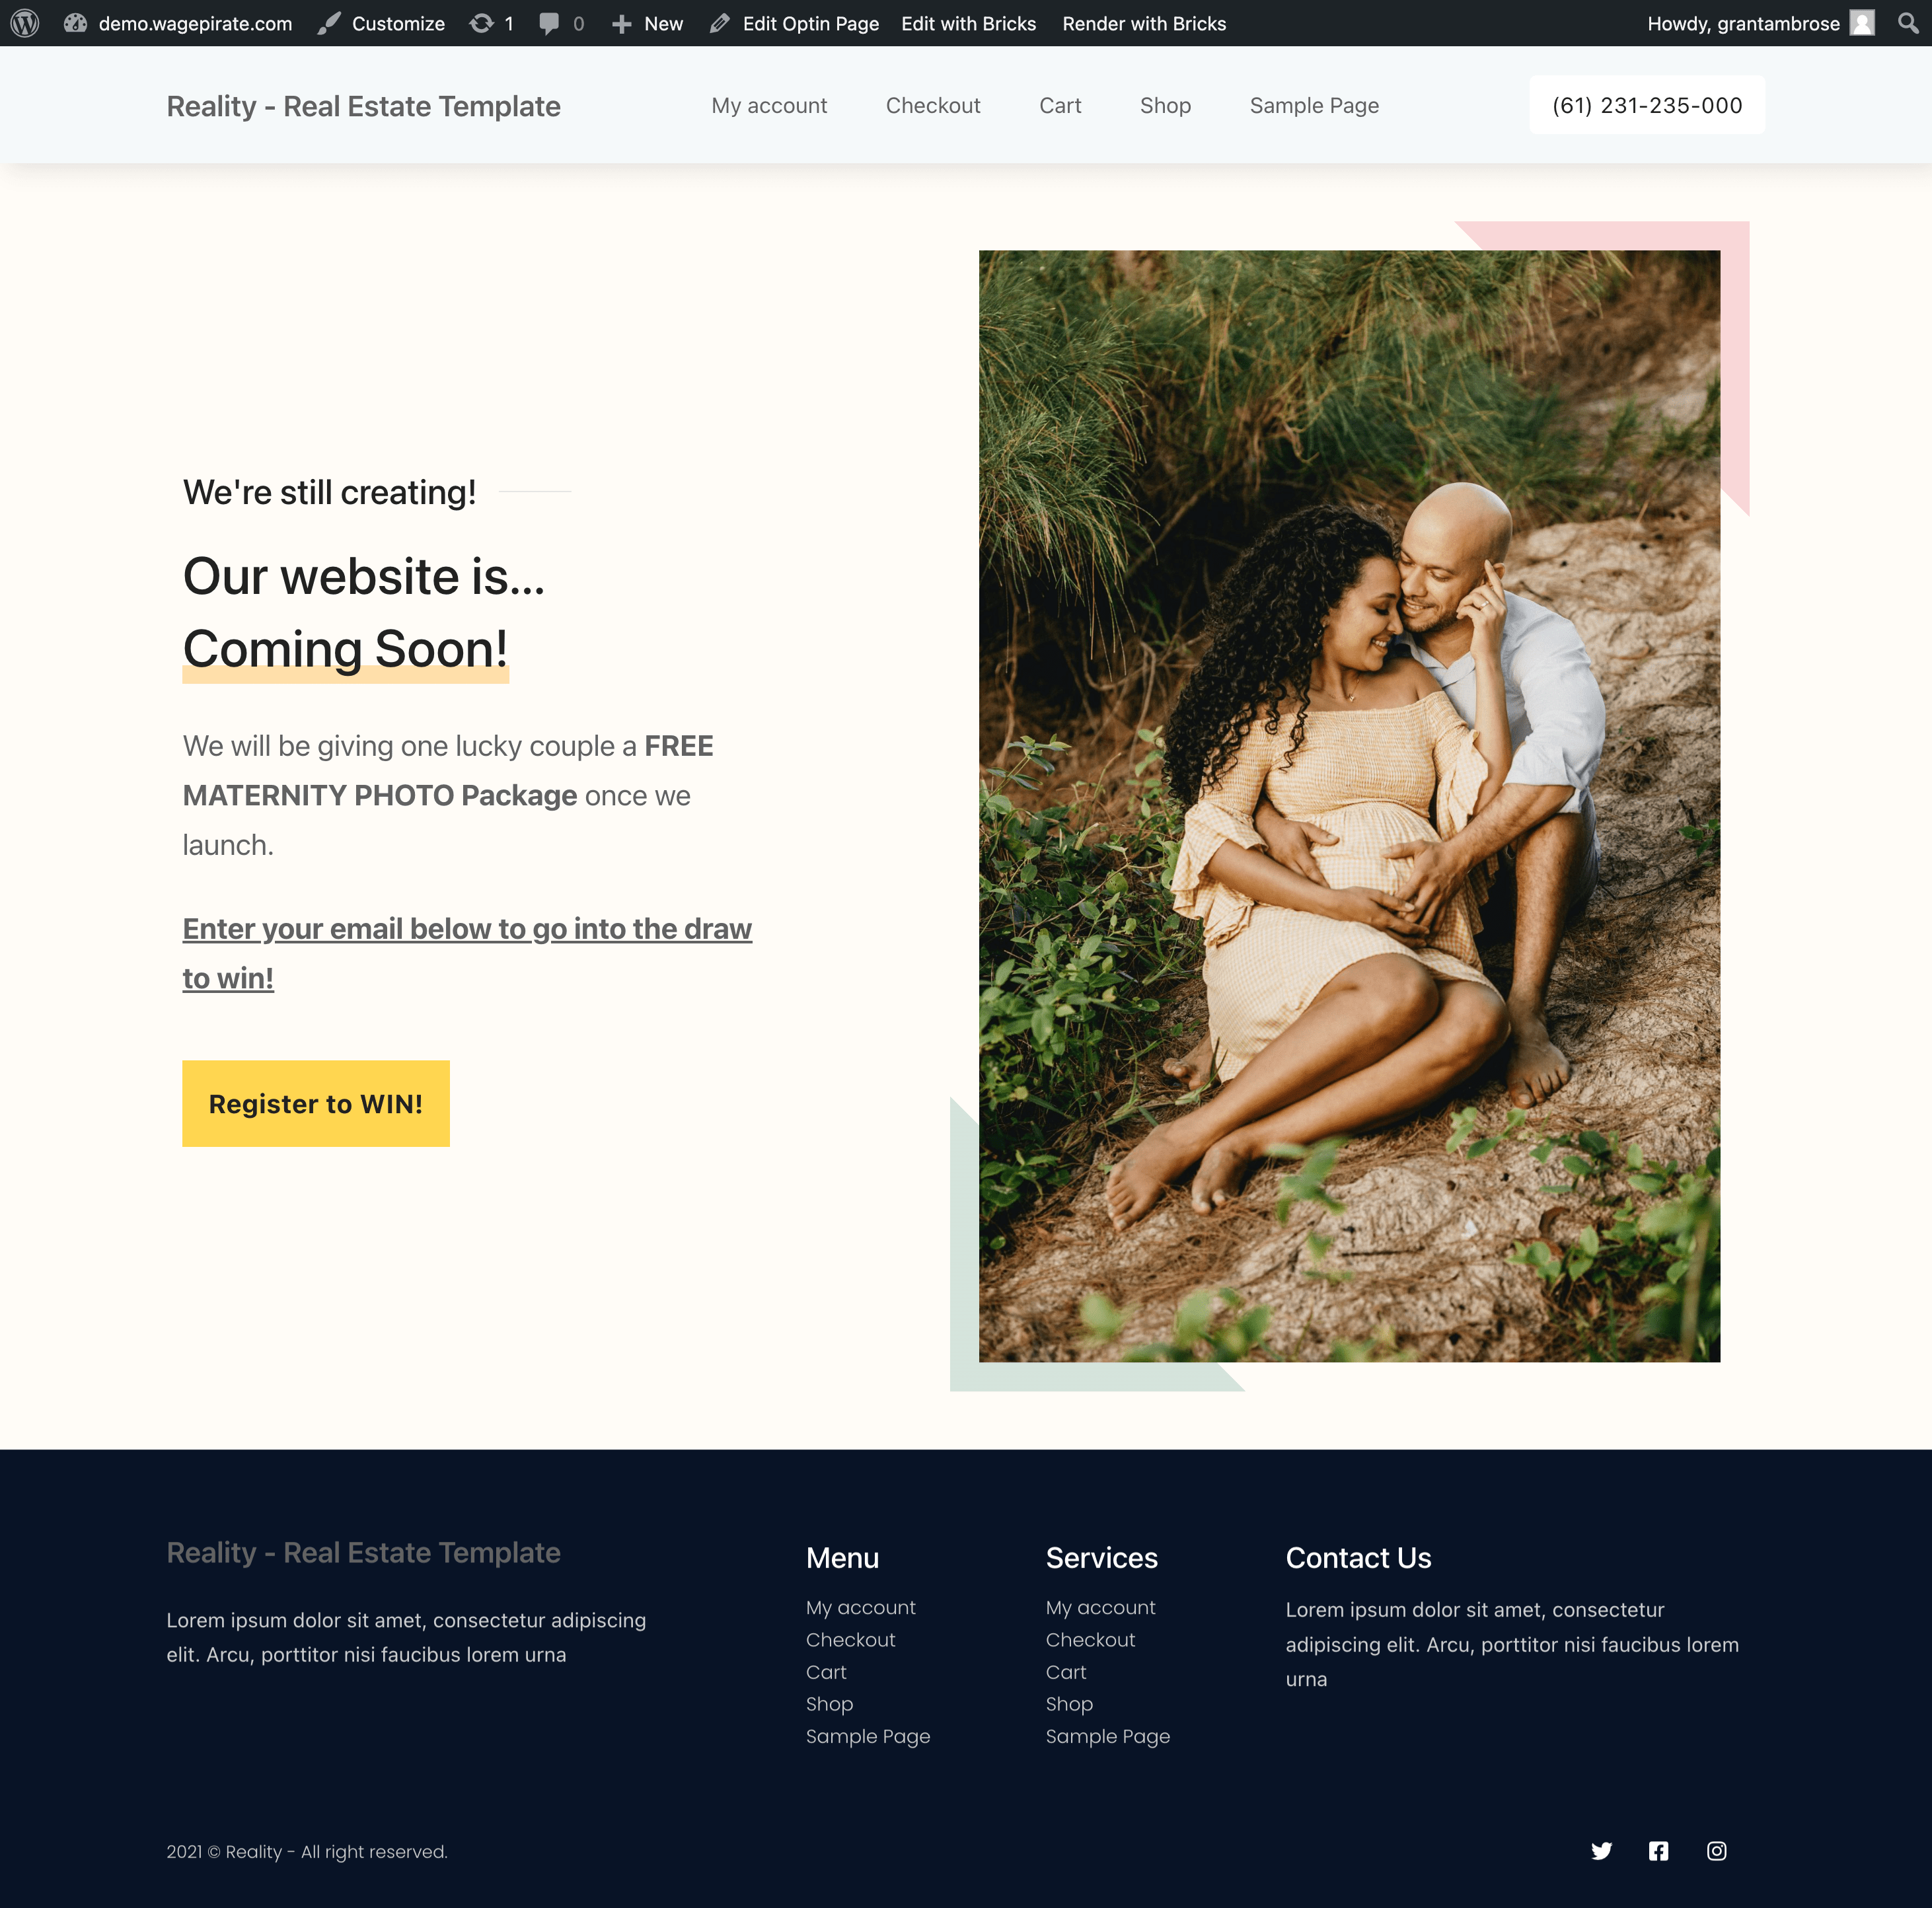
Into this design with no Header or Footer…

It’s a really good tutorial that’ll show you a bit more about how FunnelKit works (in case you’re looking for a Sales Funnel plugin for WordPress).
But that’s a good example of when I needed to do it for myself and one you might use for your business.
So, let’s get into the two ways I found that you can hide the Header and Footer in Bricks Builder and go through the pros and cons of each method.
Firstly, let’s start with the first method you have available to you.
Method 1: Per-Post
We will keep running with this Coming Soon page example for the rest of this tutorial because it’s going to help explain what we’re doing.
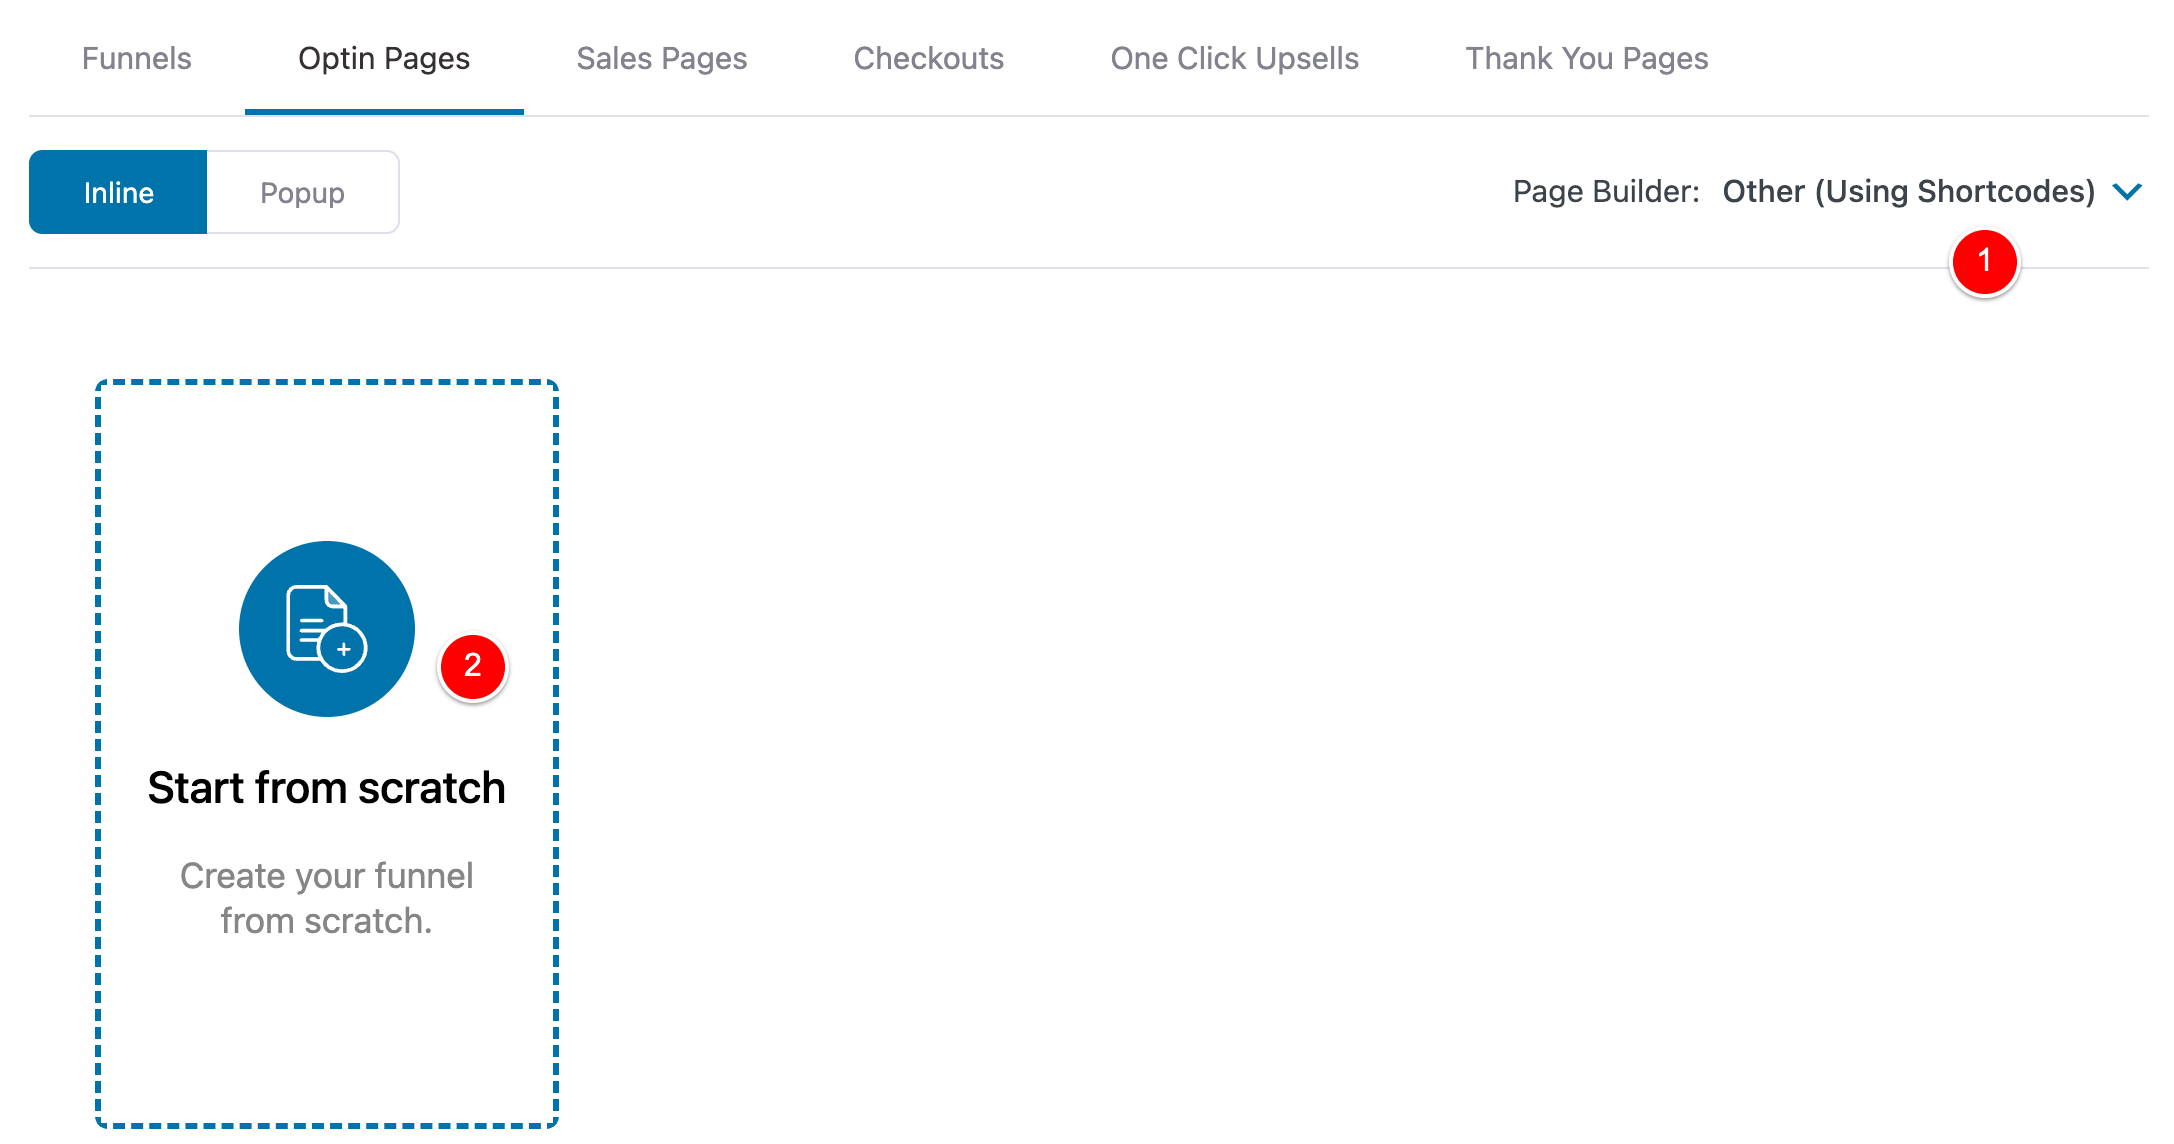
Let’s say we wanted to build a Coming Soon page and we didn’t want to use FunnelKit or another plugin to do so.
What we could do is go to Pages > Add new.
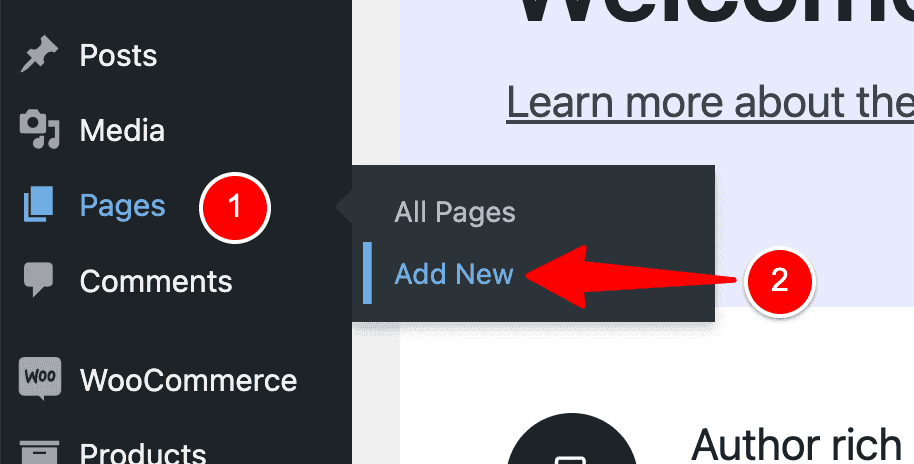
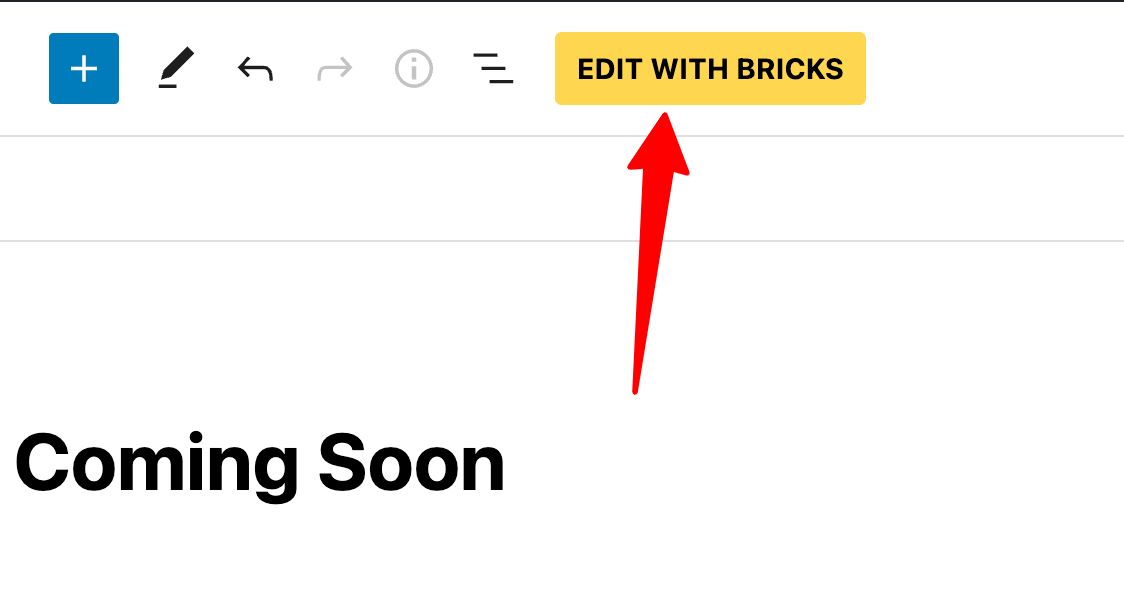
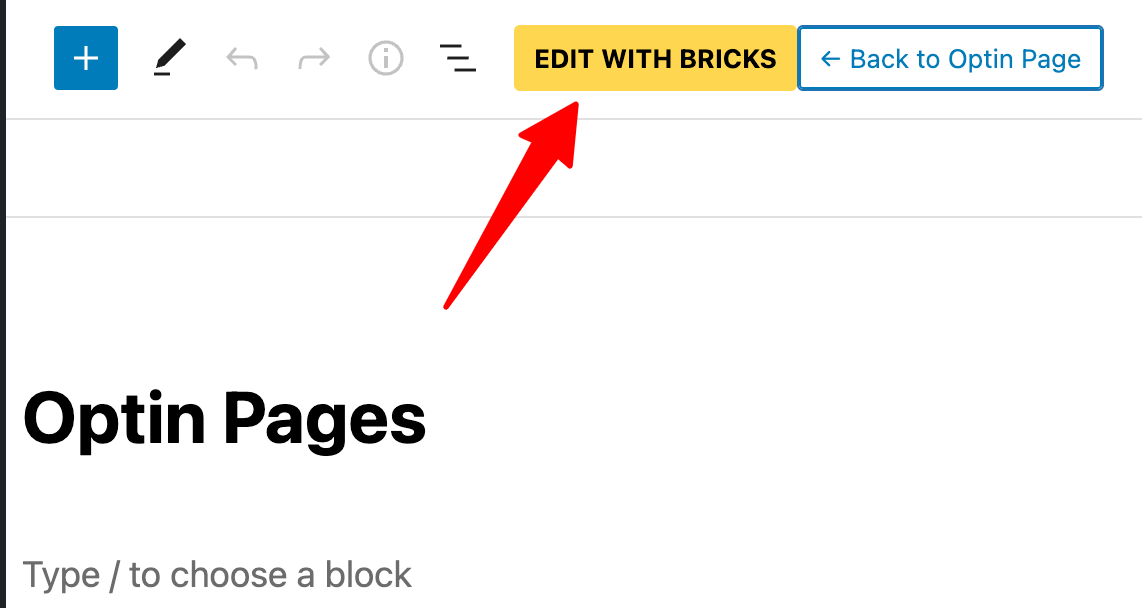
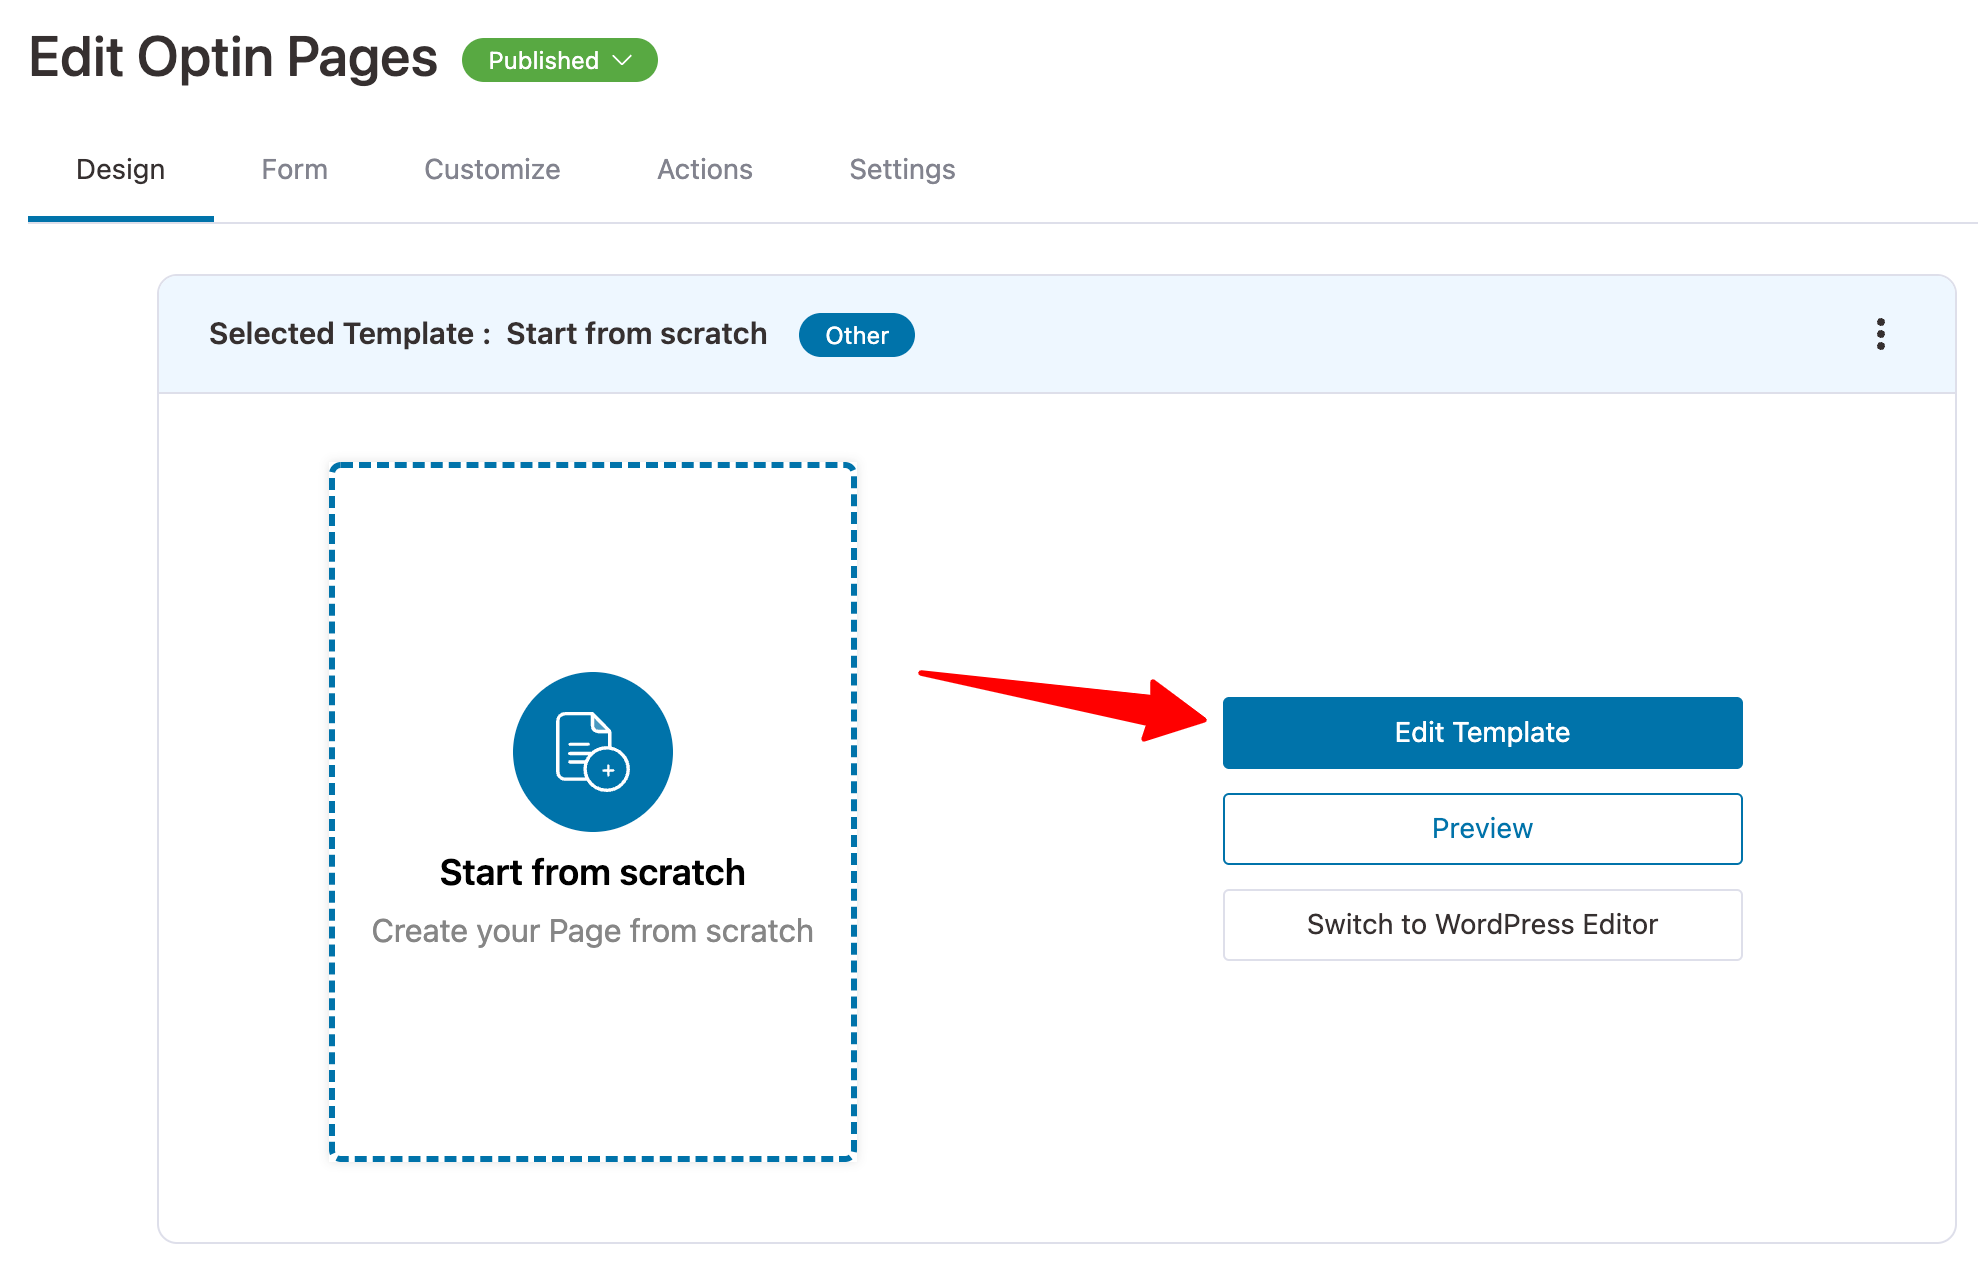
Next, we create a new page called Coming Soon and then click Edit With Bricks to design our page.
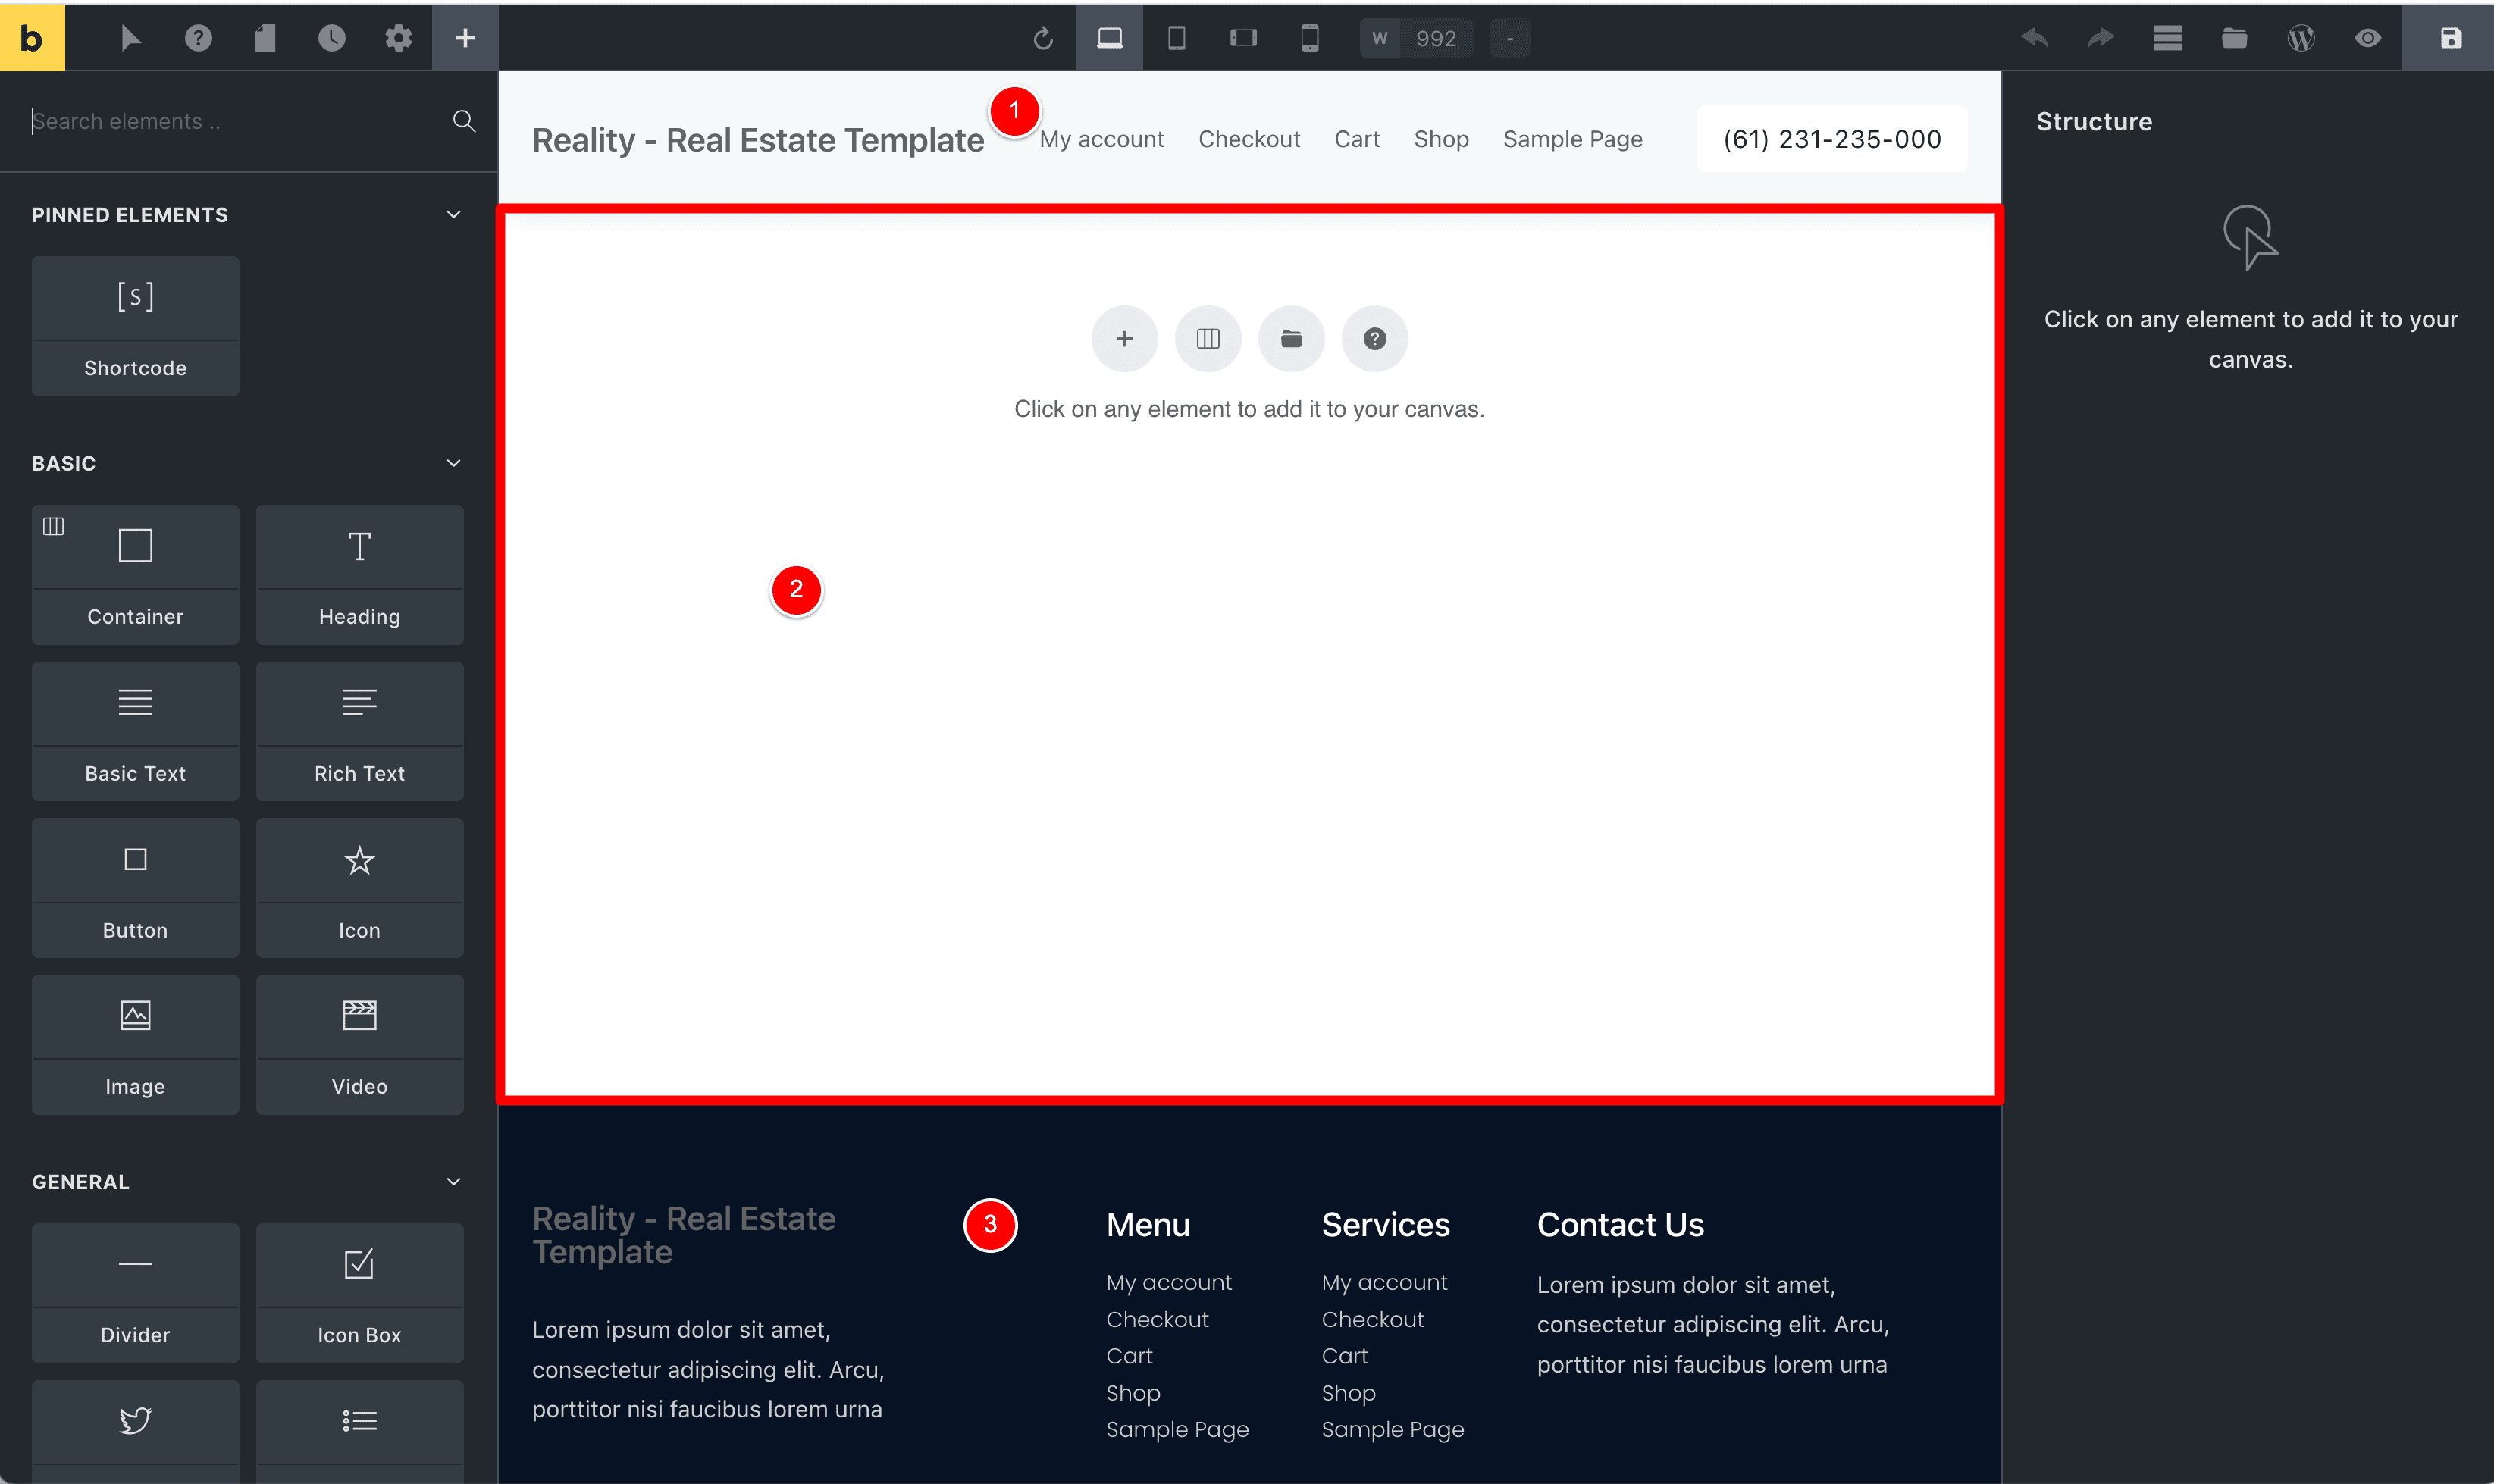
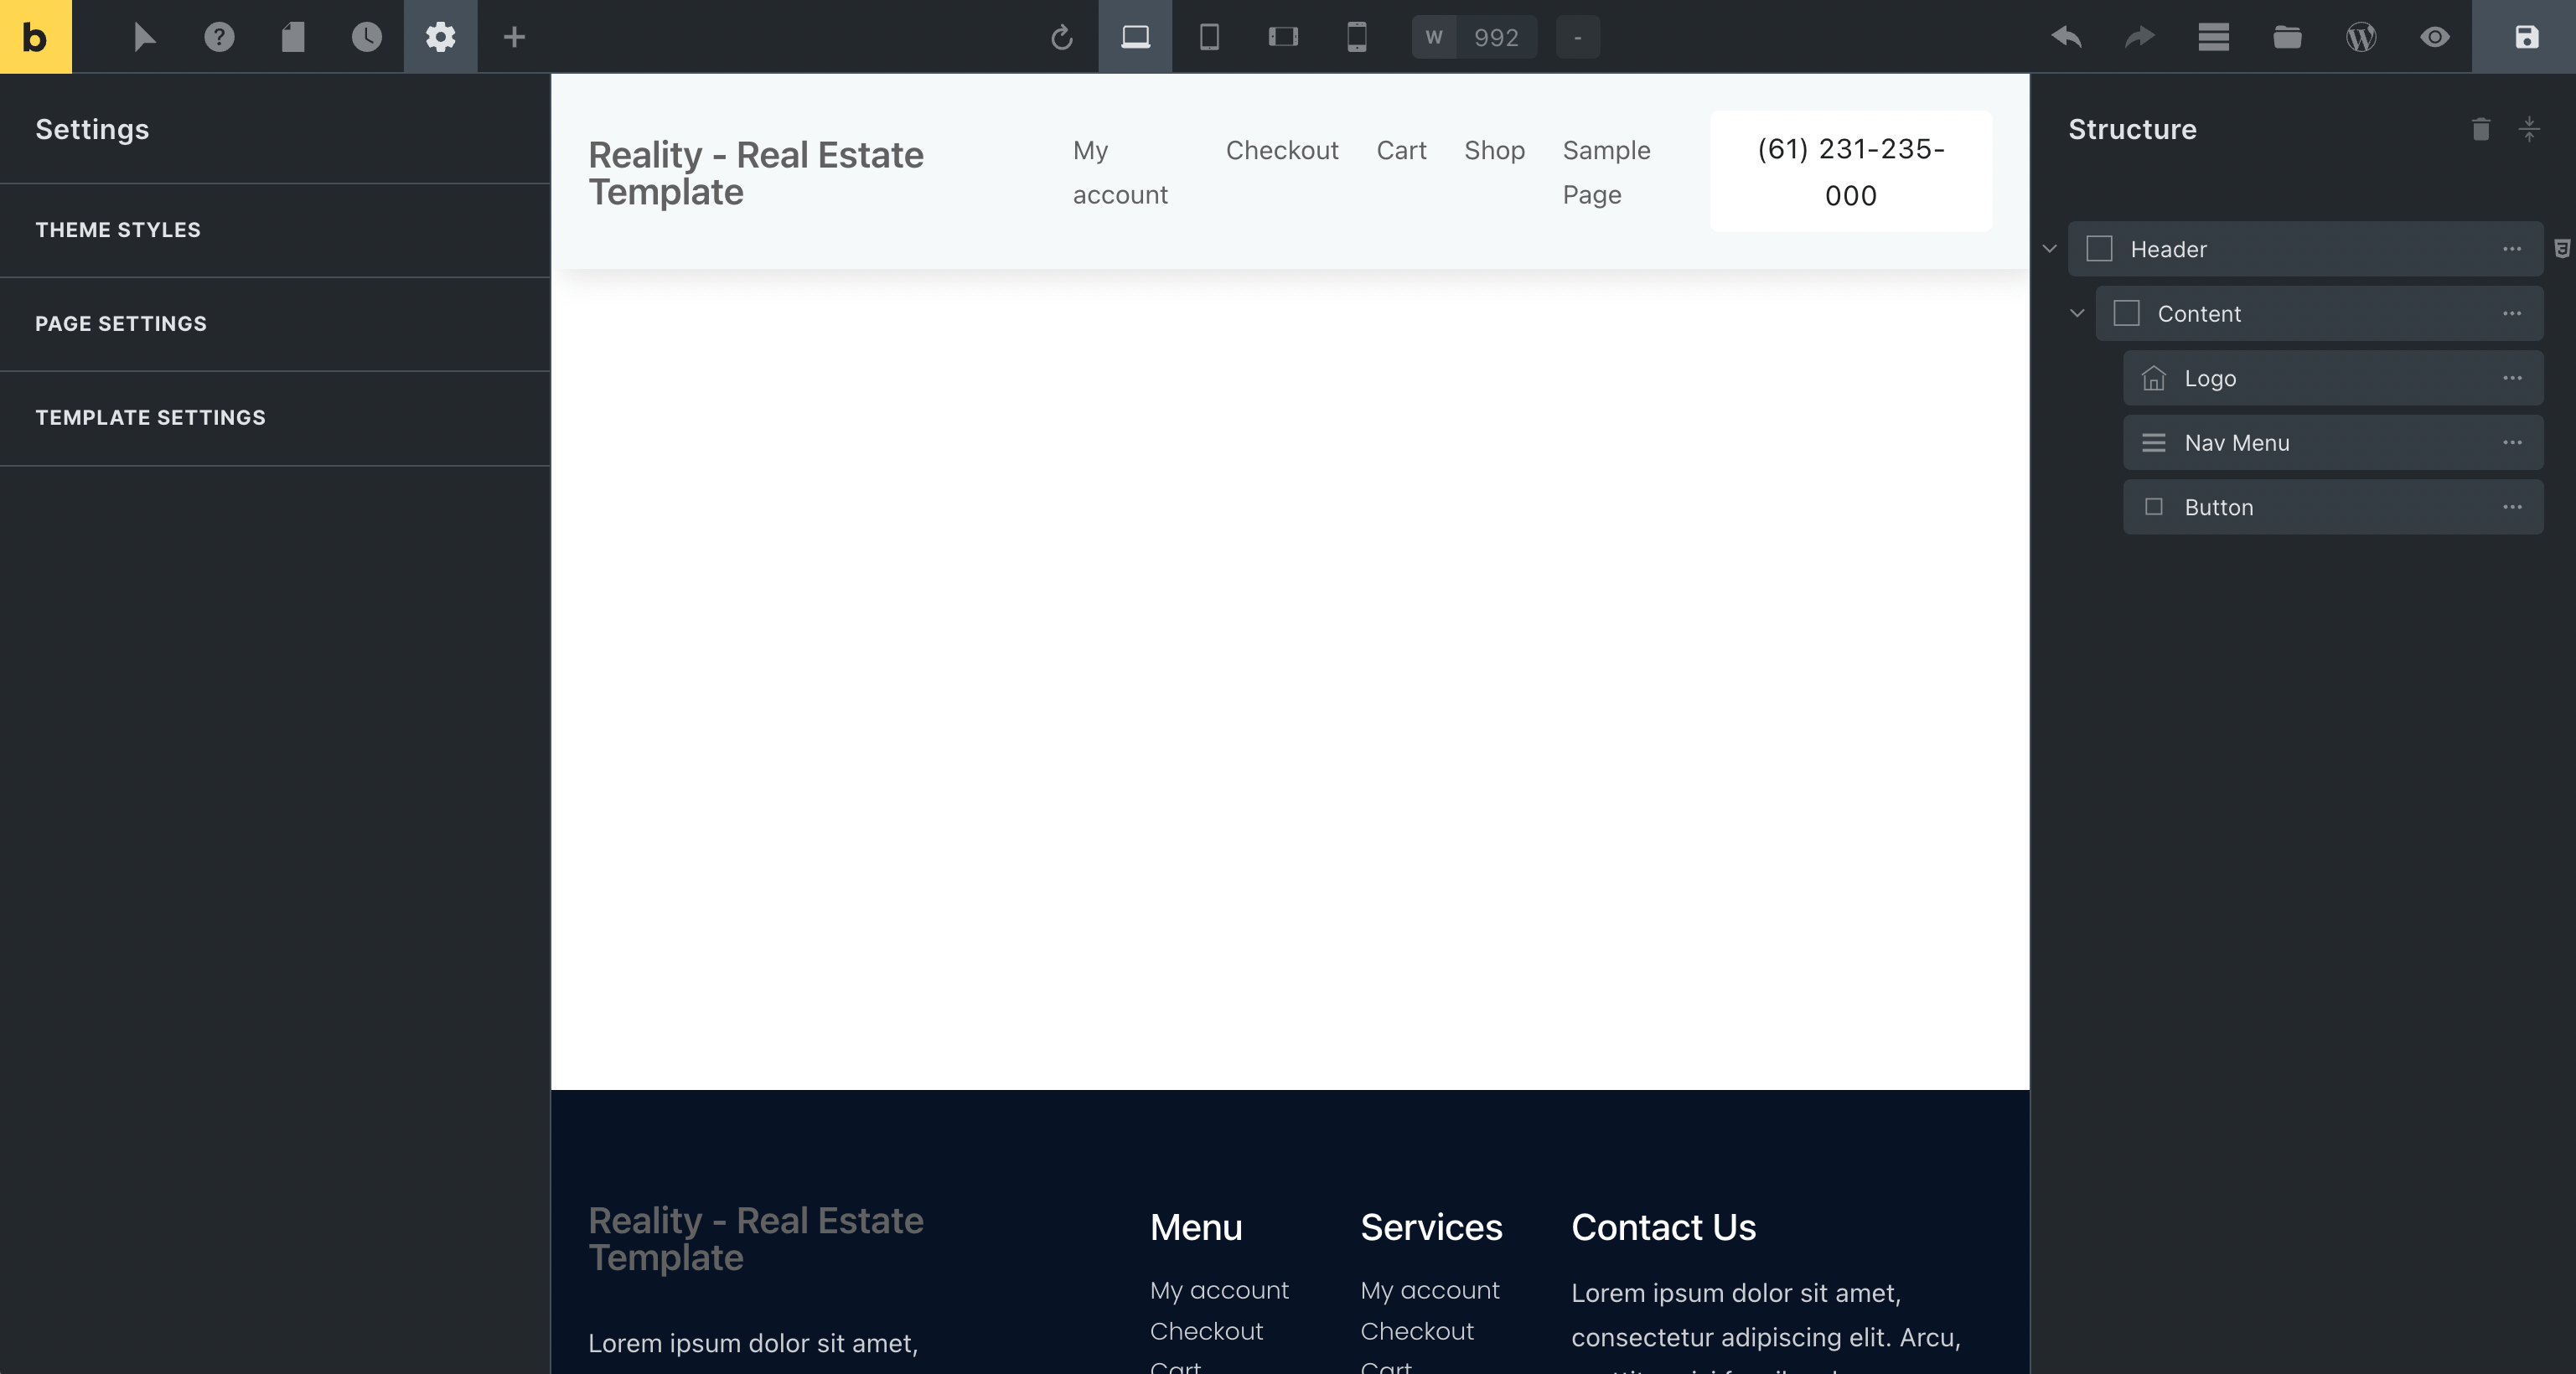
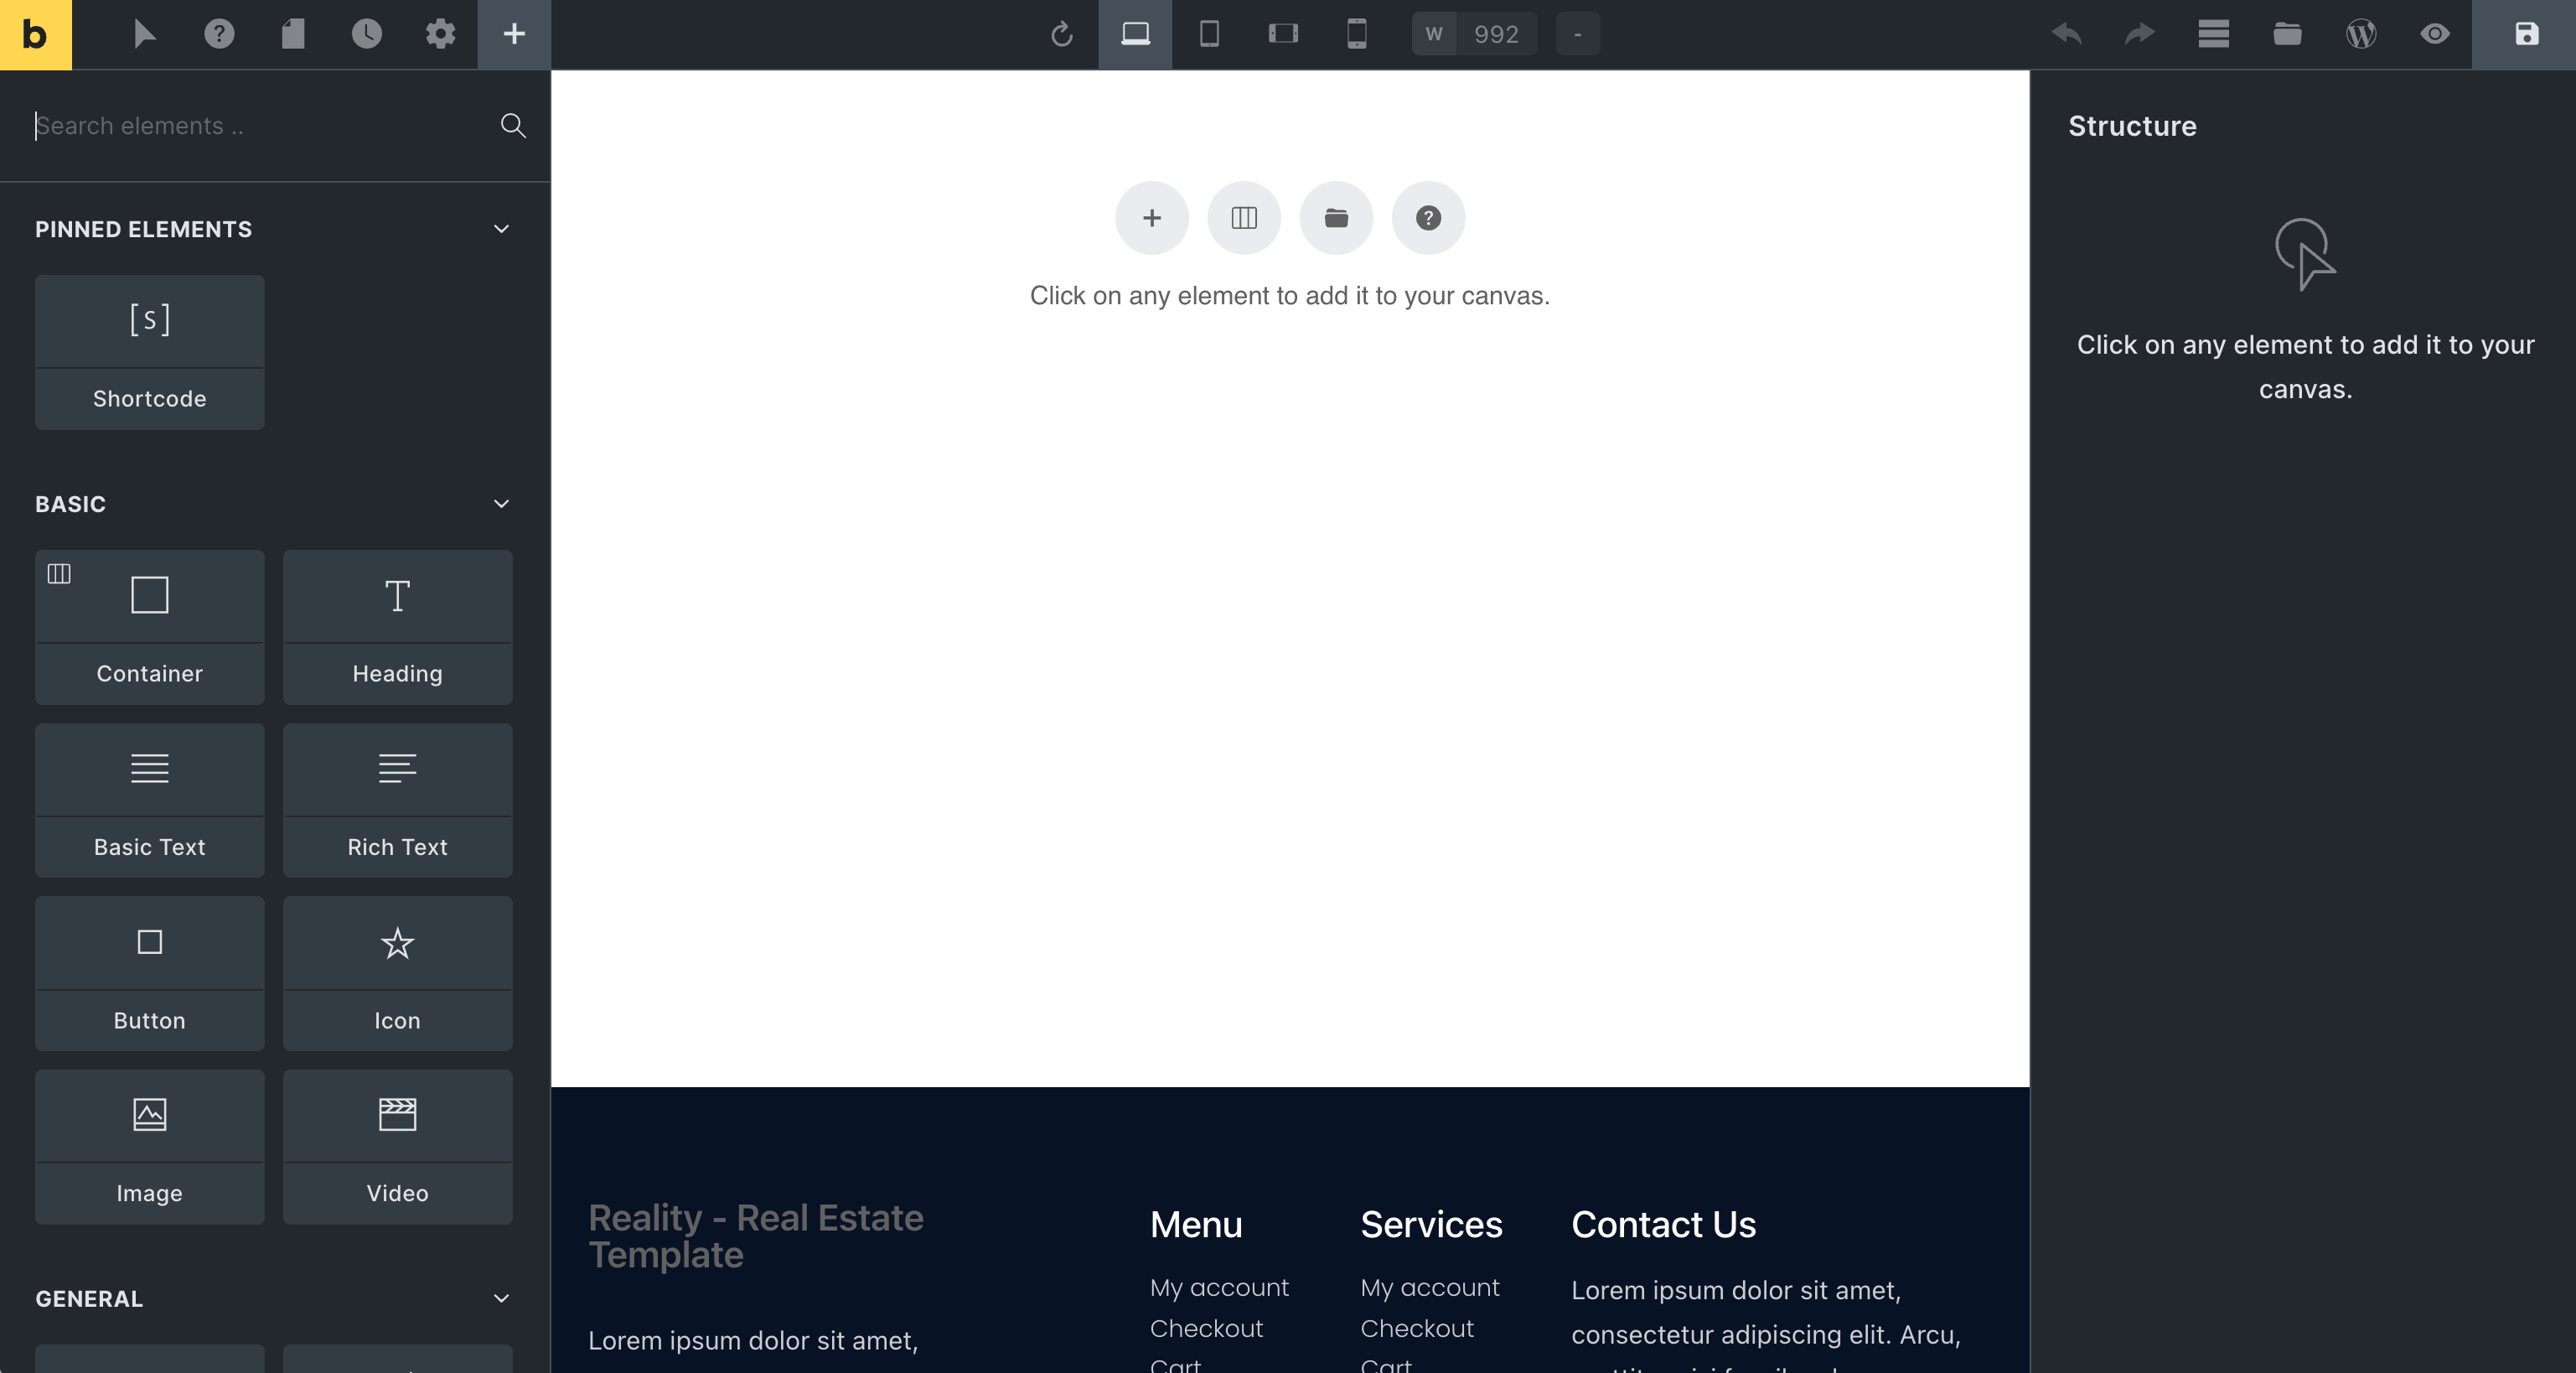
And once the Bricks Builder editor loads, you can see that we are now editing the Content area of our page at (2) but the Header (1) and Footer (3) are showing.
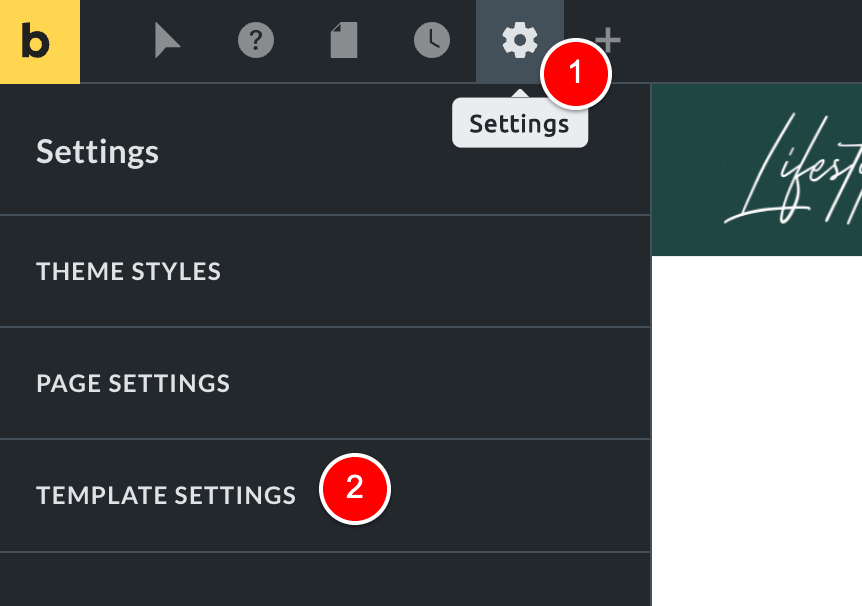
From this page, we can go ahead and hide the Header and Footer by going to Settings > Pages Settings.
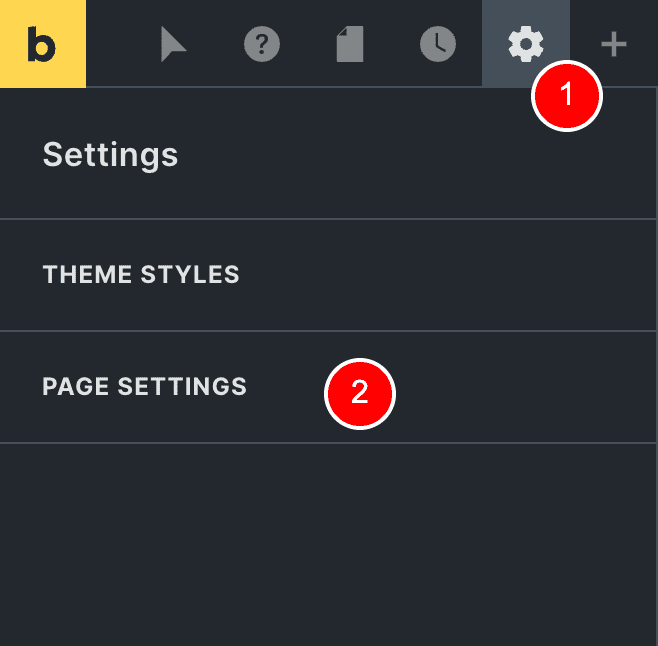
Then click on General.
And then you can disable the Header at (1) and Footer at (2), which you can see has worked at (3).
So this is Method 1 and I am calling this the Per-post Method, because… well… we’re disabling the Header and Footer elements for each specific post / page.
Now, I actually don’t use this method myself because I find Method 2 much easier to manage (and my brain works better with Method 2).
Let’s now look at the second way you can disable the Header and Footer in Bricks, Method 2.
Method 2: Remove per Template
The best way to remove the Header and Footer in Bricks Builder is to set the Header / Footer templates not to show under specific conditions, as I’ll show you now.
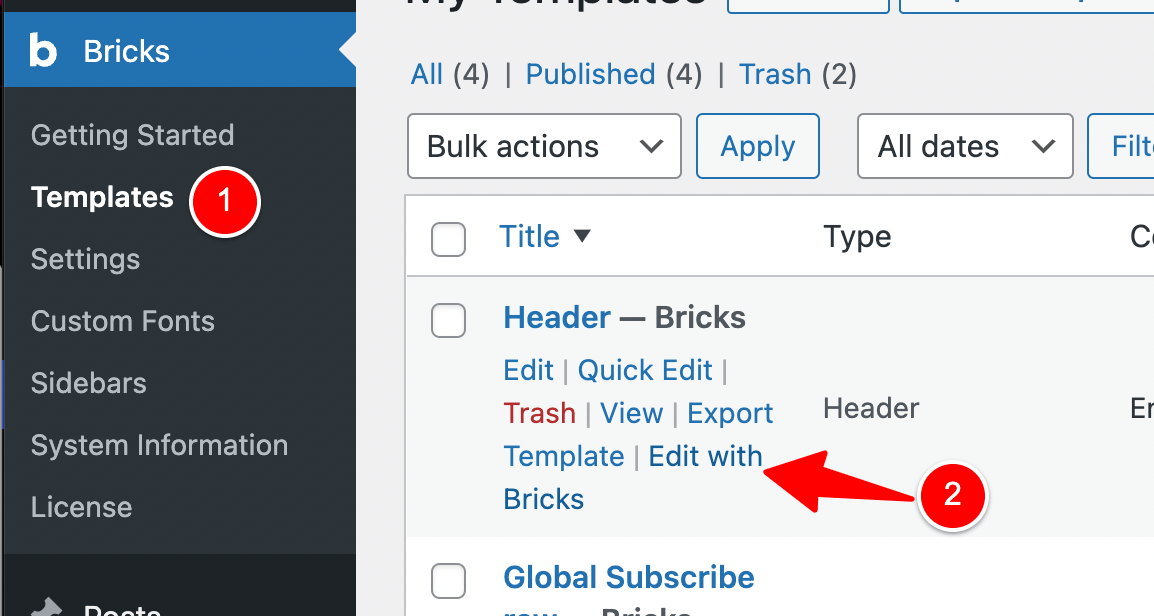
Go to your WordPress admin area and then to Bricks > Templates.
Find your Header template and then click Edit with Bricks (2).
Once you’re in the Bricks Builder editor…
Go to Settings > Template settings.
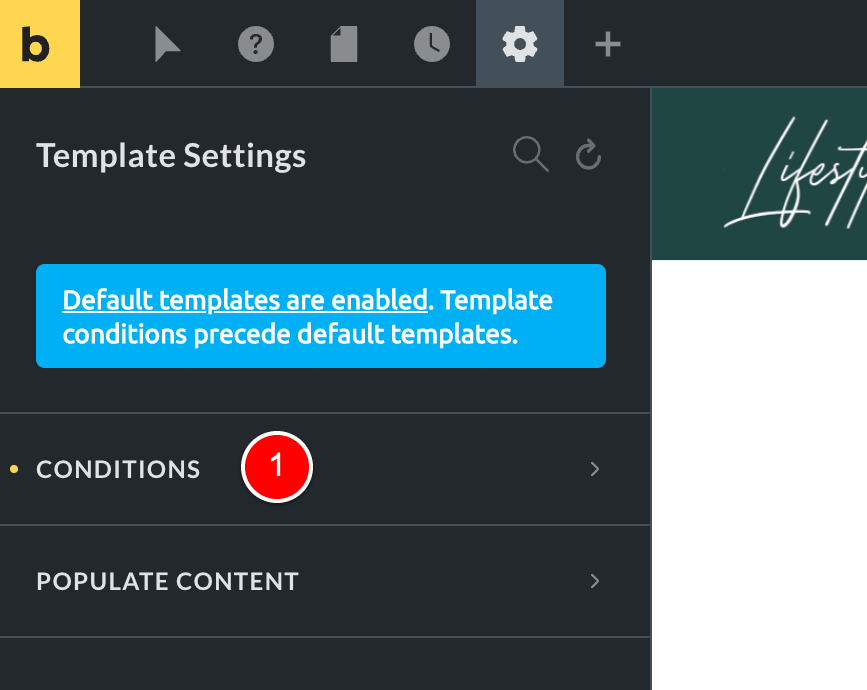
And then click on Conditions.
Proceed to set the conditions under which you want this Header Template to output.
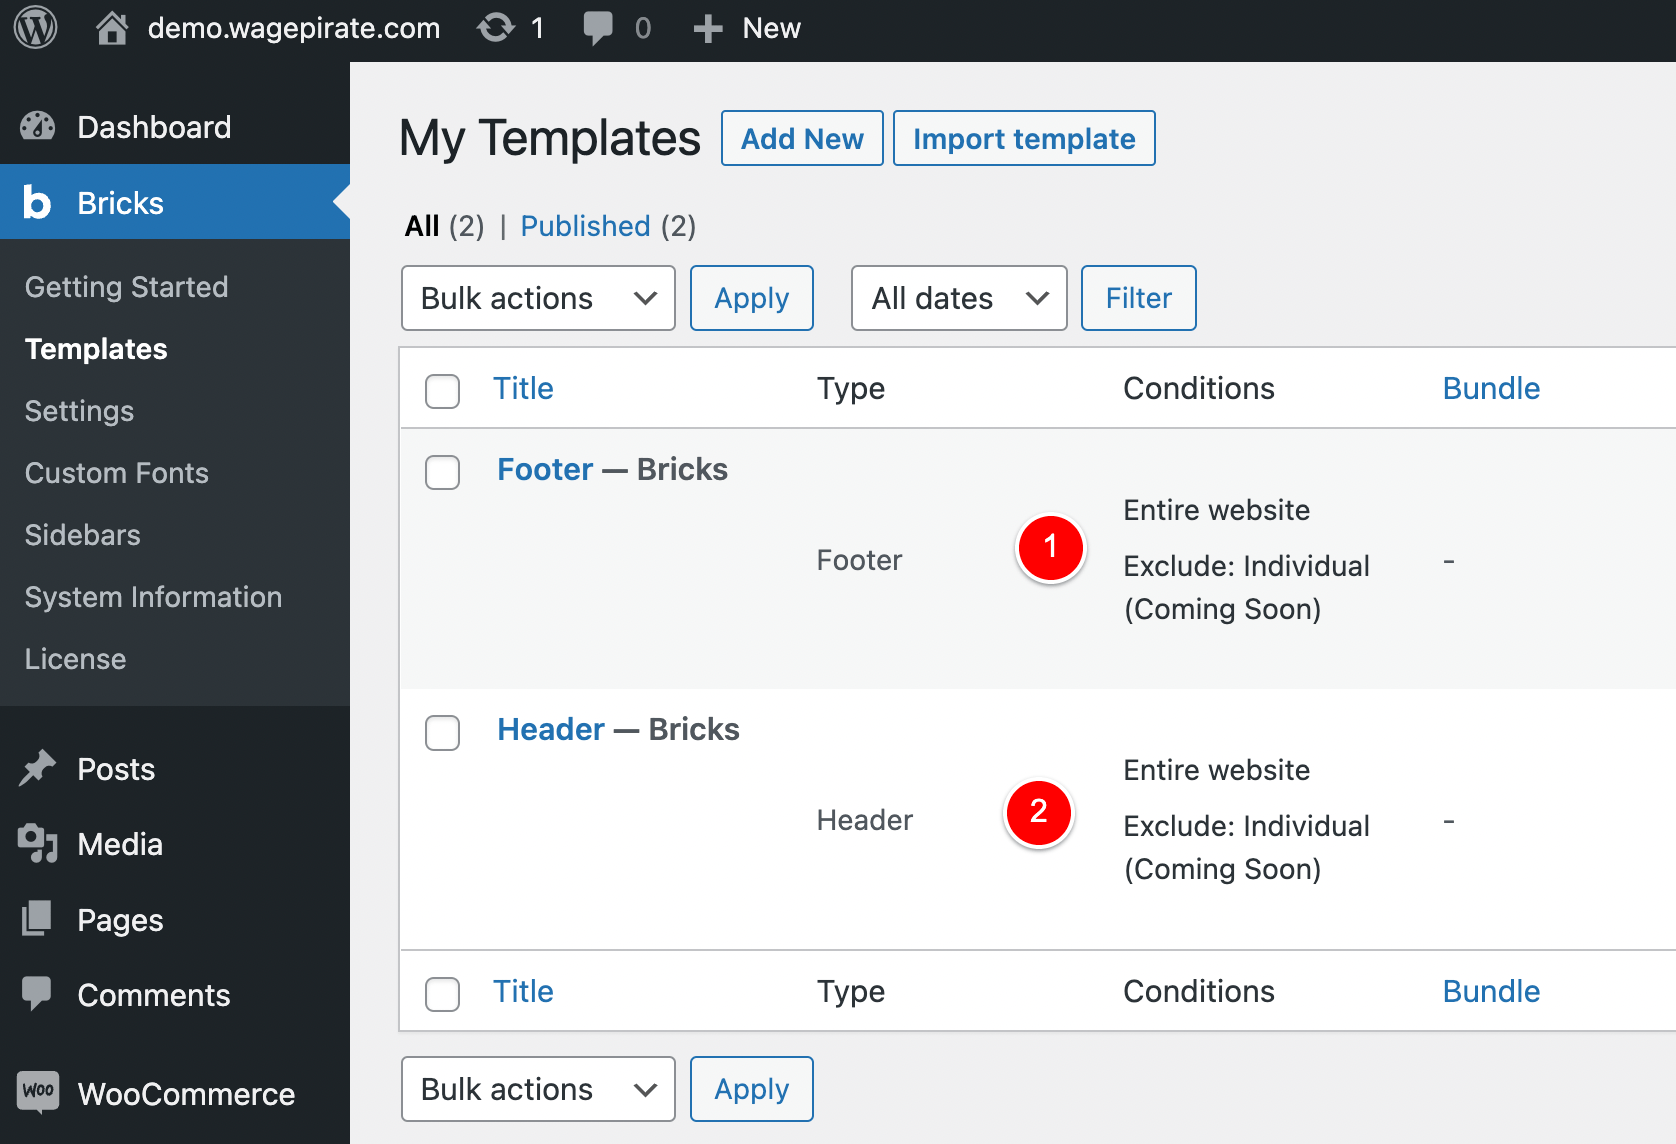
Usually, you will want to set it to something similar to the image below, where I show the Header for the Entire Website but then I go ahead and add some exclusion rules.
In the above image, my Header will output on my Entire Website, except for my individual Coming Soon page.
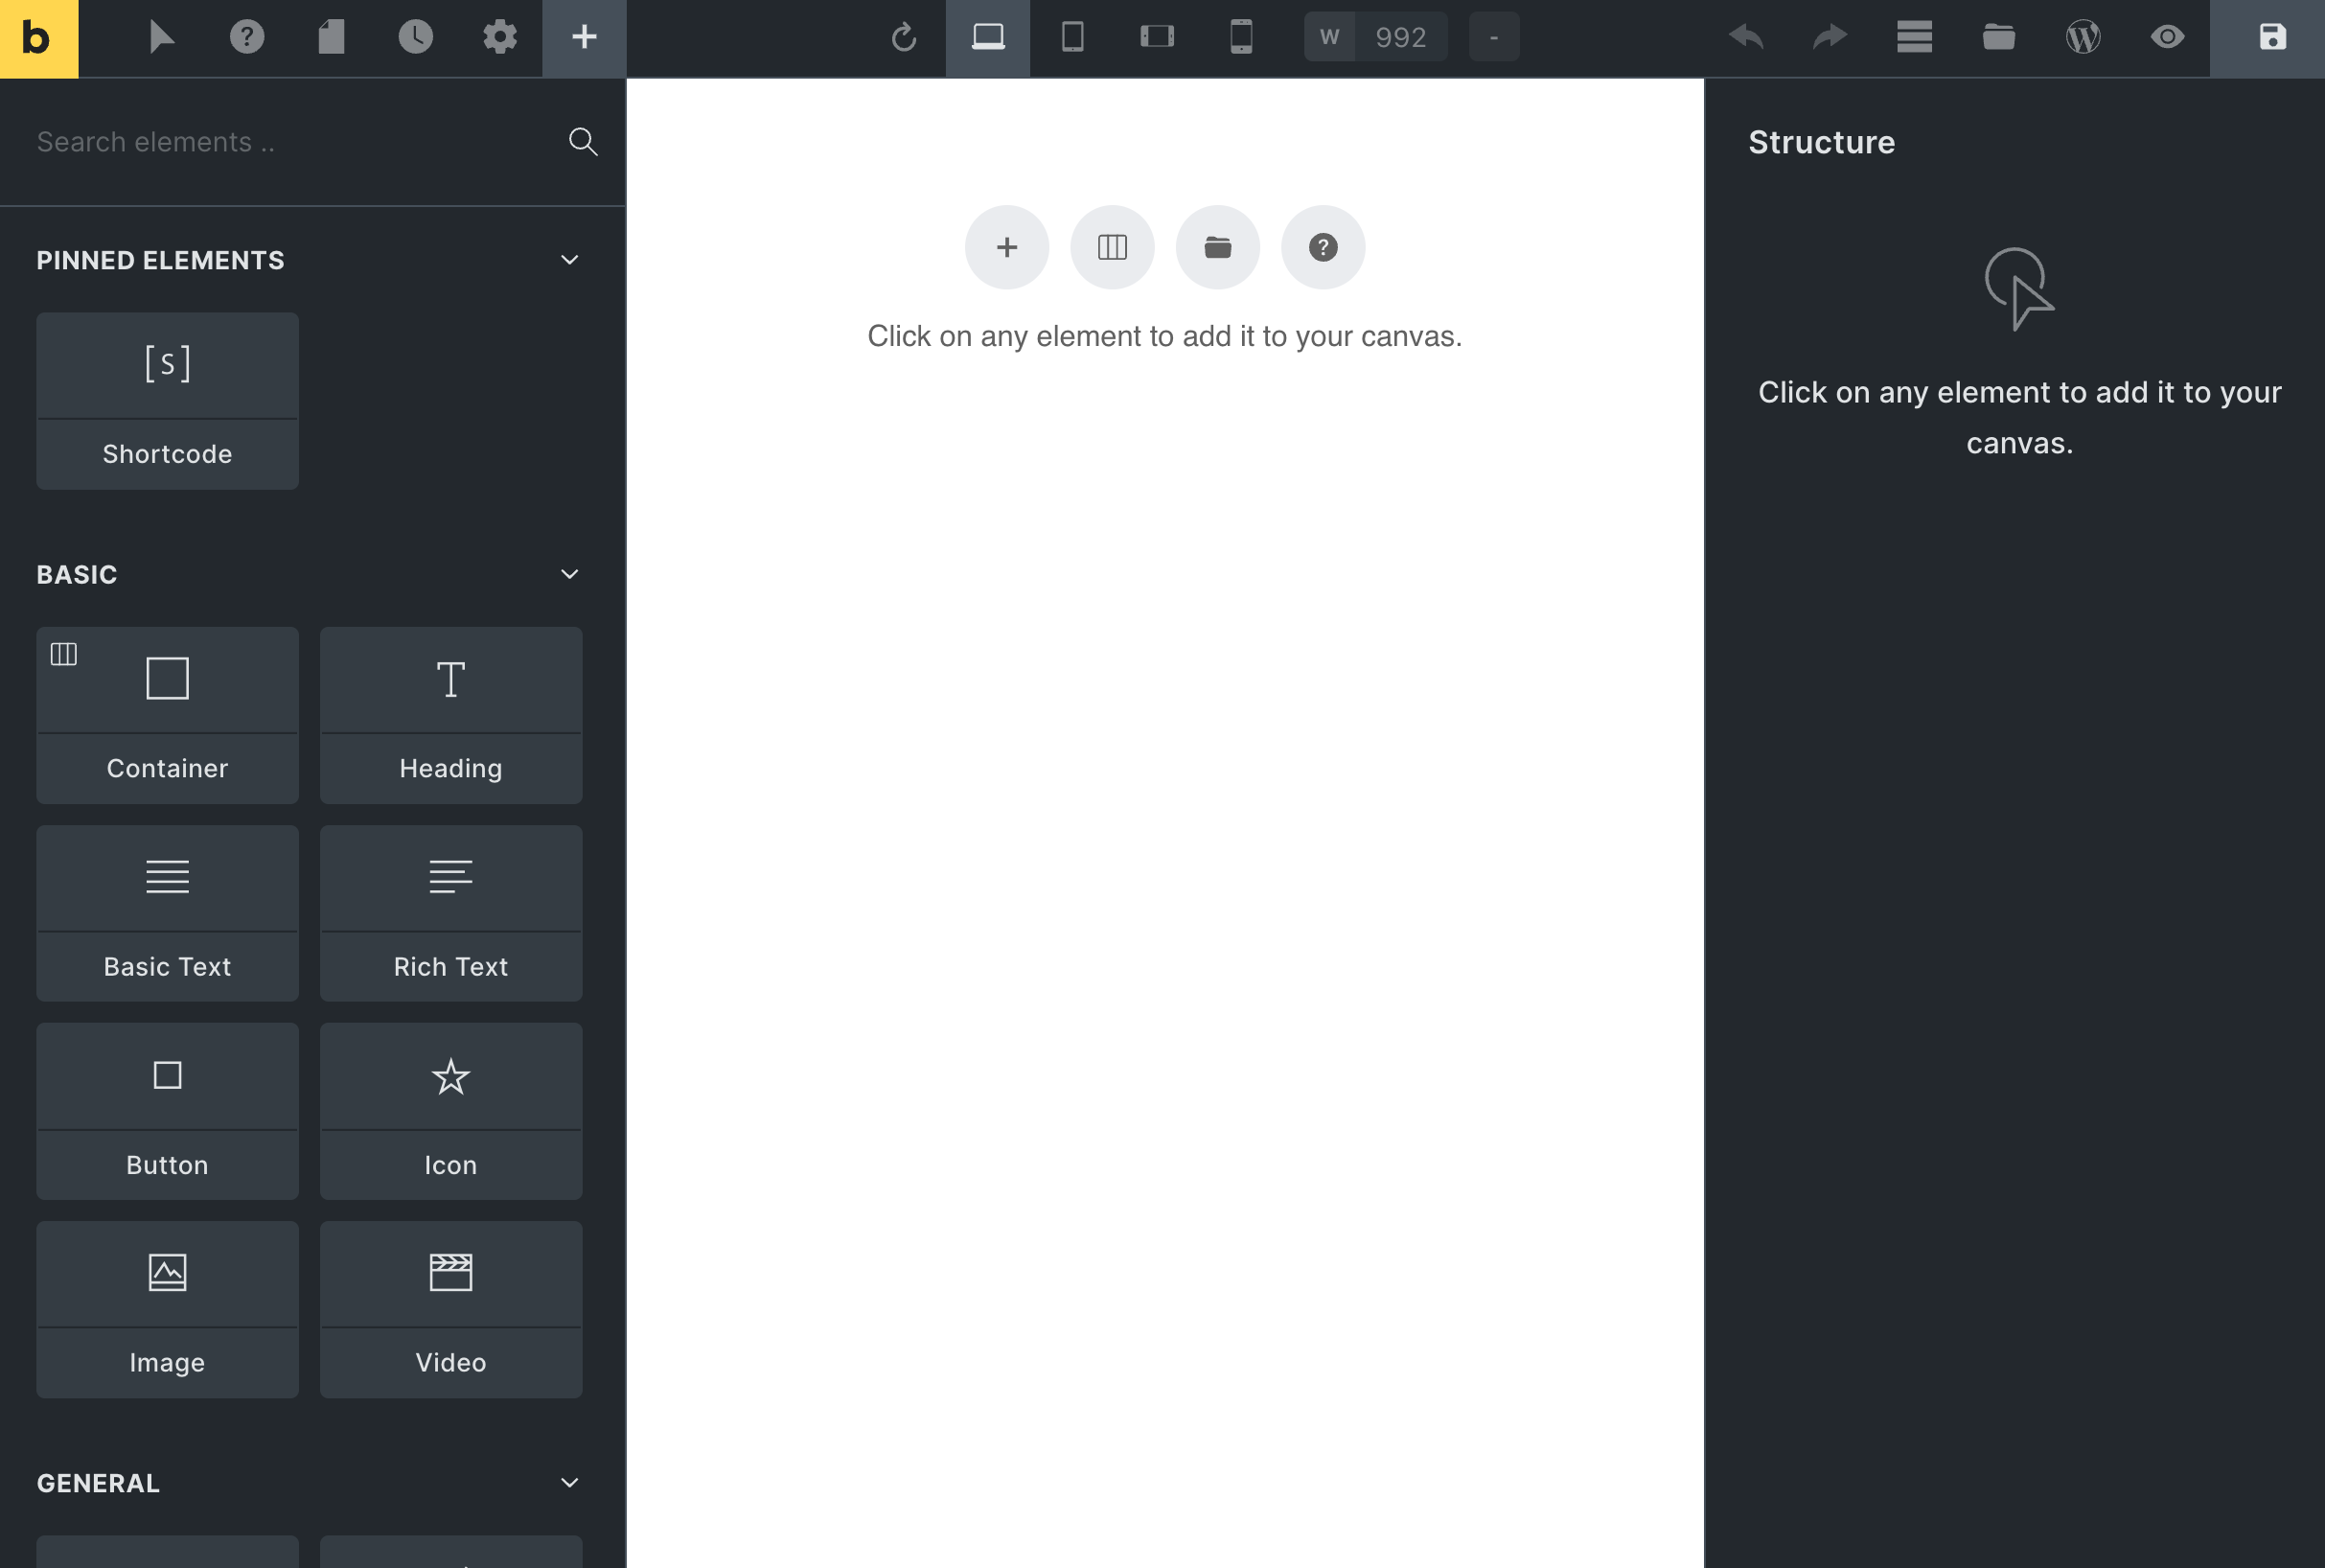
If I save my Header Template with these above conditions and then go and reload my Coming Soon page in Bricks Builder, you can see that now the Header is not showing.
I would repeat the same process for the Footer Template and that would give me the result below where both the Header and Footer are not showing on my Coming Soon page.
TIP for using the Per-template method
If you do decide to use Method 2 like I do (per template), you can also go to your WP Admin area and then Bricks > Templates to view all the conditions you have for each Template, as shown in the image below.
This is one of the reasons why I love the per template method more than the per post – it’s a lot easier to see where you’re showing and hiding templates on your website.
Hide the Header and Footer on Custom Post Types
You will use the per template Method 2 to show and hide your Header and Footer in Bricks Builder for Custom Post types, Post Type Archive pages, Taxonomy Archives and pretty much anything to do with WordPress templates.
I like to run with real-world ideas to help explain things, so let’s find another one.
Here on WagePirate.com, I have this button currently in my main menu that says “Start Your Store”.

When people click this button, they are taken to my Optin page where I explain a course I have that helps people start a store with WooCommerce.

When people click the button Start Free Course (above at 1), I show them an Opt-in form where they can enter their email address to get access to my course.
Here is an animation that show’s how this all works.

As you will notice, on this page, there is no Header or Footer.
That’s because I don’t want to distract the user – I want to draw them into clicking the button and putting in their email address so I can build my Mailing List while giving them access to this free course.
This intention of removing distractions from the user is something you pretty much ALWAYS want to do for any Sales Pages, Opt-in Pages and Upsell pages you’ll create for your business – so that the user focuses only on progressing to the next step in the funnel you’ve created.
If you’ve been following my blog here for a while or watching my YouTube videos, you will know that I use the FunnelKit plugin on every website I own.
I use FunnelKit to build all my Sales Funnels, all my Optin Funnels and to make my post-purchase One-Click Upsells for WooCommerce.
I also use FunnelKit to customize my WooCommerce checkout page to look like Shopify’s.
When you install FunnelKit, it creates a few different Custom Post Types, such as:
- wffn_optin (optin pages)
- wffn_oty (optin thank you page)
- wffn_landing (for sales pages / landing pages)
- + a few more.
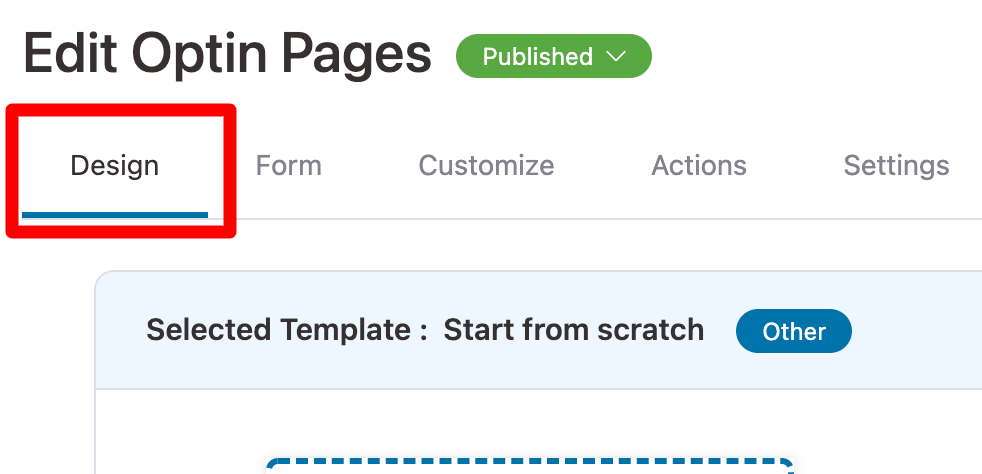
If we continue with this example from my website, we can check the source code and see that this Optin Page is using the wffn_optin post type, as expected.
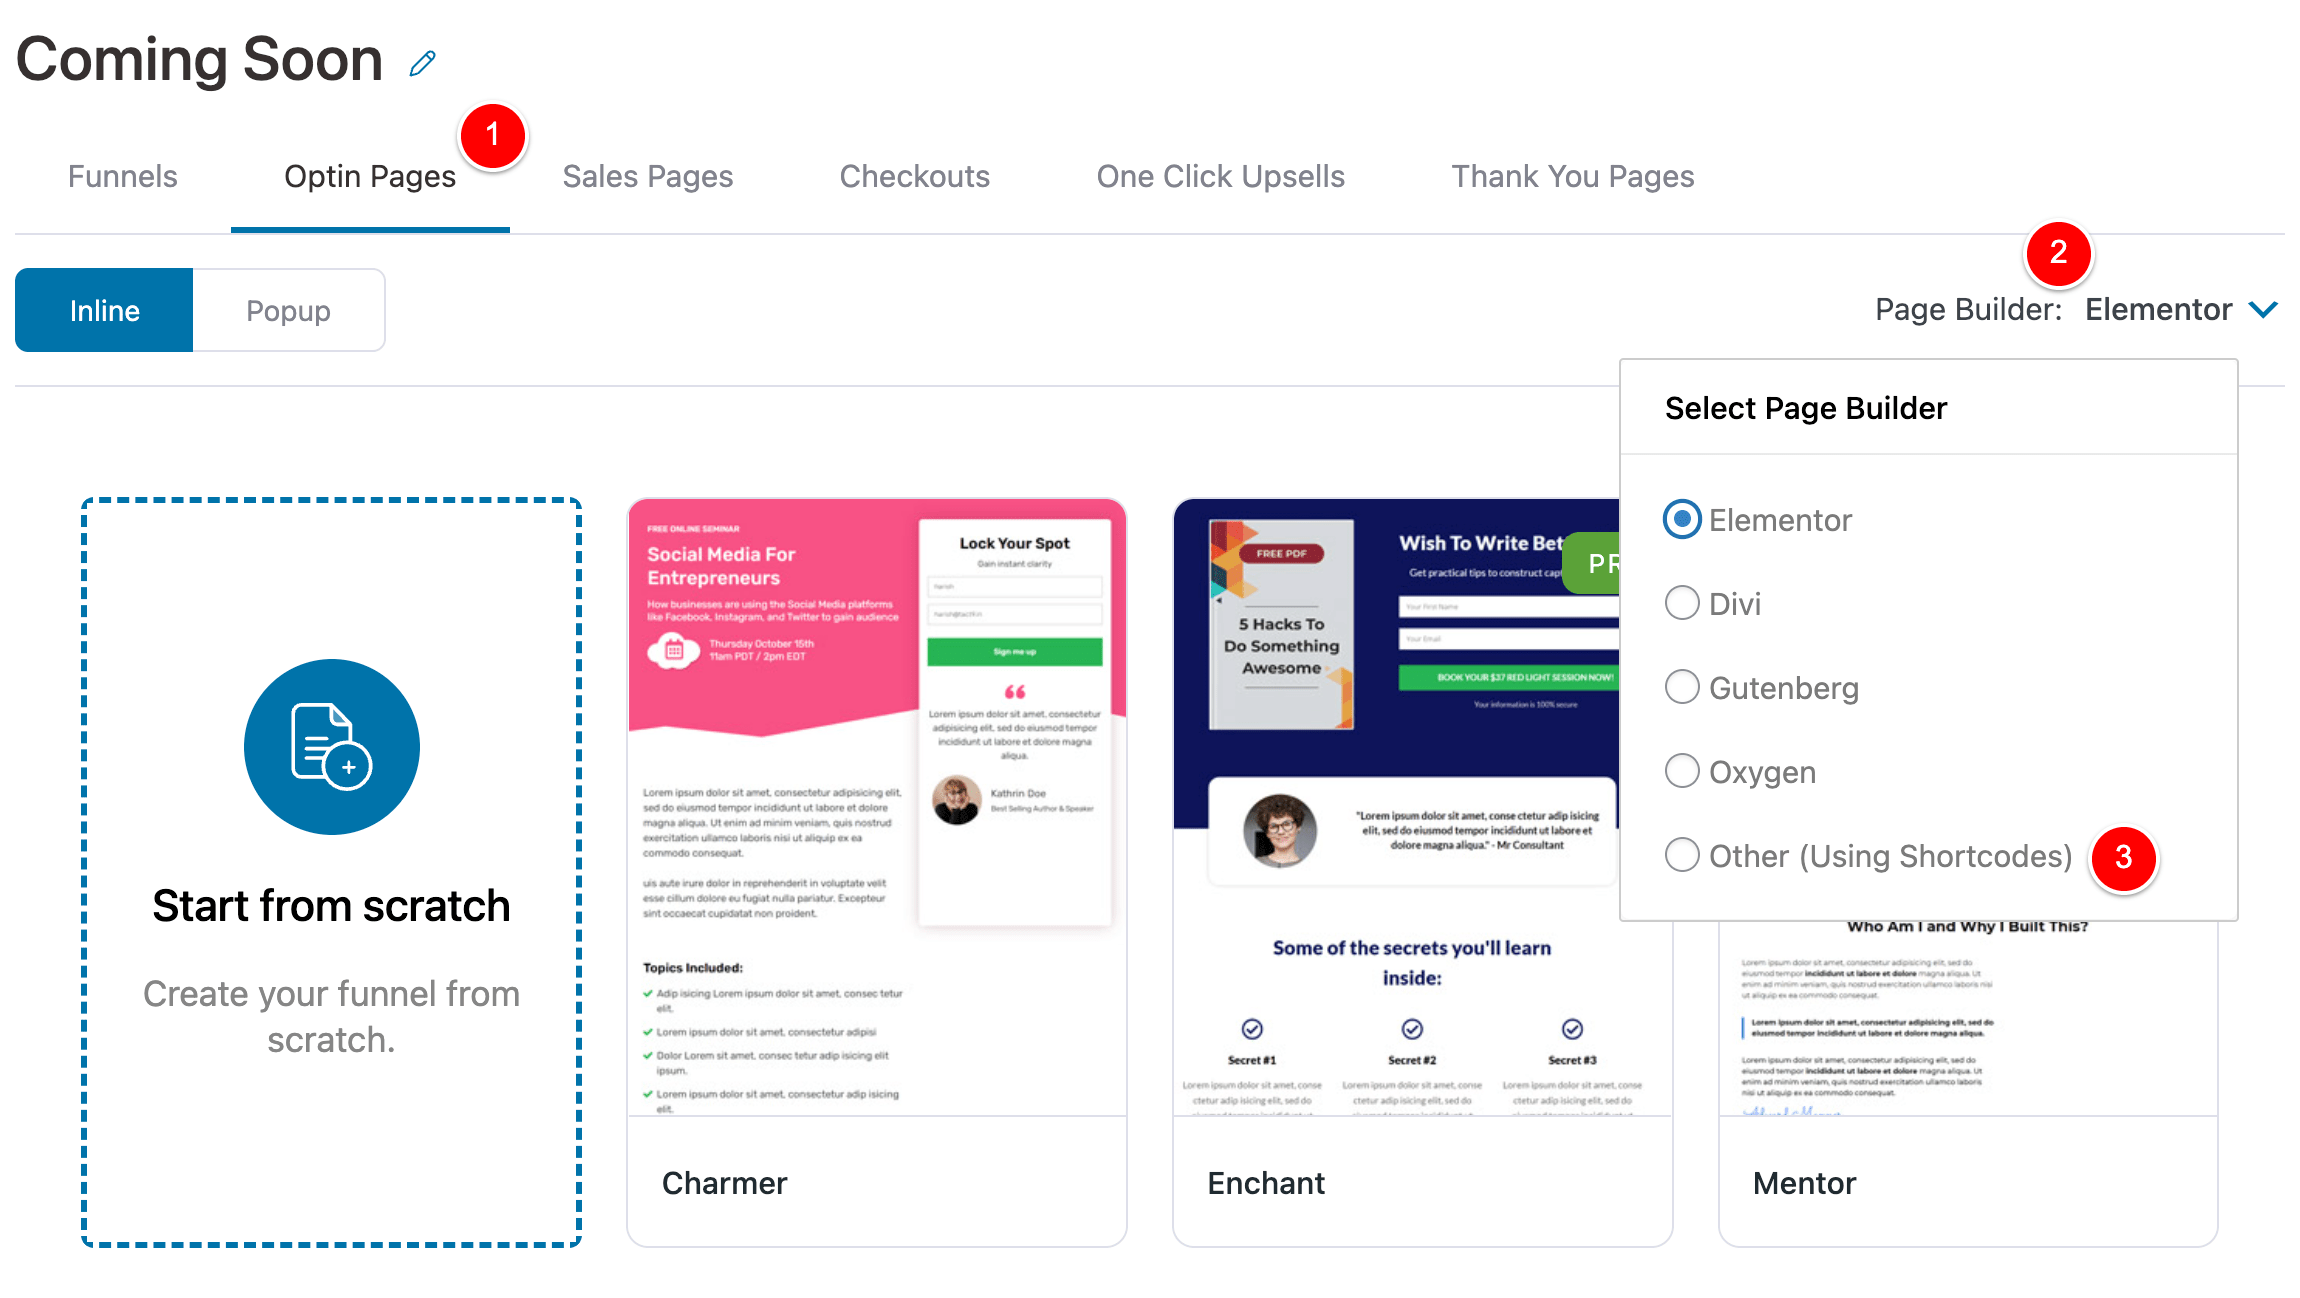
Because I want ALL my Optin Pages to NOT output my Header, I can edit the Header Template in Bricks and update the conditions to be like the below at (3) where I have excluded the Post Types that FunnelKit uses.
After doing that, I can go back to Bricks > Templates and see all the conditions I have set for all my templates, including these new changes we just made to exclude the Header per Post Type.
And just to round out this tutorial, you can combine your conditions to exclude entire post types AND individual posts / pages / custom posts, if you so wish.
For example, in the below, I have updated our Header template to show on our Entire Website, excluding:
- All the FunnelKit post types
- Our Cart Page
- Our Contact Page
Advanced: Use PHP code to show / hide your header
You can show and hide your Header and Footer in Bricks using PHP code if you need more advanced rules.
For example, let’s say I wanted to hide a section inside my Bricks Header Template with the ID of #my-header.
I could then use some PHP code like below to build some more complex conditional logic than is able to be achieved using the Bricks UI.
In the below code, I am specifying that I want to hide the section with #my-header on some custom Post Types that I use in my website…
// show / hide elements based on Post Type
add_filter( 'bricks/element/render', function( $render, $element ) {
  // SECTION A
  // Here we define the post types we want to run our conditions on
  if ( !is_singular( array('wffn_optin', 'wffn_oty', 'wffn_landing') ) ) {
    return $render;
  }

  // If there is an ID set in Bricks Builder for this element
  // set its ID to the variable $html_id
  $html_id = false;
  if( isset( $element->settings['_cssId'] ) ){
      $html_id = $element->settings['_cssId'];
  }

  // add the ID of the elements you want to hide
  // on the post types defined in SECTION A above in this code
  $elements_to_hide = array('my-header');
  if ( $html_id && in_array($html_id, $elements_to_hide, true) ) {
    return false; // i.e. do NOT output this element on the page
  }

  return $render;
}, 10, 2 );Code language: PHP (php)
If you want to learn more about how to show and hide Elements inside of Bricks based on complex conditions – then I have good news!
The above PHP Code is taken from an article that I posted recently that shows you how to use this PHP function to do just that – Conditional Logic!
Here is the link to that article below…
I also have this article too where I go over how this function works in a general sense to give you a bit more information…
RELATED: Bricks Builder: Conditional Logic (show / hide elements on the page) PHP METHOD